The iPhone boasts a great quality camera and the stock Camera app lets you utilize this lens to take some amazing photos. Sometimes, though, you may find that your iPhone’s camera is not working properly. This happens due to various reasons.
Unless the camera is physically broken, you can fix the issues with your iPhone’s camera using multiple methods. There are both physical as well as software methods to bring your iPhone’s camera back to working condition.
Ensure The Camera Lens Is Clear Of Any Objects
A basic thing to do when your iPhone’s camera is not working is to make sure there are no objects placed in front of your camera. You might have placed something unknowingly in front of your lens and that may be causing the camera not to work or to display a black screen.
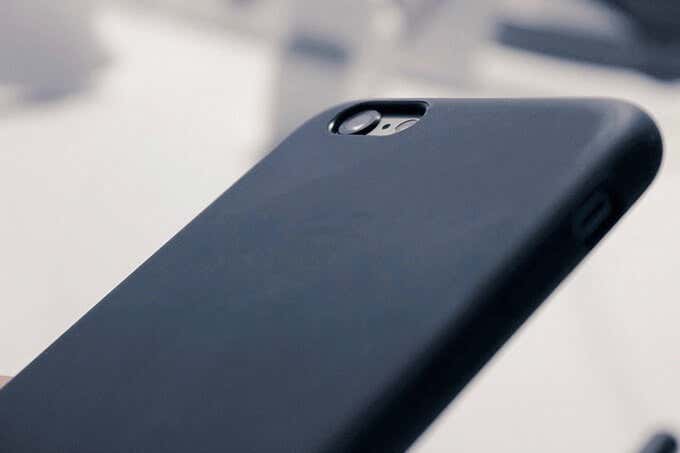
Remove the object and also move the camera to another position and see if that works.
Close & Re-Open The Camera App
There may be an issue with the stock Camera app that’s preventing you from taking photos. Quitting the app and then re-launching it should fix the issue in most cases.
- Press the Home button twice.
- Swipe up the Camera app to close it.
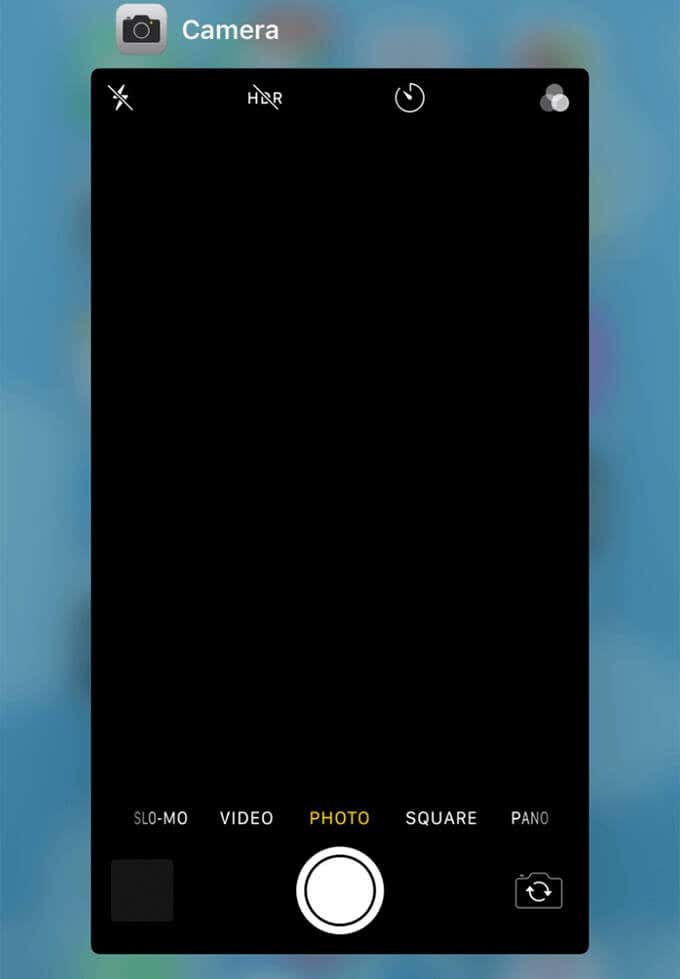
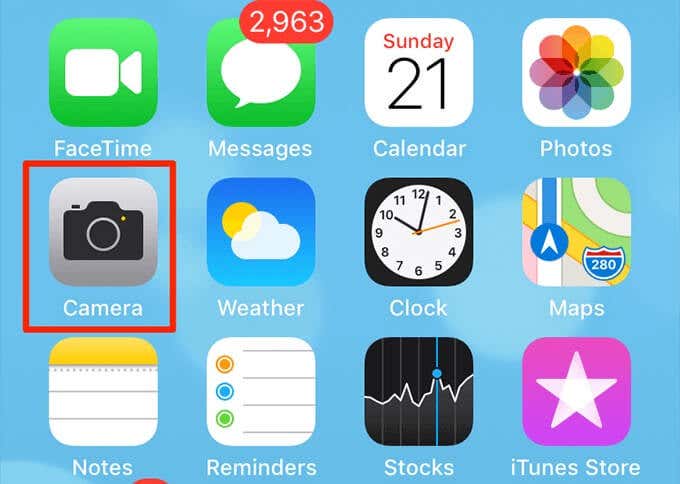
- Tap the Camera app on your home screen to open it.
Toggle Between The Front & Rear Camera
Sometimes, toggling between the front and rear cameras fixes the issue with your iPhone’s camera. You can switch to the front camera and then quickly go back to the rear one or vice versa.
- Open the Camera app on your iPhone.
- Tap the switch icon at the bottom-right corner of your screen.
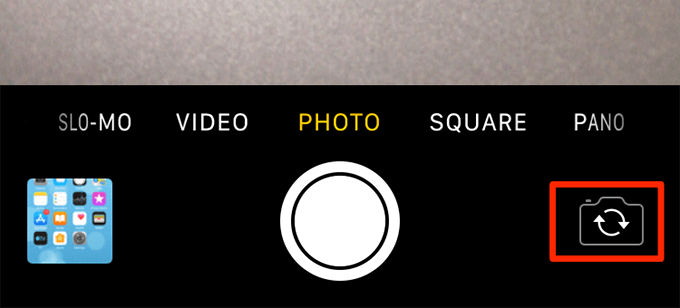
- If you were using the rear camera, you should now be on the front camera.
- Tap the switch again to go back to the previous camera.
Restart Your iPhone
When you have issues with any app on your iPhone, it’s worth rebooting your iPhone to see if that fixes the problem. Rebooting resolves many minor software glitches on the iPhone and this could help you fix your camera issues.
- Press and hold the Power button for a few seconds.
- Drag the slider to turn off your iPhone.
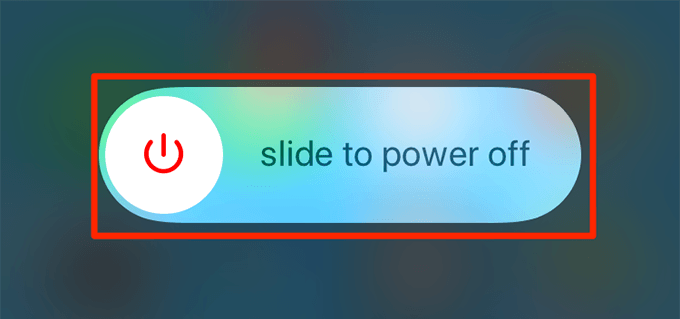
- Press and hold the Power button again to turn on your iPhone.
Use The Flashlight To Fix The Camera Flash Issue
If you have issues with your iPhone’s camera flash not working, one way to fix the issue is to enable the flash as a flashlight. This way you can verify if the physical part of the flash is working.
- Open the Settings app on your iPhone.
- Scroll down and tap the option that says Control Center.
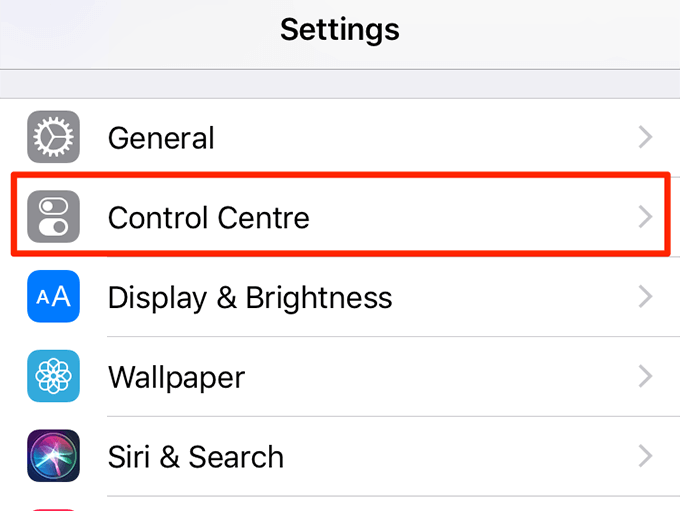
- Select the Customise Controls option.
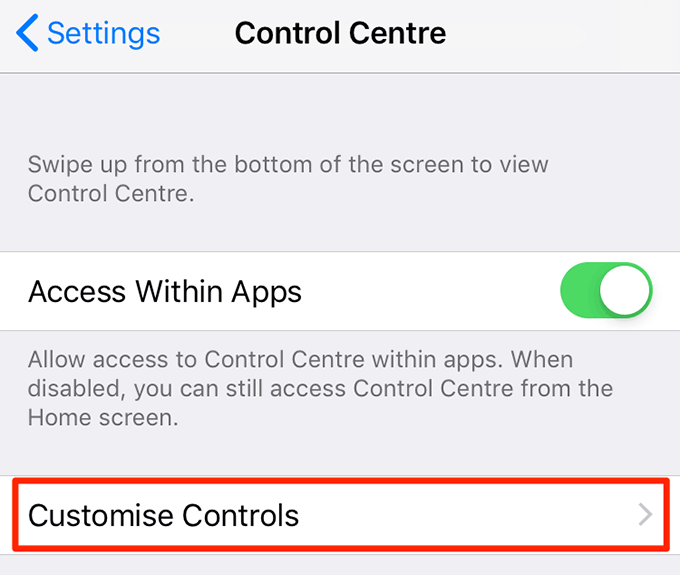
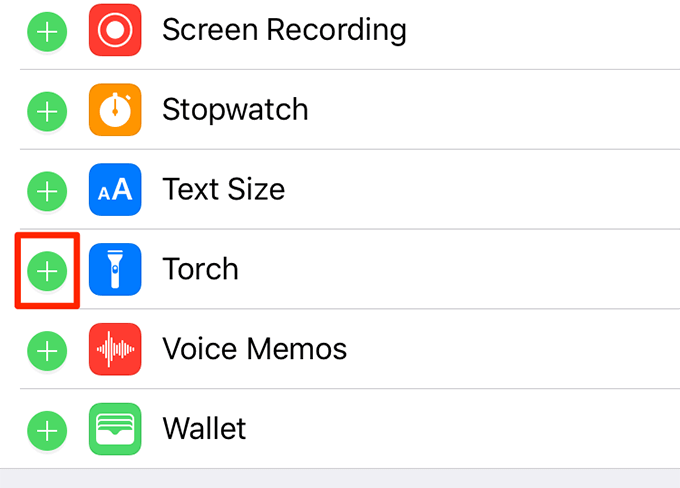
- On the following screen, find the option that says Torch in the list. Tap the + (plus) sign next to the option to add it to your Control Centre.
- Pull up from the bottom of your iPhone to open the Control Center.
- Tap the torch icon.
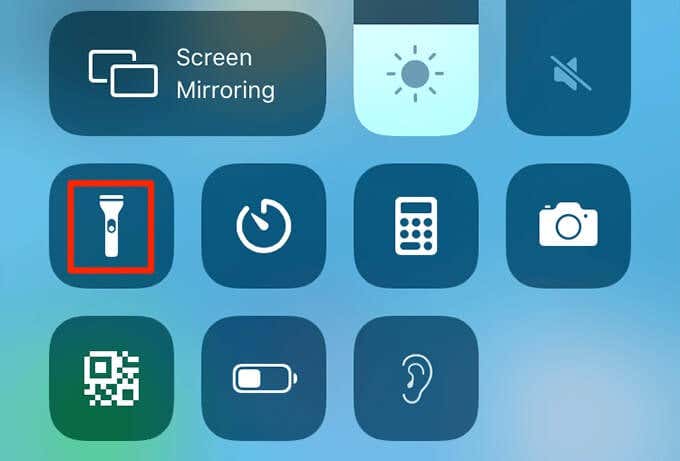
- If your camera’s flash turns on, it means the physical part of the flash is working. If it doesn’t turn on, there’s an issue with your flash.
Bring Back The Missing Camera App With Screen Time
If the Camera app has disappeared from your home screen, one reason is that the app is blocked in Screen Time. You or someone else may have restricted the usage of Camera on your iPhone.
Changing an option in Screen Time will bring the Camera app back to your home screen.
- Open the Settings app on your iPhone.
- Scroll down and tap the option that says Screen Time.
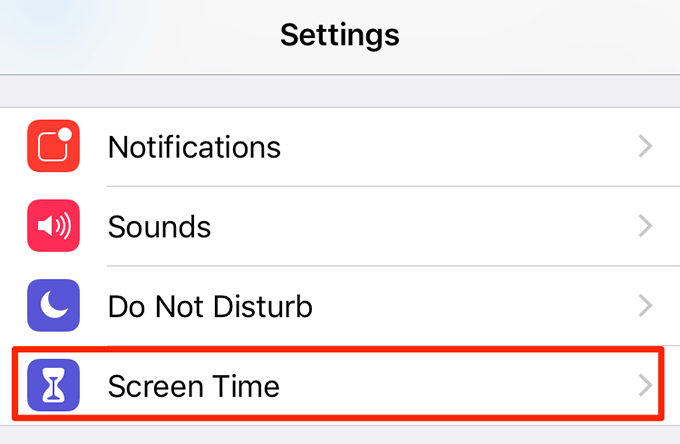
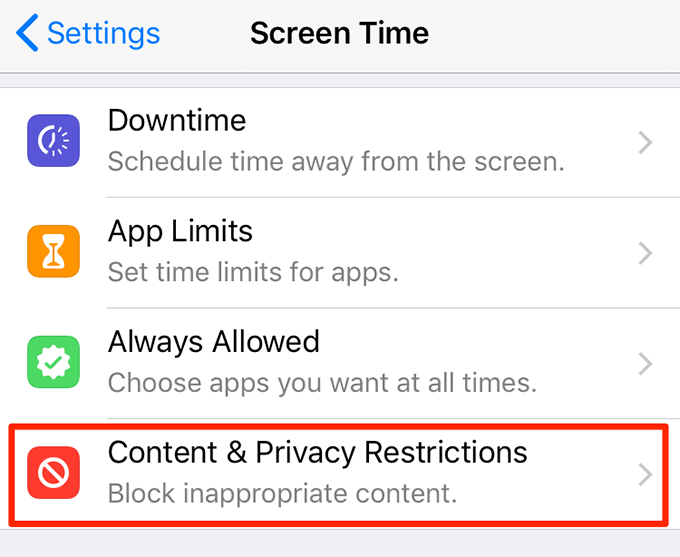
- Tap the Content & Privacy Restrictions option.
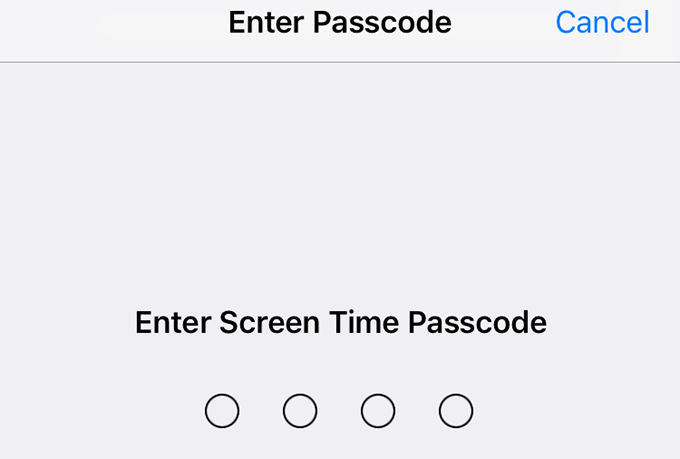
- Your iPhone will ask you to enter the Screen Time passcode. Type the passcode and it’ll let you in.
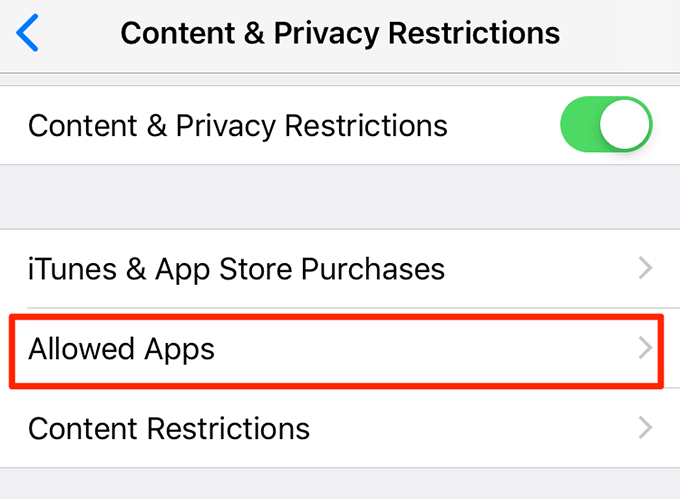
- Tap Allowed Apps on the screen that follows.
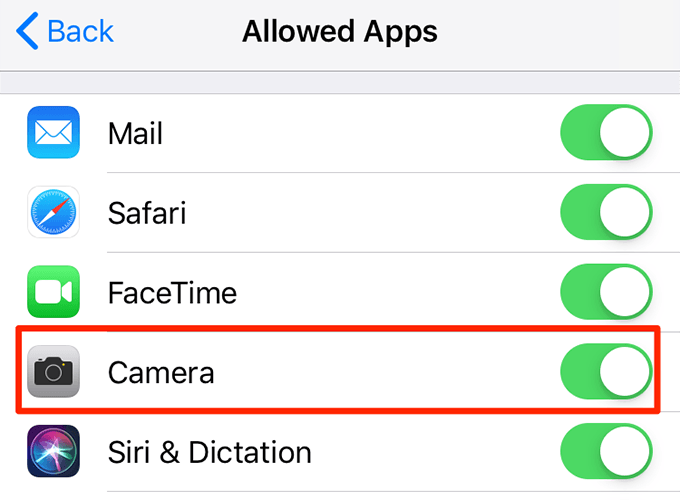
- You’ll see a list of both allowed as well as blocked apps on your iPhone. Turn the toggle next to Camera to the ON position. That’ll put the Camera app in the allowed apps list.
- The Camera app should now be visible on your home screen.
Disable VoiceOver To Fix The iPhone Camera
VoiceOver doesn’t directly have anything to do with your iPhone’s camera but turning it off might help fix the camera issue on your device. Keep in mind disabling this feature means you won’t be able to use it at all on your iPhone unless you enable it again.
- Access the Settings app on your iPhone.
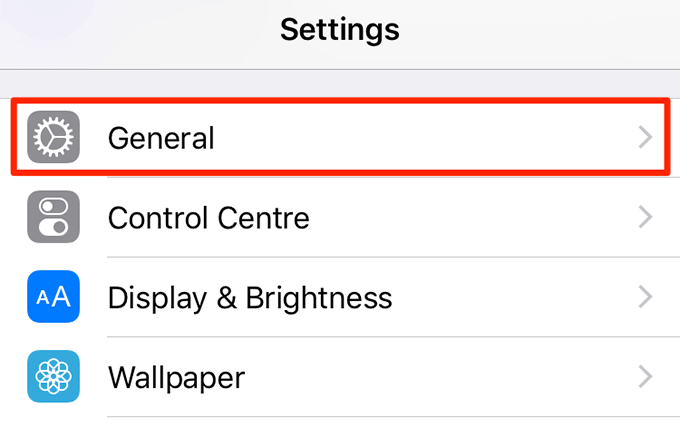
- Tap the option that says General on your screen.
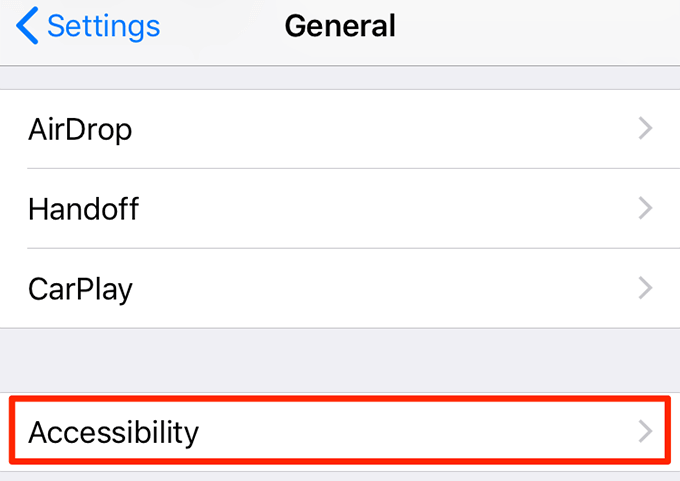
- Select the Accessibility option.
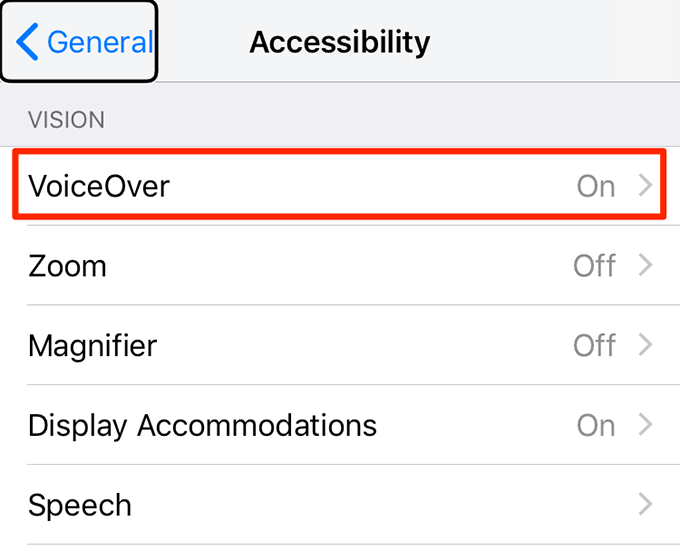
- Tap VoiceOver at the top of your screen.
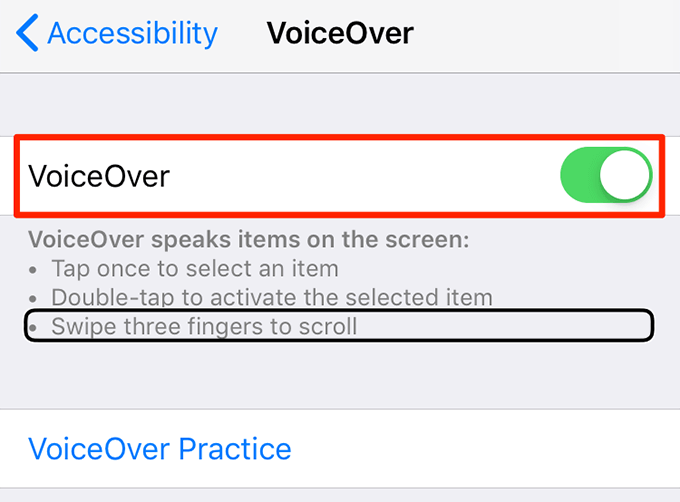
- Turn the toggle for VoiceOver to the OFF position.
- Open the Camera app and it should work.
Update Your iOS Version
It’s highly recommended that you keep your operating system’s version up to date. If your iPhone runs an older version of iOS, it’s time you update it to the latest one available. This could also fix the problem if your iPhone camera is not working
- Launch the Settings app on your iPhone.
- Tap the General option.
- Tap the Software Update option where your iOS updates are located.
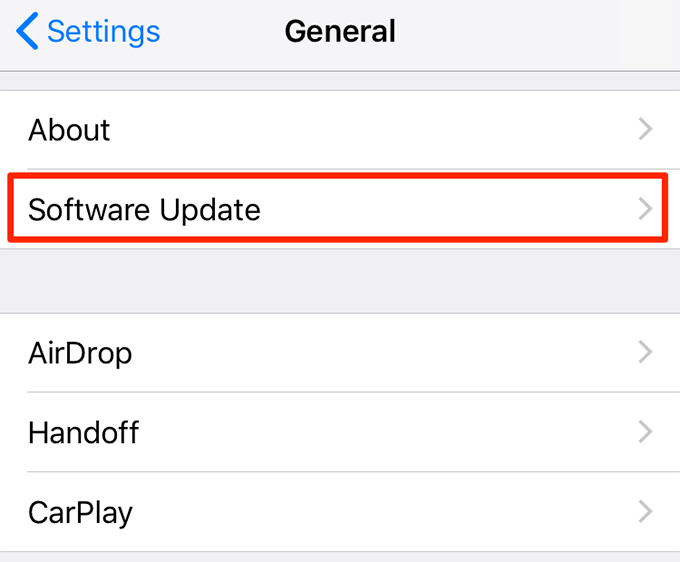
- Wait while your iPhone checks for new versions of iOS.
- If a new version is available, tap Download and Install to install the update on your iPhone.
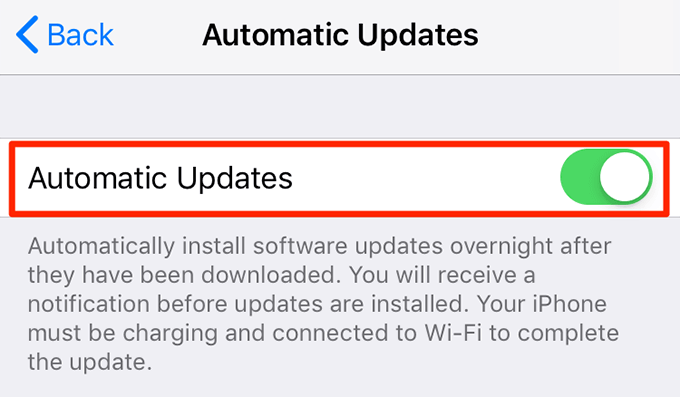
- Tap Automatic Updates and enable the option so that your iPhone can automatically download and install newer updates whenever they’re available.
Reset Your iPhone Settings
If your iPhone camera is still not working, you may want to reset all your settings on your phone. This will clear any misconfigured settings and fix the camera issue.
- Open the Settings app on your iPhone.
- Tap the General option.
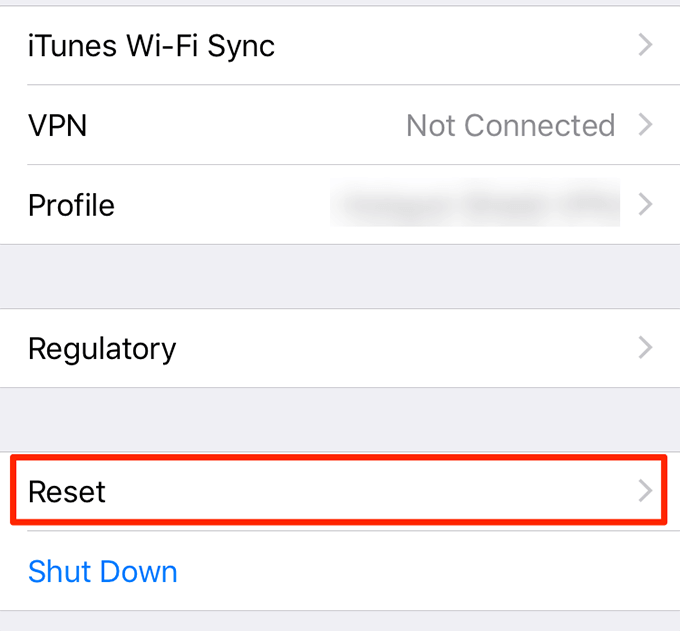
- Scroll all the way down and tap the Reset option.
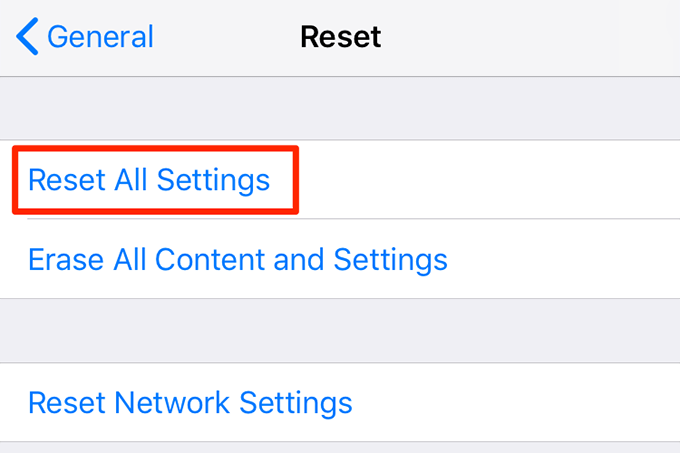
- Tap the Reset All Settings option to reset all settings on your iOS device.
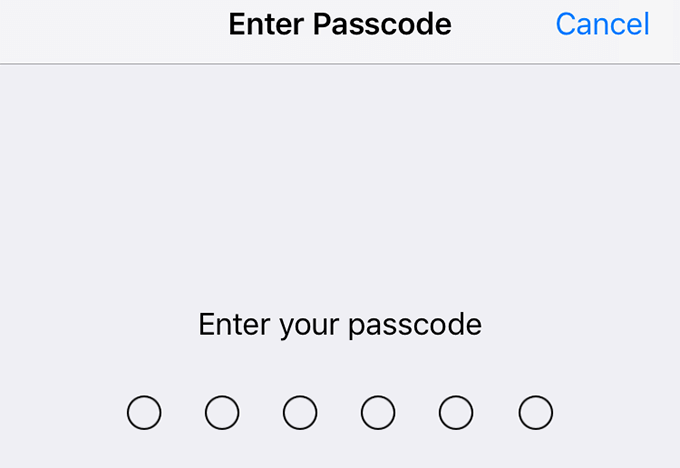
- Enter your iPhone passcode to continue.
Bring Your iPhone To An Apple Service Center
Lastly, if nothing else works, bring your iPhone to an Apple service center and let the support team take a look at your camera. They’ll be able to suggest how to fix the camera issue.
Has your iPhone’s camera ever stopped working? What did you do to fix it? Let us know in the comments below.