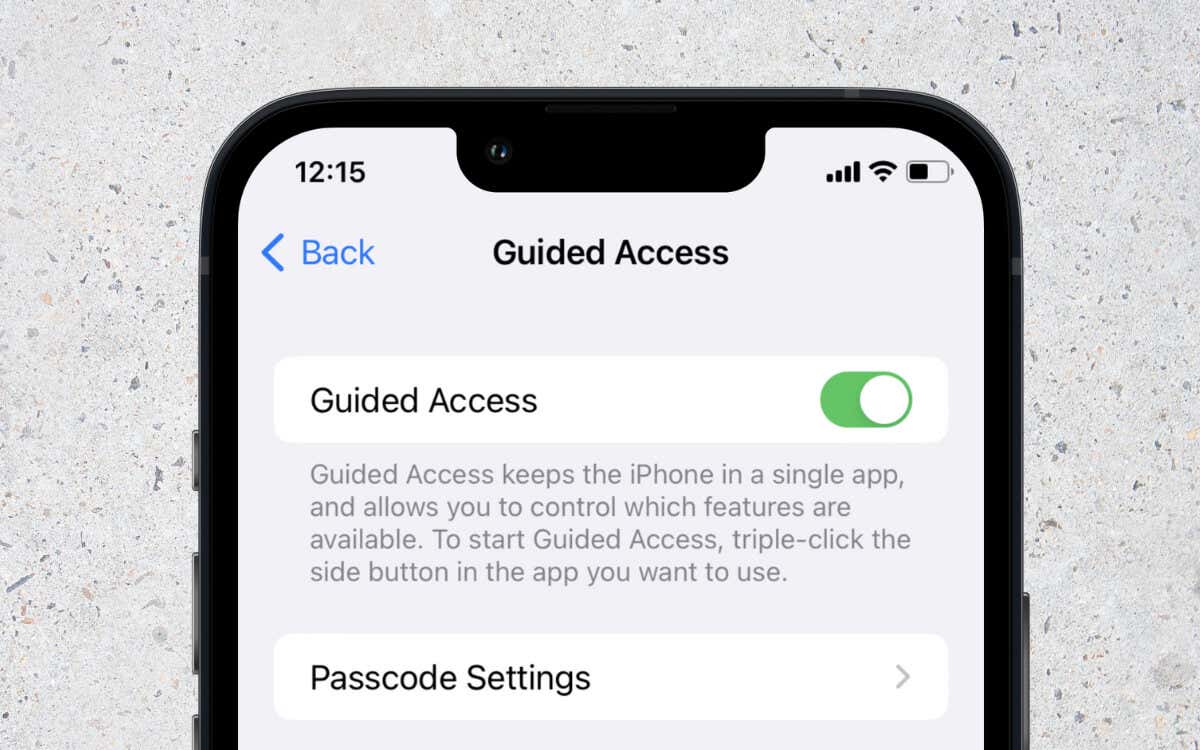
There are loads of use cases for it
When you hand over your Apple iPhone to someone, you risk them poking around or stumbling into areas they shouldn’t. That’s where Guided Access can save the day. Learn what Guided Access is and how to use it on your iPhone.
What Is Guided Access on an iPhone?
Guided Access is a built-in iOS feature that you can use to lock people—or yourself—into a single app on your iPhone. All areas of the device—such as the Home Screen, Control Center, and Notification Center—remain inaccessible for the active duration. Siri is also unavailable.
Guided Access Mode even lets you block certain screen areas, allowing you to limit anyone to specific app sections. You can also deactivate your phone’s hardware buttons and impose time limits.
That makes Guided Access an excellent privacy and parental control tool when you allow a child, family member, or friend access to your device. Furthermore, it doubles up as a productivity tool by eliminating distractions and improving focus.
Guided Access is not limited to the iPhone. You can also use it on the iPad and the iPod touch, and it works the same way on all three Apple devices.
How to Set Up Guided Access on iPhone
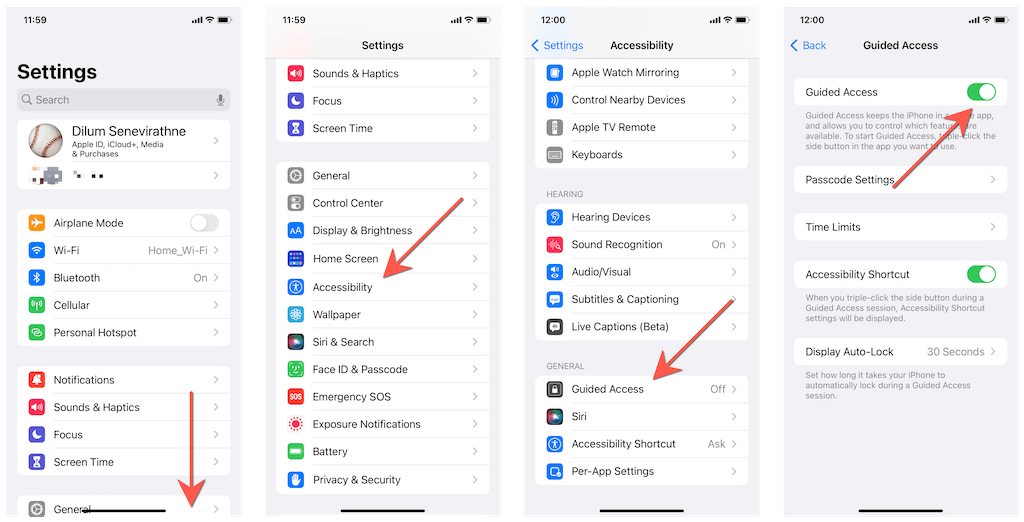
You must enable Guided Access before using it via your iPhone’s Accessibility settings. To do that, open the Settings app for iOS or iPadOS, tap Accessibility > Guided Access, and turn on the switch next to Guided Access.
Once you’ve done that, it’s a good idea to run through the following settings to determine how the Guided Access feature works on your Apple smartphone.
Passcode Settings: Lets you create a four-digit Guided Access passcode. If you don’t, you must set up a temporary passcode each time you activate Guided Access. Also, you can decide if you want to turn off Guided Access quickly using your iPhone’s Face ID or Touch ID sensor.
Time Limit: Allows you to set an alert/ringtone or have your iPhone speak the time remaining before a Guided Access session ends.
Accessibility Shortcut: Enable or disable the Accessibility Shortcuts menu during a Guided Access session. Enable it if you or the person you’re handing your iPhone to needs help with accessibility tools like AssistiveTouch.
Display Auto-Lock: Specify how long your iPhone takes to auto-lock itself while idle during a Guided Access session—e.g., 5 minutes. However, the user can still unlock the phone without inserting the device passcode. It’s not the same as a Time Limit (more on that later).
How to Start a Guided Access Session
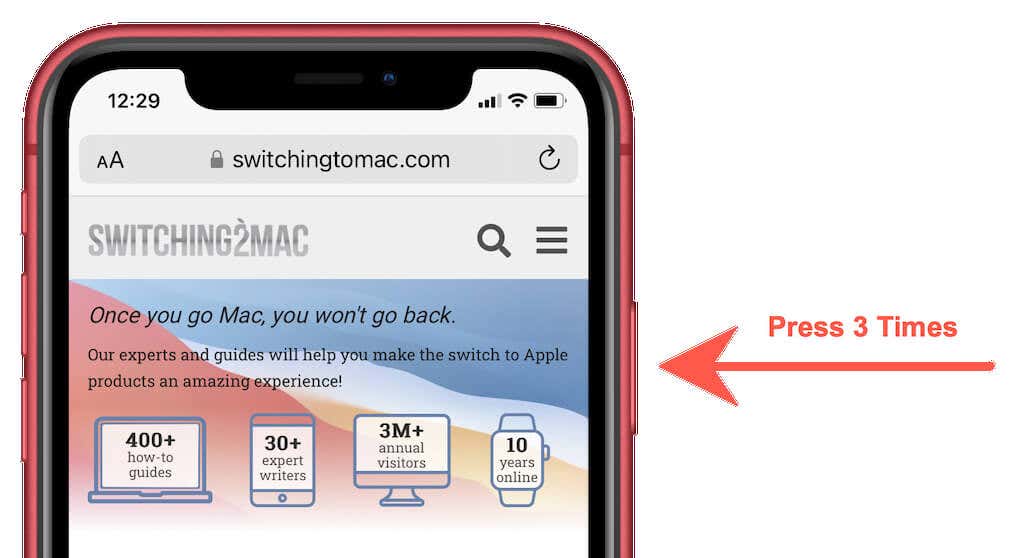
To start a Guided Access session, open any third-party or native app—Safari, Messages, Photos, etc.—on your iPhone and triple-click the Side button (or Home button if you use an iPhone SE, iPhone 8, or older). If you have multiple accessibility features active, you must tap Guided Access on the Accessibility Shortcuts menu that follows.
Note: You can’t start a Guided Access session from the Home Screen, Lock Screen, and Settings app.
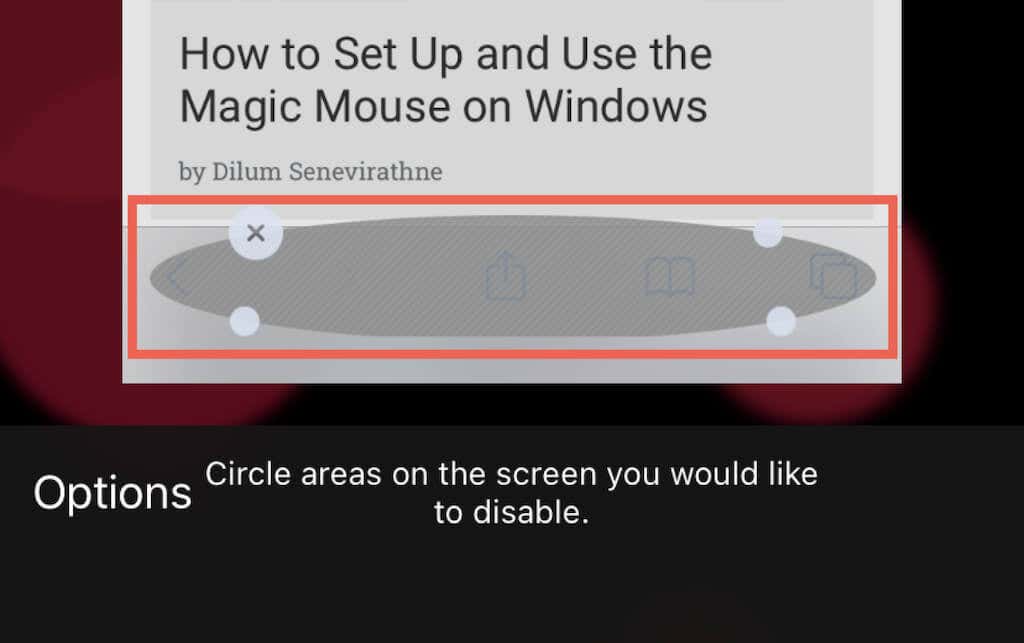
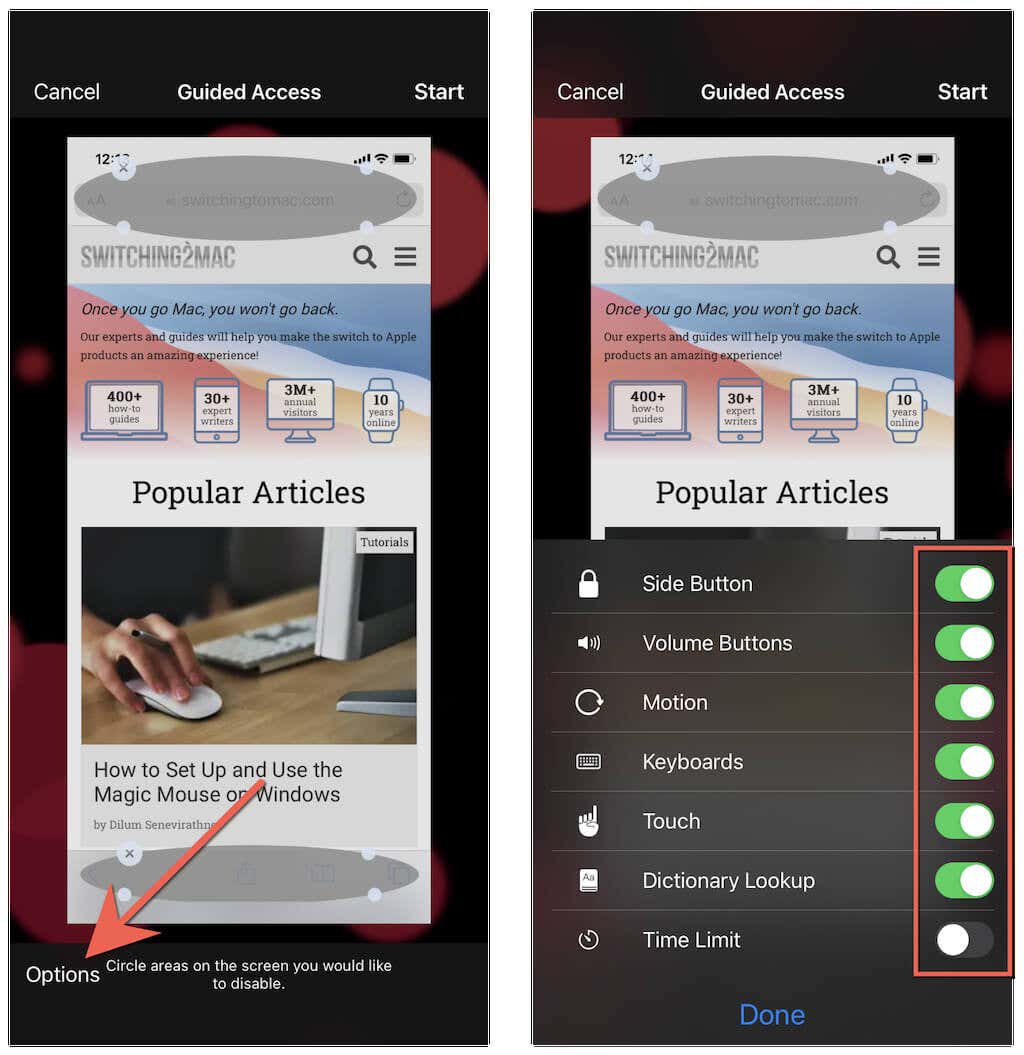
The first time you activate Guided Access for an app, it will present you with a screen preview of the app’s UI (user interface). You can immediately circle any areas of the screen you want to disable during a Guided Access session.
For example, if you want to stop someone from checking out the rest of the Photos app while looking at an album, circle the bottom navigation bar and the Back button. Use the surrounding handles to adjust the area. To reactivate a disabled portion of the screen, tap the X-symbol.
Next, tap Options on the lower-left corner of the screen and use the following settings to impose additional controls on your Guided Access session:
Side Button: Disable the Side/Wake button during Guided Access to stop the user from turning off the screen.
Volume Buttons: Disable The Volume Up and Down buttons to prevent the user from increasing or decreasing the volume.
Motion: Disable your iPhone’s motion-based gestures and lock your iPhone in horizontal or portrait orientation.
Keyboards: Disables typing by blocking the onscreen keyboard.
Touch: Turns off the touch screen; perfect when handing your phone to a child to watch a video!
Dictionary Lookup: Disables dictionary lookup.
Time Limit: Enforce a time limit; you can set it to as low as a minute or to a maximum of 24 hours.
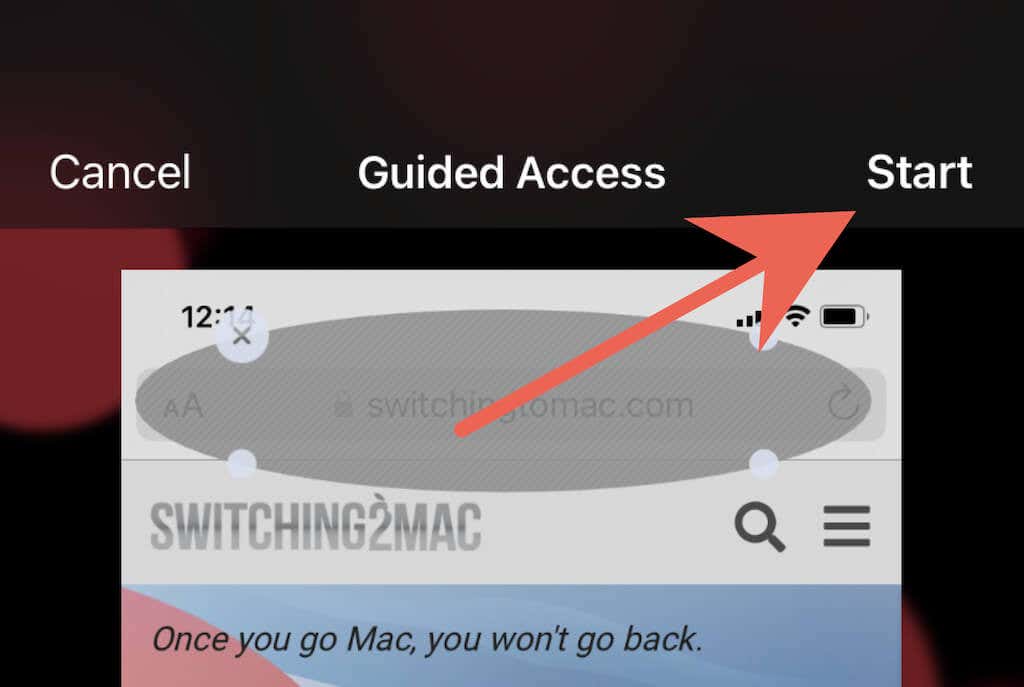
Tap Start to begin your Guided Access session. In subsequent sessions, Guided Access will remember your settings for an app, including any areas of the screen you’ve disabled, meaning you can activate it immediately.
How to End or Change a Guided Access Session
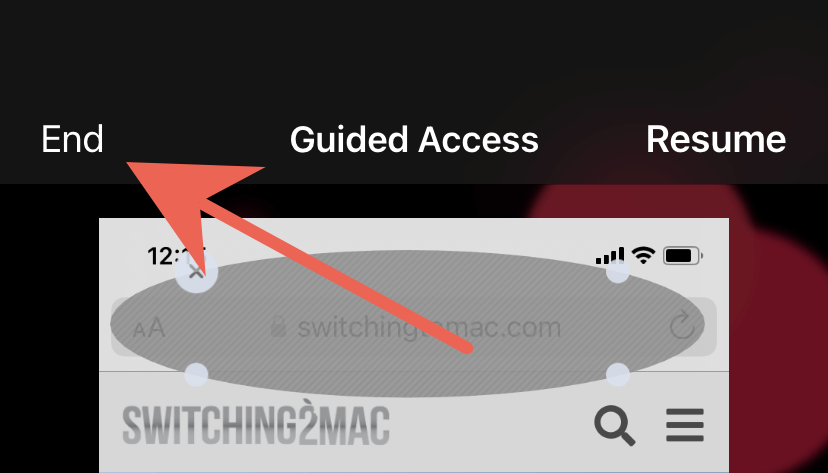
If you set up Guided Access to work with Face ID or Touch ID earlier, you can exit Guided Access Mode instantly by double-clicking the Side/Home button. If not, triple-click the Side/Home button, enter your Guided Access passcode, and tap End.
If you want to modify a Guided Access session without ending it, triple-click the Side/Home button and enter the Guided Access passcode. Then, disable or re-enable areas of the screen, tap Options to tweak your preferences, and select Resume to continue the Guided Access session.
Guided Access Is Always a Triple-Click Away
Guided Access has loads of use cases. Keep experimenting with the feature, and you should have a clearer idea of when to use it on your iPhone. Don’t forget that you can also turn it on yourself when you want to spend time on a particular app with zero distractions. However, if parental management is your biggest concern, you may want to check out Screen Time.

