Reduce bulk and clutter in your wallet or purse
Apple Wallet – formerly Passbook – is a mobile wallet app you can use to digitize all of the cards stuffed in your purse or pockets so you don’t have to carry them around with you all the time.
It securely stores all your passes, coupons, credit and debit cards, airline or movie tickets, gift, and loyalty cards in virtual versions so you can access them easily, and at any time. This means you can pay for your Starbucks coffee, get into your movie, board a flight, and more.
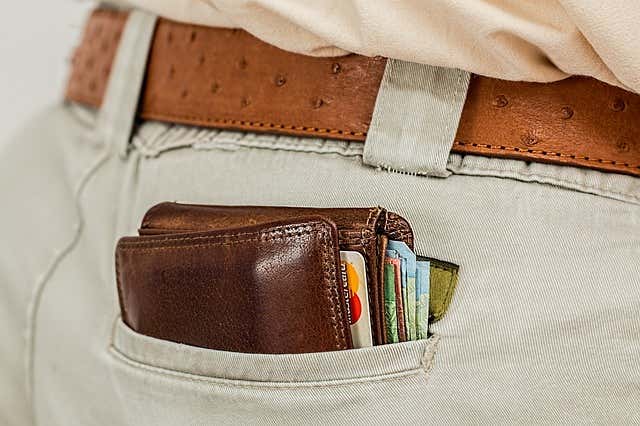
As an always online and location-aware app, Wallet can pull up and update the balance on your passes, providing information like your gift card balance, flight seat and concert seat numbers, expiration dates, and more.
If you’re tired of carrying around physical cards and cash, we’re going to show you how to set up Apple Wallet and experience convenience from your iPhone.
Related: Did you know you can share or transfer tickets in Apple Wallet with someone else?
Setting Up Apple Wallet
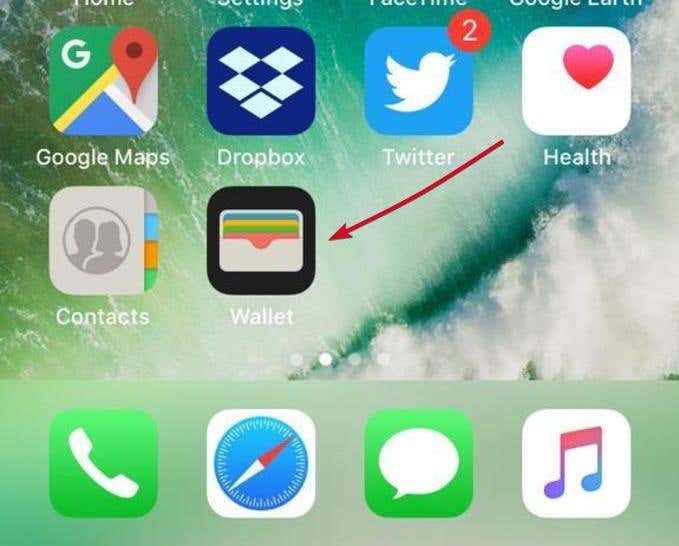
- Open the Wallet app on your iPhone.
- You’ll see three different options: Add Card, Scan Code and Find Apps for Wallet. The first, Add Card (or Add Debit or Credit Card), helps you set up Apple Pay, while Scan Code and Find Apps for Wallet help you add passes to the app so you can start using them from your device.
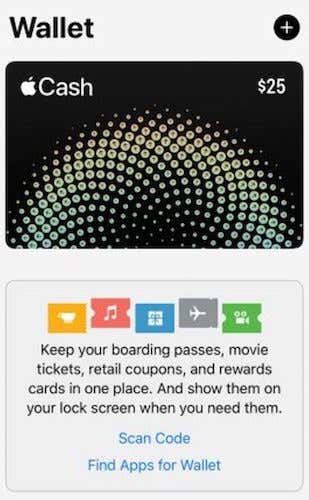
Note: If you don’t see the Add Card option, check if your device is eligible, your iOS version, or if Apple Pay is supported in your country.
How To Add Passes To The Wallet App
There are several ways of adding passes to Wallet:
- Using Wallet-enabled apps.
- Scanning a barcode or QR code.
- Tapping a Wallet notification that appears after paying with Apple Pay at supported merchants. Airlines like American and Delta Airlines let you add your boarding pass to Wallet after checking in for your flight.
- From your Mac.
- With Mail or Messages.
- Through a web browser.
- Sharing through AirDrop.
- Creating an iTunes Pass.
- Through the eAccounts app (for students).
The simplest and most commonly used ways of adding passes to Wallet are by scanning barcodes or QR codes and finding apps for Wallet.
How To Add Passes To Wallet With a Scanning Code
- First, find the pass you want to add and then open Wallet on your device.
- Tap Scan Code and use your iPhone’s camera to scan the pass.
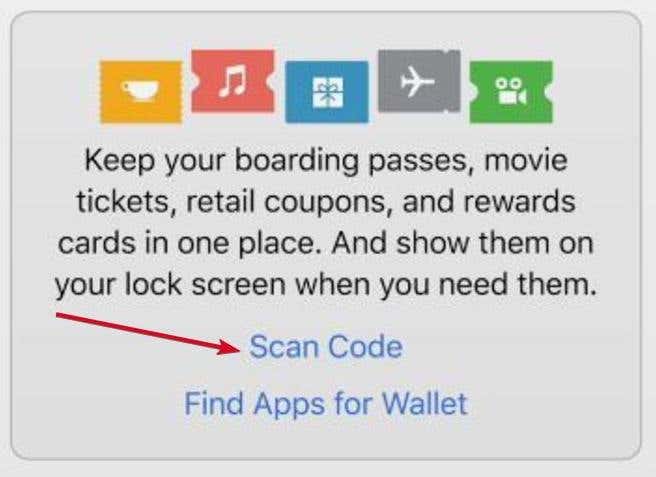
Note: the QR code scanner is only available on devices running iOS 11 and 12.
- The pass will be added to the Wallet app, and you can access and use it.
If you’re at a retail store, you can use your rewards cards, offers, or coupons in-store by scrolling through Wallet and tapping the pass you wish to use. The cashier will simply scan the barcode or QR code right from your device. It’s that simple.
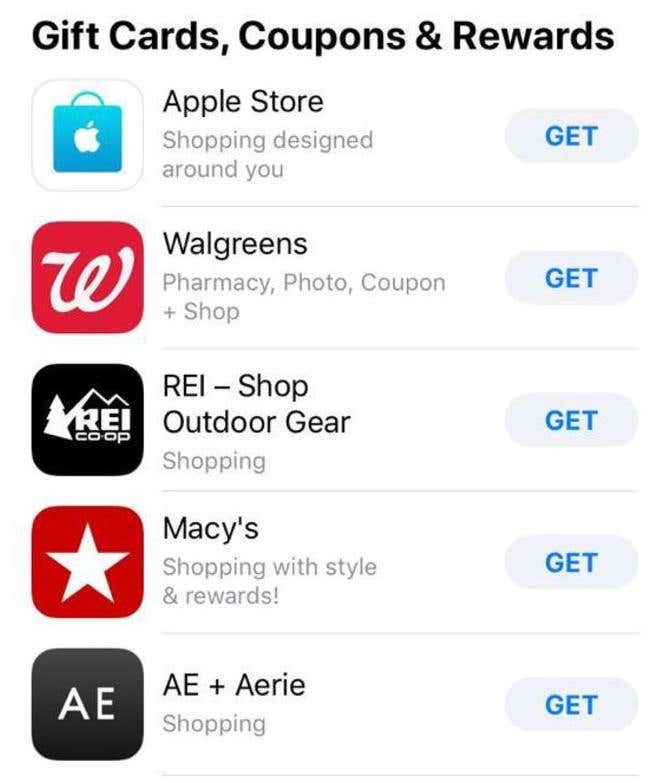
Other passes like an airline boarding pass, concert or movie tickets, student IDs, and more are used the same way so you don’t have to carry the physical passes with you.
How To Add Passes To Wallet With a Wallet-Enabled App
- Open the Wallet app.
- Tap Find Apps for Wallet.
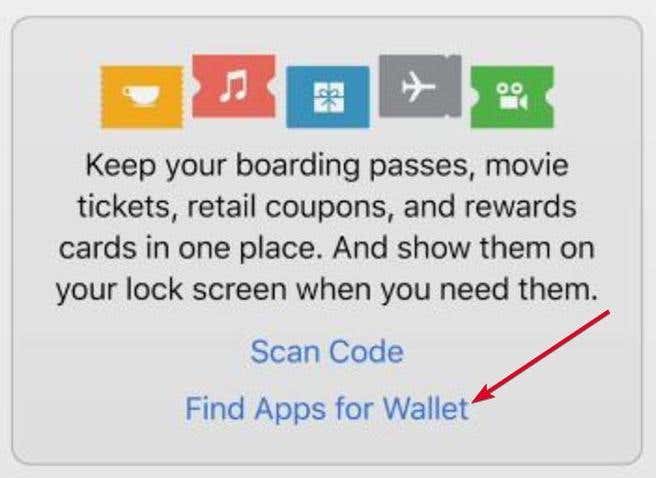
In the case of an airline boarding pass, download the airline’s mobile app and save the boarding passes to your Wallet. When you get to the airport, scan your mobile boarding pass before entering security and also at the gate before boarding your flight.
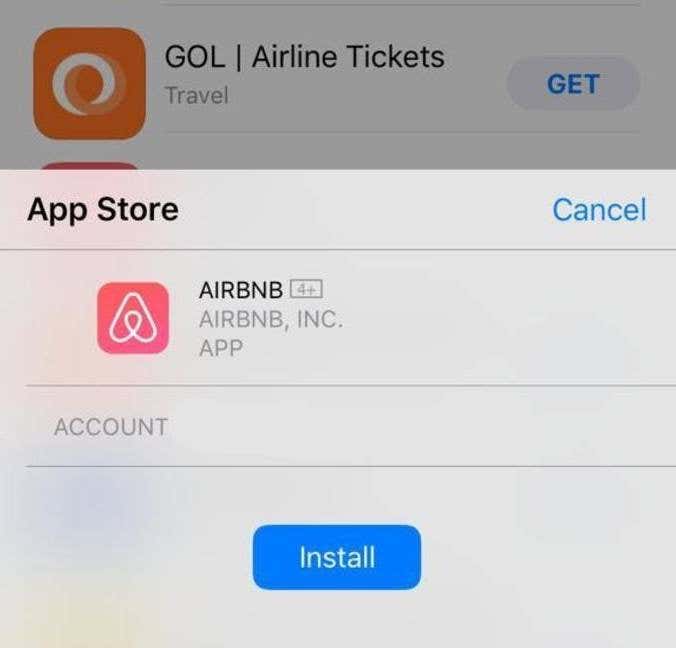
Wallet also keeps your boarding passes for trips with multiple flights or legs together.
How To Add Cards To Wallet For Use With Apple Pay
Besides keeping and tracking passes, Wallet also lets you store your debit and credit card information using Apple Pay. You can use them to make mobile payments in-app or online, wherever they’re accepted.
All you need is your iPhone and Wallet app to enjoy fast, totally wireless, and more secure purchases.
- To start using Apple Pay, make sure your iPhone is compatible, and then open Wallet or an app that supports Wallet cards.
- Navigate to Add Card (or if opening from an app, tap Payment tab). The process of adding the cards varies from app to app depending on how the developer or company decides to use them.
- To add your cards directly to Wallet, open the app and then tap the + (plus) sign in a blue circle at the top right side of your screen
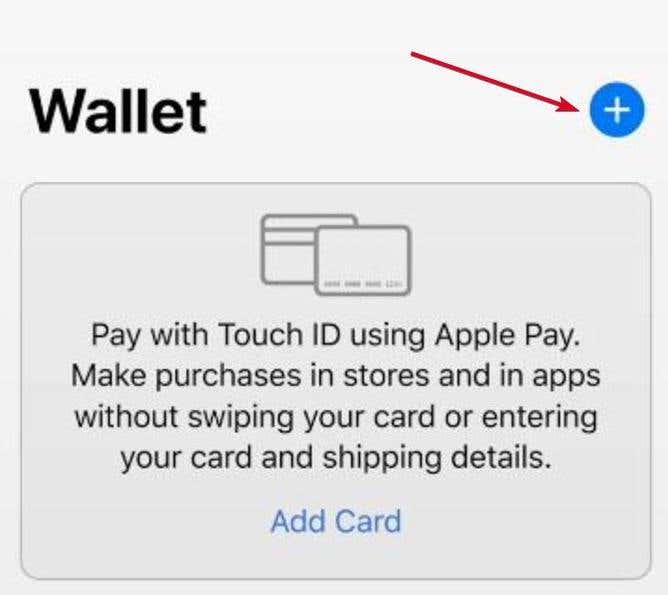
- Hold up your card and position it to fit within the on-screen frame.
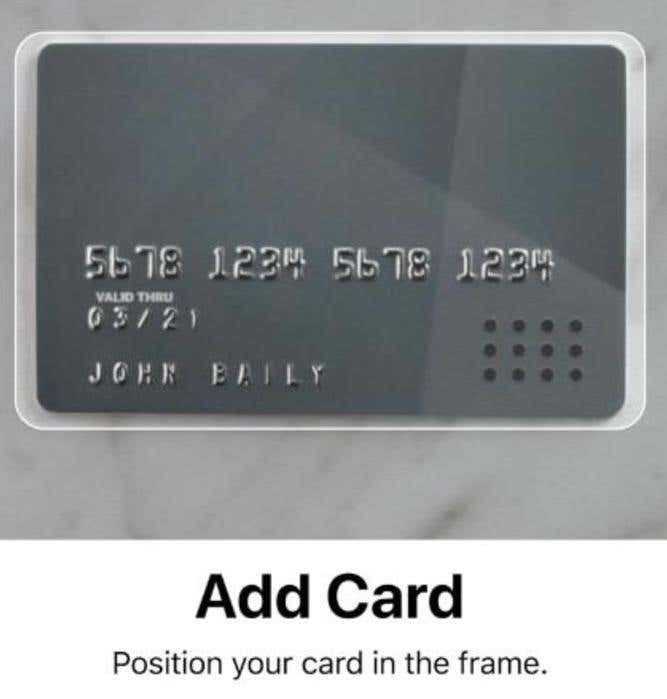
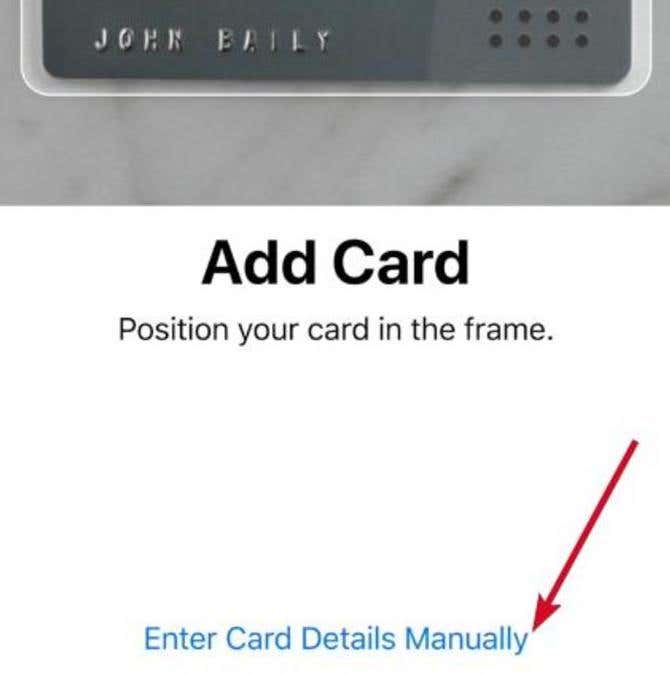
- The device will recognize and scan the card. If it doesn’t, you can tap the Enter Card Details Manually link at the bottom of the screen to type in the information instead.
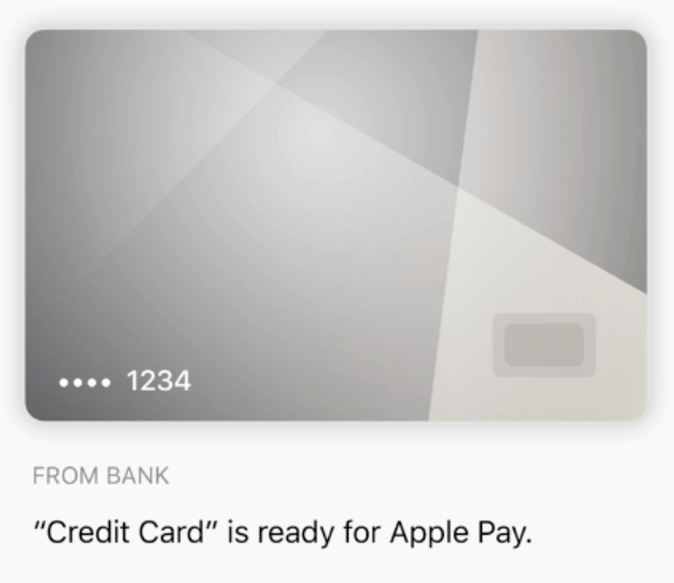
- The card data will appear on the screen. Follow your bank’s instructions to complete the process. Different banks have different security procedures so you may need to call your bank get a bank code, or use other means to verify the card with your bank.
- Tap Next to complete the set up. If you have other cards you want to add, repeat this process.
You’re now ready to use Apple Pay for online, in-app, or in-store purchases. Some of the stores and international chains that accept it include Starbucks, Macy’s, Staples, Target, The Gap, McDonald’s, Whole Foods, Walgreens, Nike, as well as airlines, banks, and other service providers in different countries.
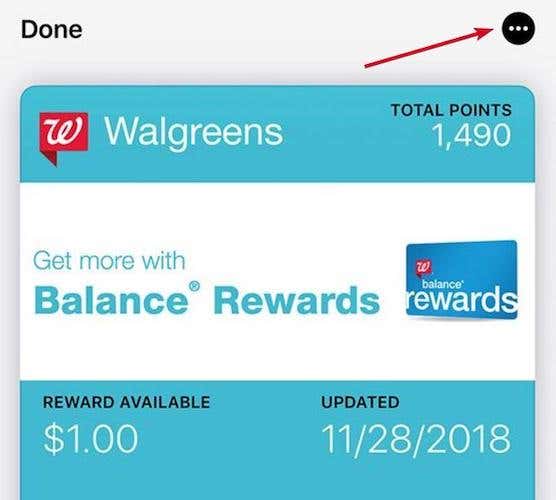
- If you want to remove a pass, open Wallet, tap on the pass you want to remove, and then tap the ellipses (black) at the top right side of the screen
- Tap Remove Pass.
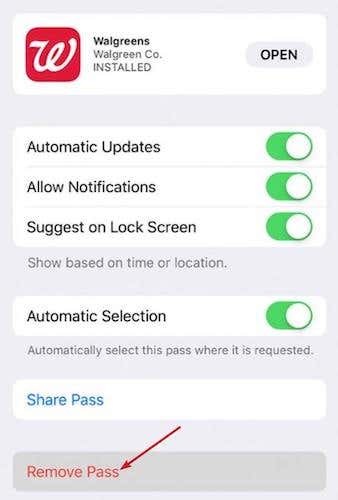
- Alternatively, you can open the Wallet app, and tap Edit passes at the bottom of the screen. Next, tap the red minus sign next to the pass you want to remove and tap Delete.
Apple Pay requires you to authenticate every transaction with your passcode, Touch ID, or Face ID, so it’s safer than using a credit card. With your cards, passes, and coupons conveniently saved in your iPhone, everything you need is just a tap away.


