Great if you are switching between wi-fi networks regularly
Starting with iOS 14, Apple bolstered iPhone privacy with lots of exciting additions. Most of them—such as App Tracking Transparency (ATT)—made constant headlines and significantly impacted the way apps function.
But a feature that mostly flew under the radar was MAC randomization. Its built-in functionality goes a step beyond by helping you preserve your anonymity from unscrupulous Wi-Fi networks.
If you want to figure out what MAC randomization does and how you can use it to set up or change your private MAC address on the iPhone, then keep reading.
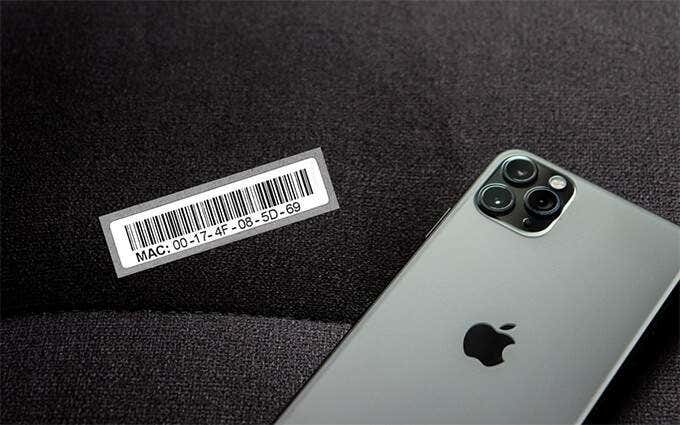
What Is a Private MAC Address on an iPhone?
Your iPhone comes with a hard-coded set of twelve hexadecimal characters called the MAC (or Media Access Control) address. It’s what helps Wi-Fi networks distinguish the device from other smartphones, laptops, and desktops around you. If you’re curious, here’s how MAC addresses work in detail.
However, each MAC address is unique, and that presents privacy-related implications. For example, a network operator can track you across locations when your iPhone joins (or probes) for public Wi-Fi hotspots.
Tip: If you want to find the MAC address on your iPhone, start by heading over to Settings > General > About. Scroll down and you should see it listed under Wi-Fi Address.
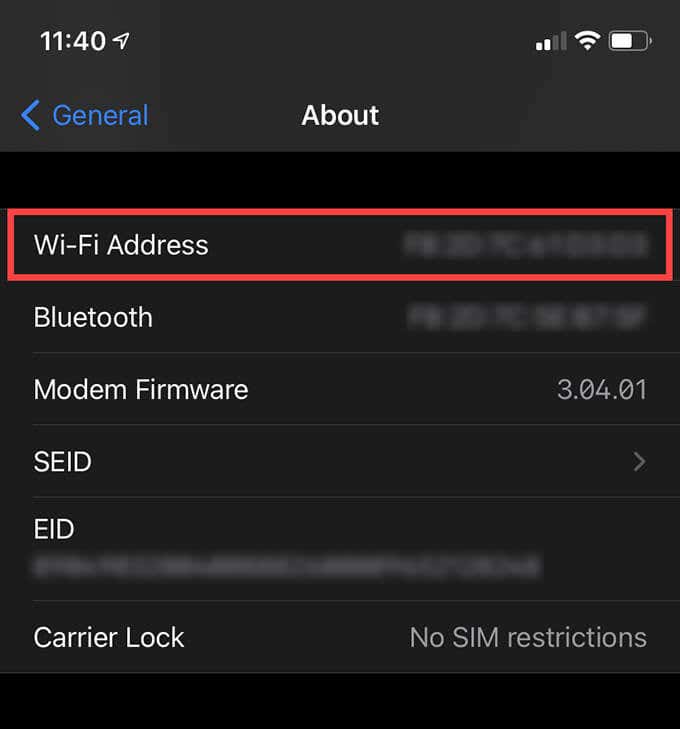
That’s where MAC randomization comes into the picture. If you have iOS 14 or later installed, your iPhone now sports the ability to change (or mask) your real MAC address on your iPhone with a randomized string of hexadecimals.
Better yet, your iOS device generates separate (or private) MAC addresses for each network it joins. That makes it next to impossible for Wi-Fi providers to profile you based on your MAC address alone. MAC randomization is also active by default, so you don’t have to do anything to protect your privacy.
However, you may run into instances where you’ll have to double-check the private MAC address for a specific Wi-Fi network, change it to something else, or delete it altogether.
How to Find a Private MAC Address on iPhone
Any iPhone running iOS 14 uses private MAC addresses for each Wi-Fi network it joins (or attempts to join). If you want to double-check or reference it for network troubleshooting purposes, then here’s how:
1. Open the Settings app on your iPhone.
2. Tap Wi-Fi.
3. Tap the Info icon next to a Wi-Fi network. You should see the private MAC address listed next to Wi-Fi Address.
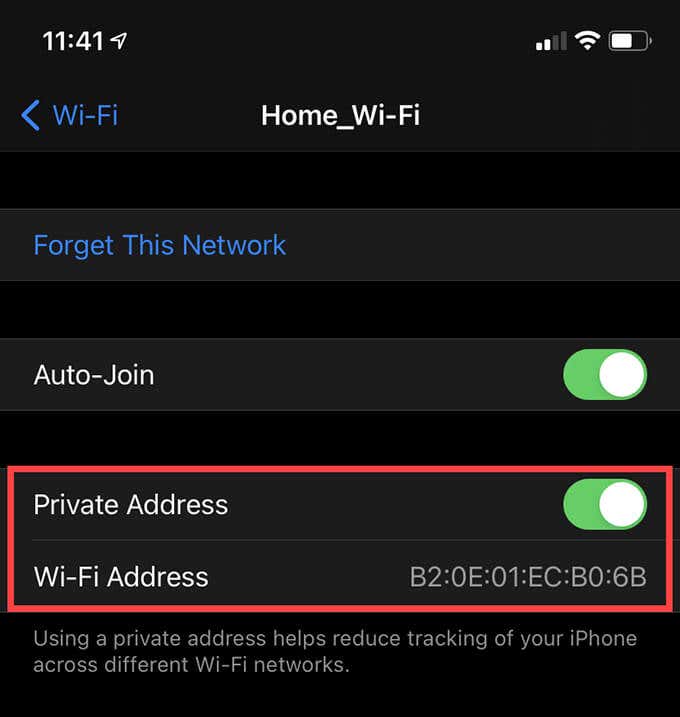
Note: If the switch next to Private Address appears disabled, you’ll see the iPhone’s actual physical address instead. Turn it and tap Rejoin (if the device is actively connected to the network) to conceal it with a private address.
How to Change a Private MAC Address on iPhone
Your iPhone uses separate private MAC addresses for each Wi-Fi network to reduce the chances of being tracked. However, iOS continues to use the same address that it initially assigns to a network even if you disconnect and rejoin. Forgetting a hotspot and rejoining also won’t regenerate a different MAC address.
The only way to change the private MAC address for a Wi-Fi hotspot is to reset the network settings on your iPhone. That’ll also change the private addresses for every other hotspot that you’ve joined in the past.
If you want to go ahead with a network settings reset, then here are the steps you need to follow:
1. Open the Settings app on your iPhone.
2. Tap General.
3. Scroll down and tap Reset.
4. Tap Reset Network Settings.
5. Enter your device passcode and tap Reset Network Settings again.
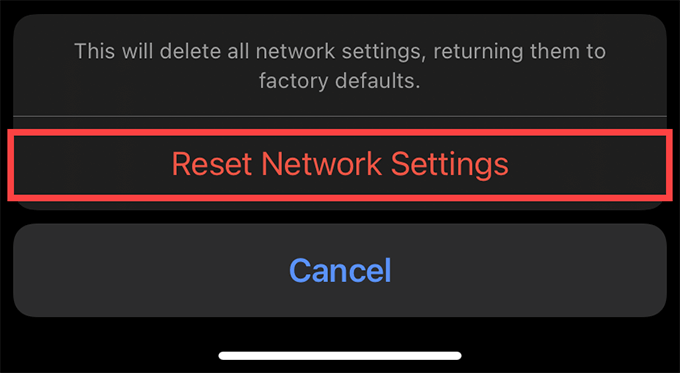
Note: A network settings reset wipes all network-related preferences and settings on your iPhone. You must reconnect to each Wi-Fi network manually afterward.
How to Disable a Private MAC Address on iPhone
You may come across Wi-Fi networks that prevent you from joining unless you use your iPhone’s actual MAC address. In addition, some operators may let you join but prevent you from accessing the internet. When that happens, you must manually deactivate the private MAC address for the network. Here’s how:
1. Open the Settings app on your iPhone and tap Wi-Fi.
2. Tap the Info icon next to the network.
3. Turn off the switch next to Private Address.
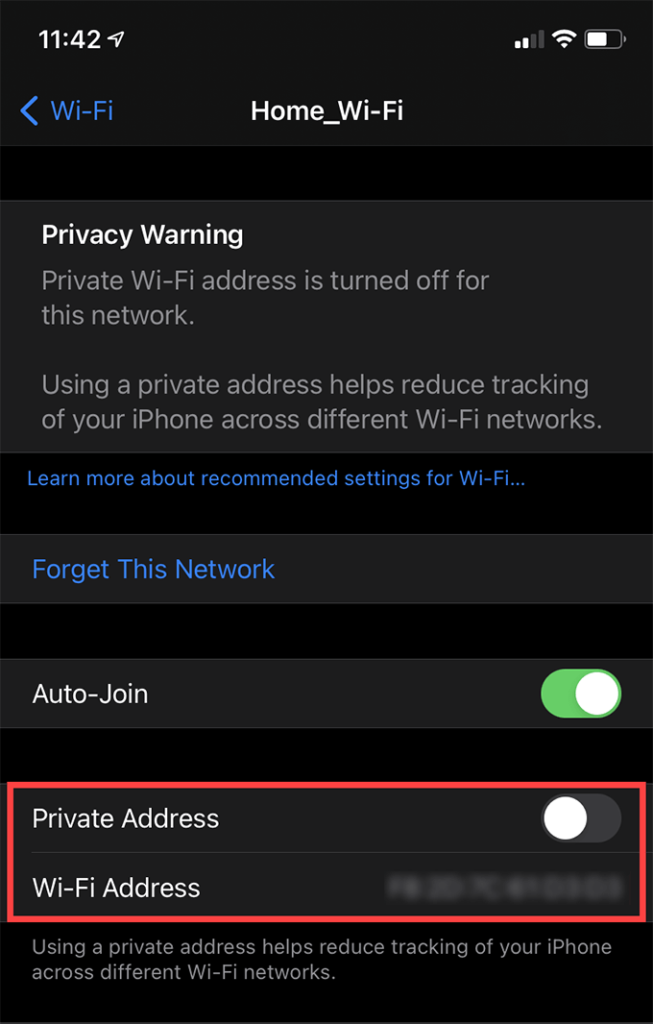
If you’ve already joined the network, tap Rejoin to reconnect to it. If not, tap Join This Network.
Protect Your Privacy with MAC Randomization
Private MAC addresses are a terrific way to protect your privacy if you switch between Wi-Fi networks regularly. The best thing about MAC randomization is that your iPhone handles everything for you on its own. You may want to look up a private address or disable it if you have connectivity issues with a specific network.
Nevertheless, remember to watch for future iOS updates since Apple may modify how the feature works. For example, it may make MAC randomization an optional setting or configure the private addresses to change on their own (perhaps once every 24 hours) for even more privacy.


