Gone are the days when you had to walk around with a bulky wallet packed with banknotes, a social security card, driver’s license, credit cards, membership cards, and other important pieces of personal identification.
With your iPhone, you can pay for your shopping, parking, utility bills, buy airtime, browse the internet, and much more, using mobile payment apps. It goes everywhere with you, and even sits by your side through the night.

The best part is it can take care of you too. During emergencies, which happen when you least expect it, emergency services will want to know who you are and you may not be in a position to talk, or even direct them to your information.
Thanks to the Apple Health feature built into iOS, you can be prepared for these and other such emergencies by logging your emergency medical information onto your iPhone so that paramedics can find your information easily.
By setting up your health profile, you can rest easy knowing that any vital medical information and next of kin details are a few taps away.
What Is The Apple Health App?
Apple Health is the single source for all your digital health data including weight, sleep, chronic conditions, and many other health-related activities.
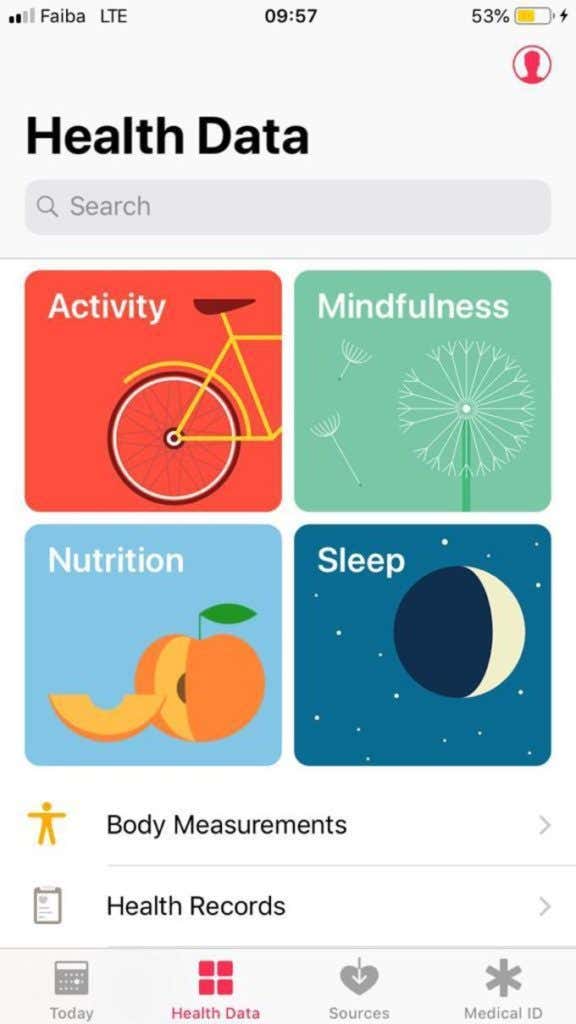
Within the app is an important safety feature called Medical ID that acts like a virtual medical card, which can inform emergency response staff about you. If you’re familiar with the recommended “In Case of Emergency” (ICE) practice, you already know that including important contact information on your phone helps reach your family during an emergency.
Medical ID is an enhanced version of ICE that contains vital medical information, which paramedics can use to administer the most relevant medical treatment, making it easier to save your life.
You can store the following information in your Medical ID, which is viewable from your iPhone’s lock screen at the touch of a button:
- Your name and date of birth (with Apple ID photo).
- Known medical conditions, allergies and reactions.
- Any medication you’re currently on.
- Relevant medical notes related to your medical condition.
- Weight and height.
- Blood type.
- Emergency contact or next of kin details.
Not all paramedics are aware of the feature’s existence, but considering it was added to the iPhone in 2014 with iOS 8, it’s likely that most medical professionals have become more aware of it in recent years.
You may be concerned that all this personal medical data can’t be limited to strictly emergency personnel as anyone who can access your iPhone can find your Medical ID if they want.
While there’s no hard and fast solution to this, someone who isn’t looking for such information isn’t likely to find it because it doesn’t unlock the iPhone itself. However, if you want to use the feature, it’s a trade you’ll have to make.
Keep in mind that your Medical ID on your iPhone doesn’t replace having a written copy of your medical information in your pocket or wallet at all times. There’s a possibility that the first responder in an emergency doesn’t know how to check your phone, and phones can lose battery and go off when you need it the most.
The Medical ID is a useful safety feature, but you should use it mostly as a backup.
Setting Up Your Health Profile On Your iPhone
Medical ID is configured through the Health app so your iPhone needs to be running at least iOS 8 to use the feature.
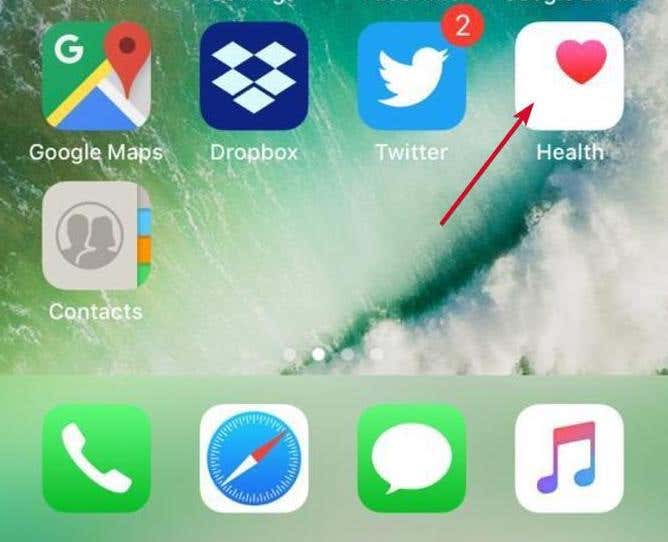
- To get started, launch Health app on your iPhone (If you’re not sure where to find it, swipe left on your home screen and type in “Apple Health” in the search engine at the top. Tap on it to open).
- Tap Medical ID at the lower right side of the screen. You can also go to Contacts, tap on your name and then tap Create Medical ID at the bottom.
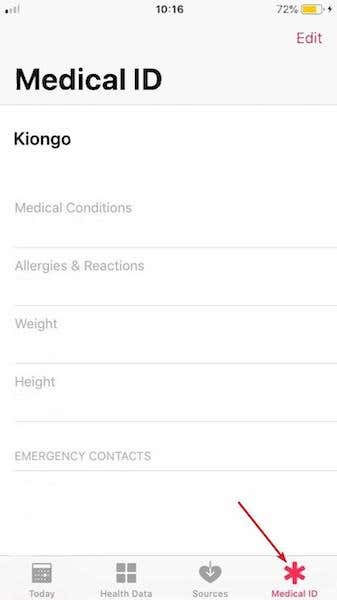
The app will detect and populate your information based on your contact card. By default, it’ll be empty with only your name and birth date if you provided this information in iOS Contacts.
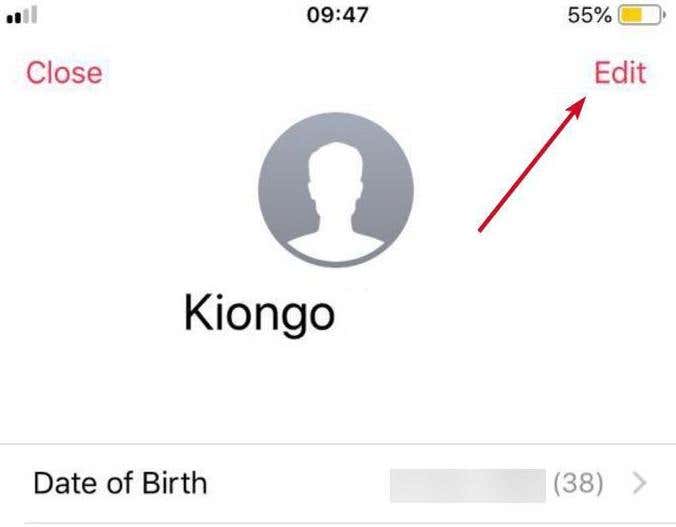
- Tap Edit
- Before you add any information, enable the Show When Locked option on this screen, otherwise your Medical ID won’t show on the lockscreen, and won’t be accessible when it’s really needed.
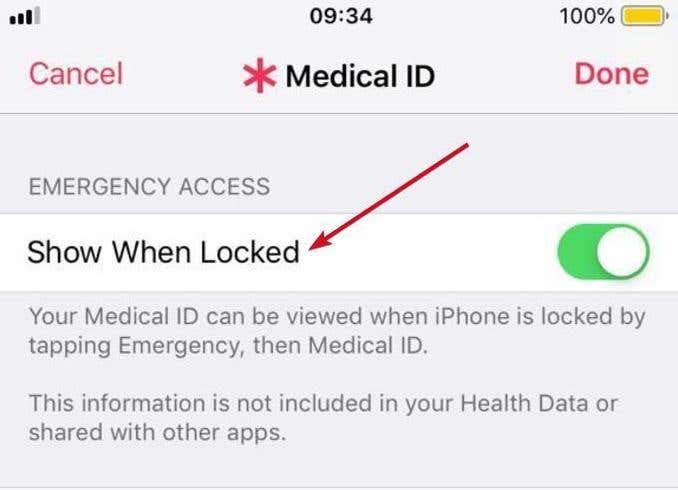
- Add, remove or change your information, keeping in mind the privacy implications of what you share. Your name, date of birth and Apple ID photo can be used to positively identify you.
- Scroll down to the very bottom and fill in the Organ donor section, which states whether or not you’re an organ donor.
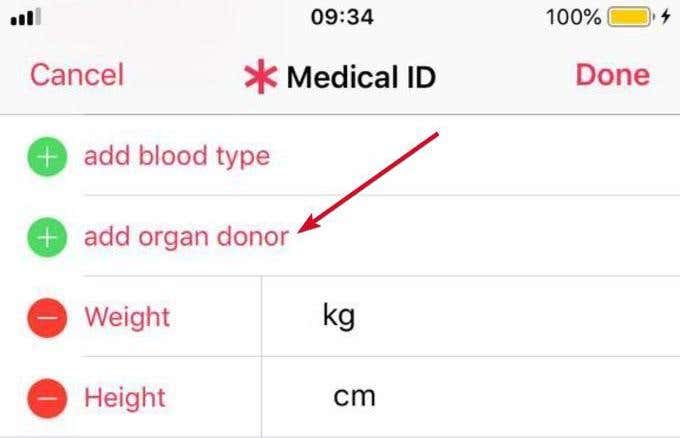
- Next is the Emergency Contacts section where you’ll put in your next-of-kin’s contact details, if you haven’t done so already.
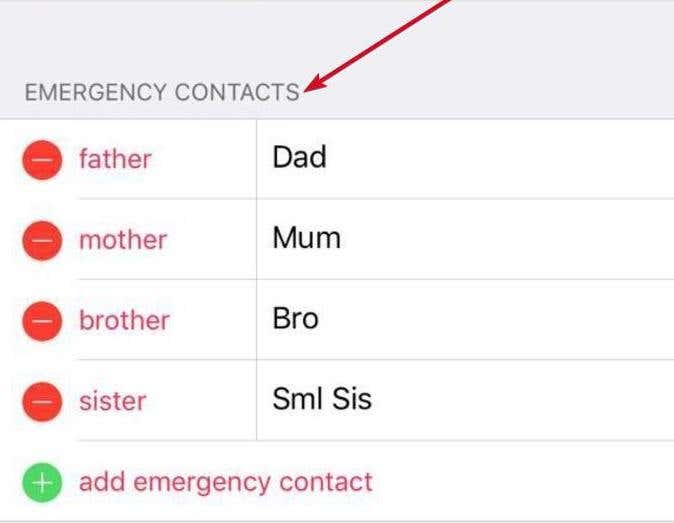
- Tap Add Emergency Contact and choose your next-of-kin from the iPhone contacts list to add their details to your Medical ID. Make sure they’re already in your iPhone contacts.
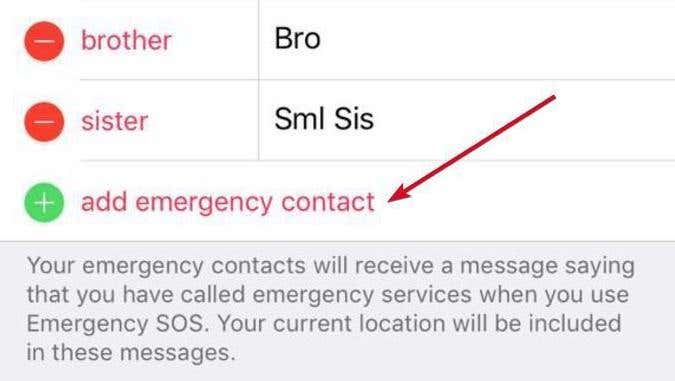
- Select Done at the upper right side of the screen to save changes, and exit the Health app.
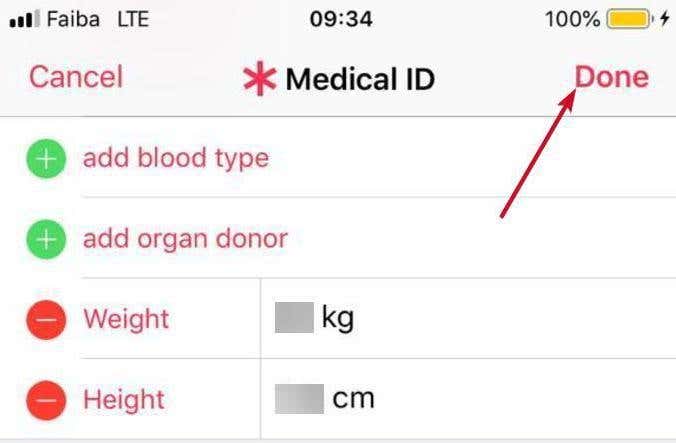
- Check your lockscreen to see how your Medical ID looks like and how a first responder would access it. To do this, tap your Home screen button and then tap Emergency at the bottom.
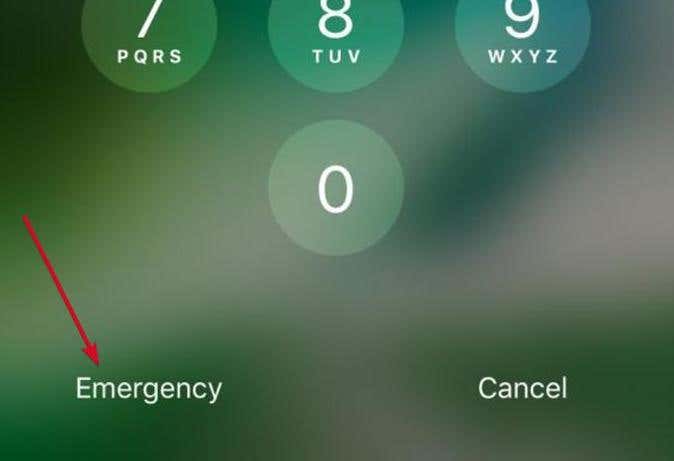
The number keypad will appear, from which you can make emergency calls, and at the bottom, you’ll see Medical ID in red. Tap on it to open the Medical ID.
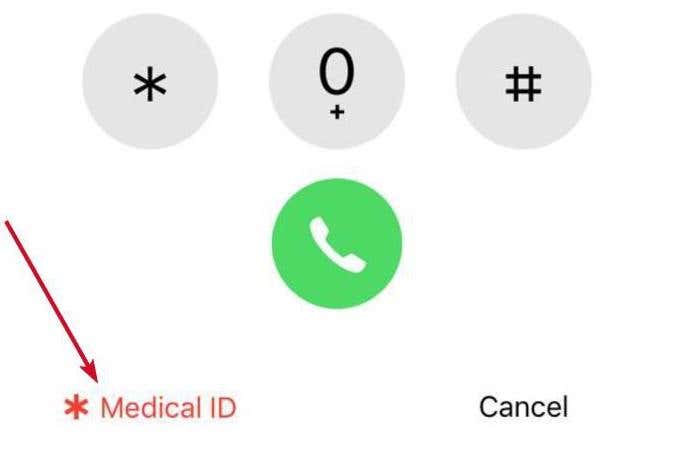
Note: if Touch ID is enabled on your iPhone, use a different finger to open the Medical ID screen; otherwise it’ll keep unlocking the phone.
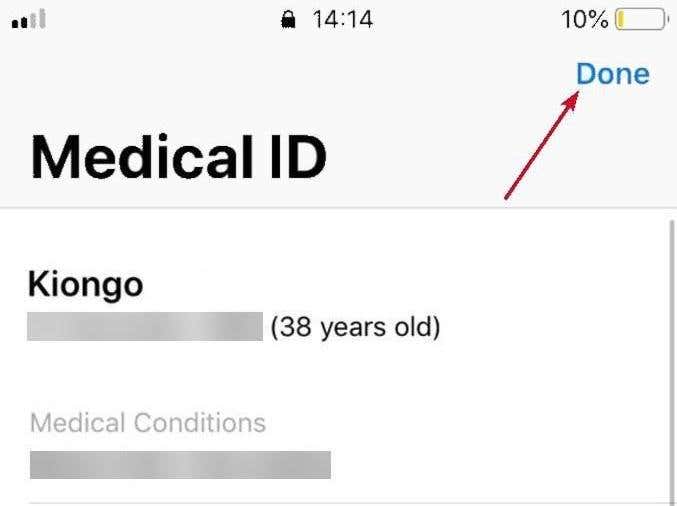
Your designated emergency contacts are also listed further down the screen, so whoever is viewing your health profile just needs to tap the contact name to make an instant call on your phone to that person.
Select Done when you’re finished reviewing your Medical ID information.
Remember to back up your health data and keep your medical information up-to-date at all times.
Related Posts
- How to Delete Multiple Apps (At Once) On Your iPhone/iPad
- How to Restore the Missing Phone Icon on iPhone/iPad
- How to Dismiss the “Update Apple ID Settings” Notification on iPhone and Mac
- How to Change Your Game Center Nickname (iPhone, iPad, and Mac)
- Guided Access Not Working on iPhone/iPad? Try These 9 Fixes Now