It's not as easy as it should be
McAfee remains a world-leading solution for internet security. Still, it hasn’t always had the best reputation, thanks to an odd founder and an old reputation for being difficult to remove. If you’ve decided that McAfee isn’t for you, you’ll need to look at how to uninstall McAfee on your Mac completely.
Unfortunately, uninstalling McAfee on your Mac isn’t as simple as dragging it to the Trash folder—although it isn’t too far from it. You’ll need to make sure that you remove all of the components of McAfee and avoid leaving any traces behind.
To remove McAfee from your Mac completely, follow the steps below.
Using the McAfee Uninstaller
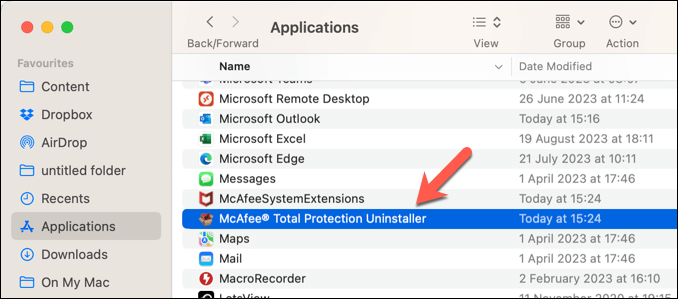
The easiest way to uninstall McAfee on your Mac is to run the McAfee removal tool from the Applications folder. This tool should automatically remove all the components of McAfee from your Mac, including the firewall, the browser extensions, and the background processes.
- To remove McAfee from your MacBook, open Finder and select the Applications folder first.
- In the Applications folder, locate and double-click the McAfee Uninstaller app to begin running it. This will be named slightly differently, depending on the version of McAfee you’re using.
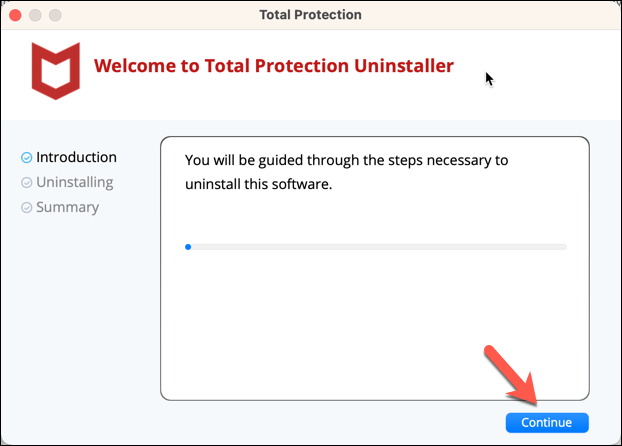
- Press Continue to proceed.
- When prompted, type your administrator password in and press OK.
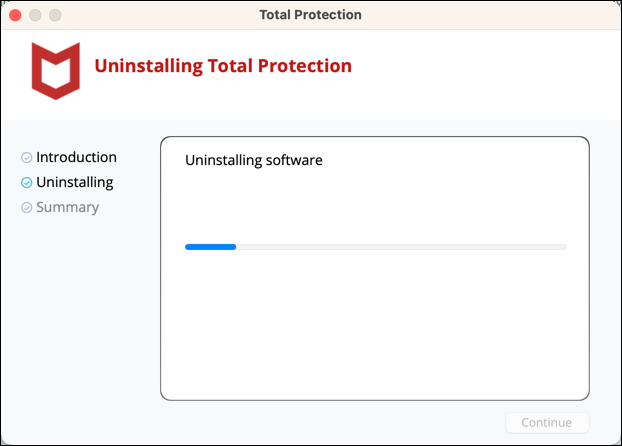
- Follow the on-screen instructions to complete the removal process and allow time for it to end.
- Confirm that you want to remove any additional McAfee products before pressing Continue.
- Click Finish to exit the uninstaller once the process is complete.
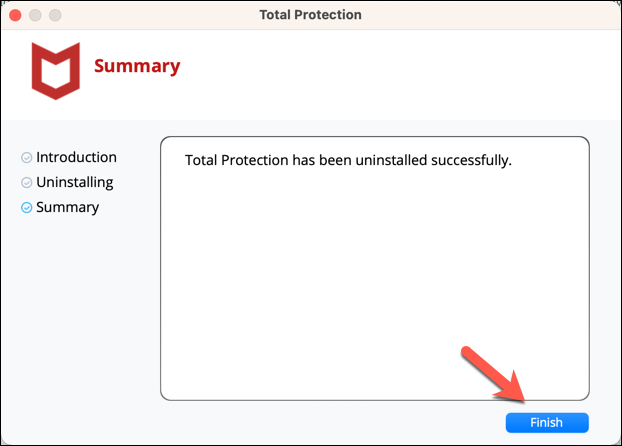
Your Mac should now restart. After it reboots, McAfee should be removed—you can double-check this via the menu or by checking the Applications folder.
Manually Removing Leftover McAfee Files and Folders
The uninstaller tool provided by McAfee should remove it from your Mac. However, if it doesn’t remove it entirely, or if you encounter problems with it, you’ll need to mop up and remove the remaining leftover files and folders McAfee has left behind.
You’ll need to be careful doing this, however. Avoid removing anything you’re unsure about—removing the wrong system file or folder could cause system instability that only resetting your Mac can fix. To manually remove leftover McAfee files and folders, follow these steps.
- Open the Finder app and select the Applications folder.
Double-check that there are no McAfee-related applications still in Applications. If there are, select and drag them into the Trash (or Bin) folder manually.
- Empty the trash bin by right-clicking on it and selecting Empty Trash.
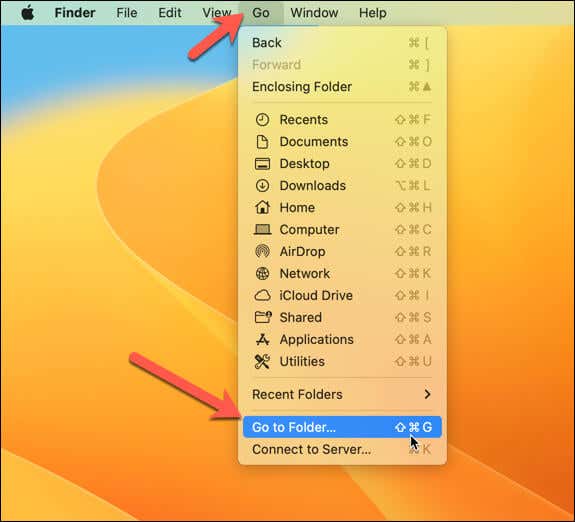
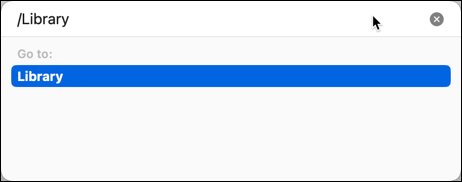
- Next, press Go > Go to Folder on the Finder menu bar.
- Type in /Library and press Enter.
- In the Library folder, look for any folders or files that contain McAfee in their names and drag them to the Trash folder. Some examples include (although this isn’t an exhaustive list):
- /Library/Application Support/McAfee
- /Library/LaunchAgents/com.mcafee.menulet.plist
- /Library/LaunchDaemons/com.mcafee.ssm.ScanManager.plist
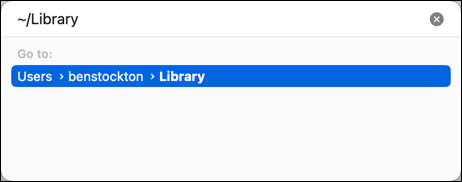
- Next, press Go > Go to Folder, type ~/Library (with the tilde symbol before it) and press Enter. This will take you to your user library folder, where you might find some more McAfee-related items.
- Search through the following sub-folders for any McAfee-related files and folders:
- ~/Library/Caches
- ~/Library/Preferences
- ~/Library/Saved Application State
- If you locate a McAfee folder, move it to the Trash folder.
- When you’ve finished the process, empty the Trash folder again by right-clicking it and selecting Empty Trash.
- Once you’ve finished, restart your Mac.
After following these steps, you should have removed all the traces of McAfee from your Mac.
Troubleshooting McAfee Uninstallation Issues
Sometimes, you might encounter problems when uninstalling McAfee on your Mac. For example, you might see an error message saying that you don’t have permission to access some items or that the uninstaller can’t find the McAfee software.
Here are some possible causes and fixes for these issues.
- You don’t have administrator privileges on your Mac. To uninstall McAfee, you’ll need to enter your administrator password and grant permission to the uninstaller. Make sure that you are logged in as an administrator or macOS will block you from removing the application.
- You have other McAfee products installed on your Mac. If you have more than one McAfee product on your Mac, such as McAfee Total Protection or McAfee WebAdvisor, you’ll need to uninstall them separately before uninstalling McAfee Internet Security. To do this, follow the same steps as above for each product, or use a third-party removal tool to remove them all at once.
- You have leftover files or folders from a previous installation of McAfee. Sometimes, McAfee might leave behind some files or folders that prevent the uninstaller from working properly. To fix this, manually delete these items from your Mac. Follow the steps in the second method above to locate and remove any McAfee-related items from your Library folder and subfolders.
If you’re still having problems, you may need to contact McAfee customer support for further assistance. This is recommended if you’ve paid for a McAfee subscription that provides you with real-time support.
Successfully Removing McAfee from Your Mac
Uninstalling McAfee from your Mac isn’t a difficult task, but it will require a bit of your time. If you’ve followed the steps above, you should be able to remove McAfee completely manually or by using the built-in removal tool. There are better Mac antiviruses out there—if you need one, that is.
Are you stuck with another antivirus provider like Avast that you’re struggling to remove? You can always uninstall Avast from your Mac, but, like McAfee, take care as you remove it, as you’ll need to ensure you don’t leave any components behind.


