You don't want to have to replace it
Keyboards wear out, and replacing one is expensive for MacBooks—Air or Pro—because the entire top case must be removed. So, how do you get ahead of this and ensure your keyboard stands the test of time? Here are some tried and true ways.
A Note on the Butterfly Keyboard
One of the reasons that people are concerned about keyboard wear and tear is thanks to Apple’s notorious “butterfly” Apple keyboards that have exhibited serious issues in too great a number to ignore. What started with users complaining about sudden keyboard failure on forums culminated in a major class action lawsuit.
The problems with some generations of butterfly keyboards have nothing to do with wear and tear, and likely, nothing you do will prevent issues related to its design. If you have an Apple Silicon MacBook with the M1 (such as the M1 MBP), you don’t have a butterfly keyboard but the newer scissor-switch design.
However, if you have an Intel MacBook from 2016 to 2019, you likely have one of these keyboards. It does go further back than that. Under the keyboard service program computers as far back as the MacBook Pro 15 are eligible.
Regardless of how old the Mac may be, it’s worth having Apple check it out if the keyboard fails since it might be eligible for repair or replacement under a special program.
1. Keyboard Covers: Cheap and Cheerful Protection
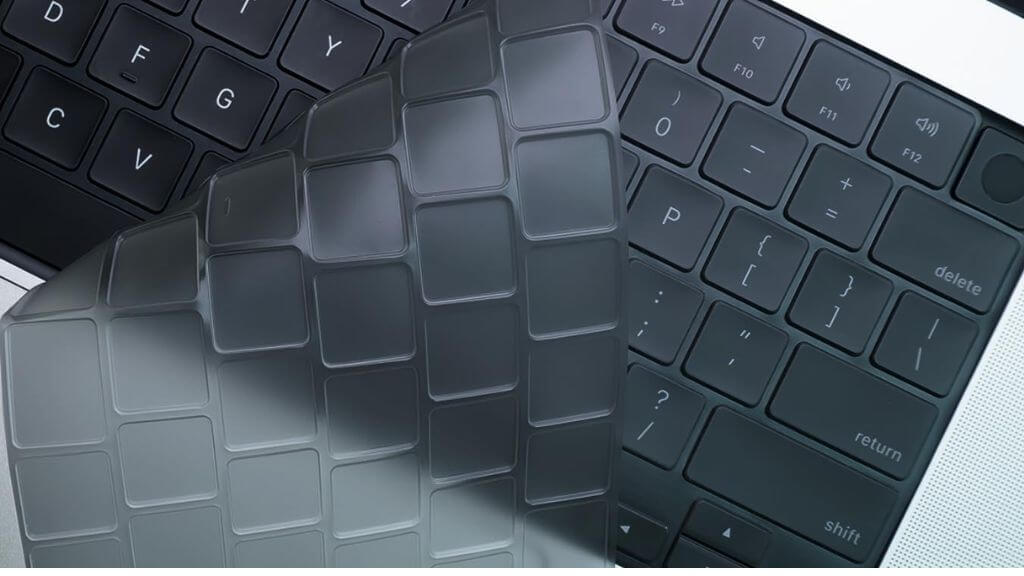
(Image Credit: AfterPlug)
Silicone keyboard covers are a minor investment with potentially major returns. You’ll find many options on Amazon that fit different MacBook models and keyboard layouts.
Just check how well a given cover lets the keyboard backlight through. Going for an ultrathin cover can help in that department.
2. Compressed Air
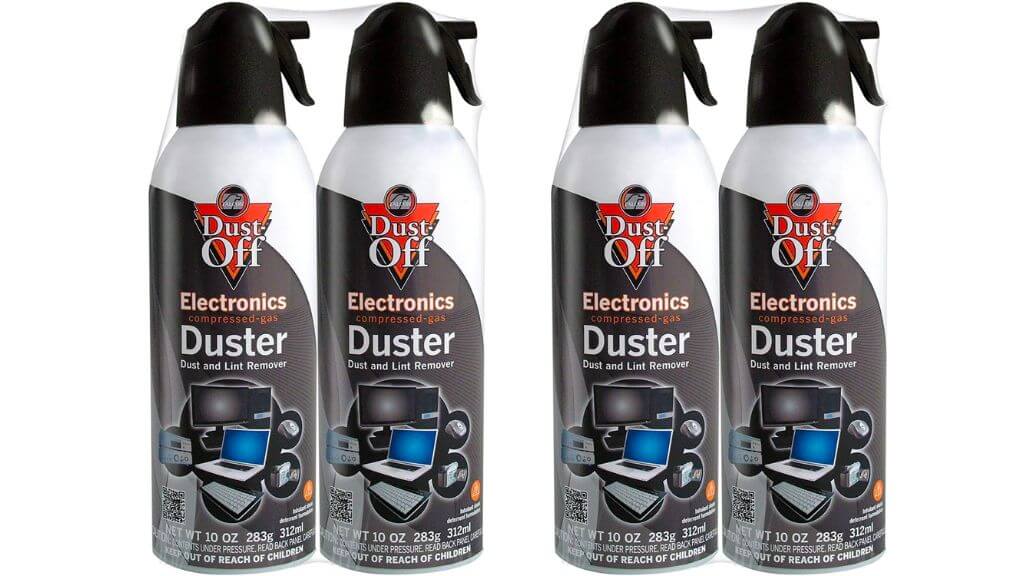
(Image Credit: Dust Off)
Over time, your keyboard becomes a magnet for all kinds of stuff: crumbs, dust, you name it. A can of compressed air is an easy fix. Angle your MacBook just right and let the compressed air work its magic.
However, always be careful with how you use compressed air. You want to avoid damaging the keyboard with too strong a blast, and you also don’t accidentally want to use the can in such a way that you cause water condensation on the keyboard. If you don’t feel confident about using compressed air, a (very) soft brush might be a better option.
3. Get a Keyboard Vacuum
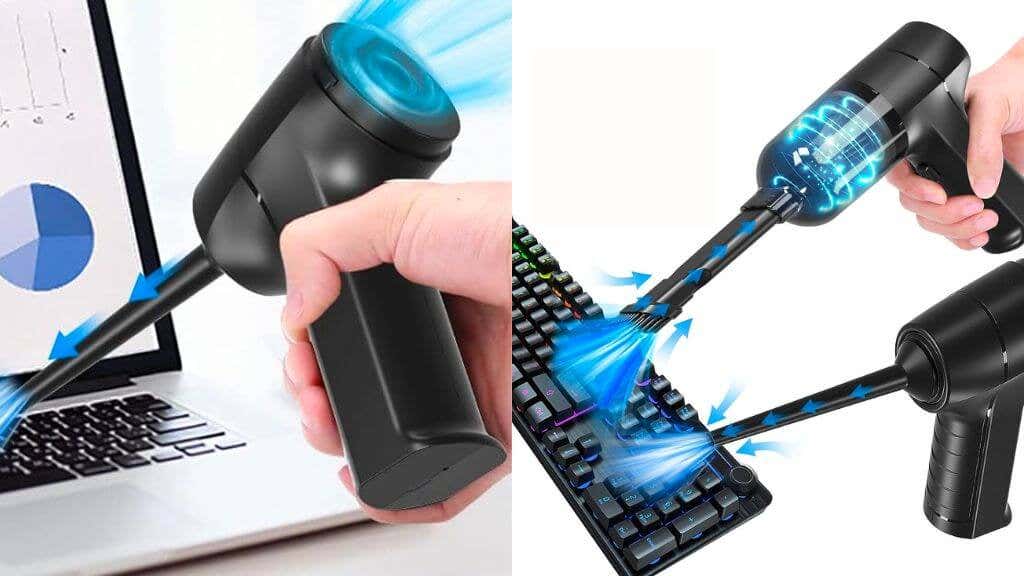
(Image Credit: Meudeen)
Brushes and compressed-air cans can get debris out of your keyboard that might cause a malfunction, but in many cases, they just push that stuff around without actually removing it. Digging under your keycaps is a bad idea, but if you get a keyboard vacuum, you can remove unwanted material without touching your keyboard. Best of all, many of them also have an option to blow air, so you don’t have to bother with canned air.
Now, only use a vacuum cleaner specifically designed to clean keyboards. Other types of vacuums, even small handheld ones, can suck the keys right off your Mac, and that’s the opposite of what we want to achieve here.
4. Give Your Built-In Keyboard a Break
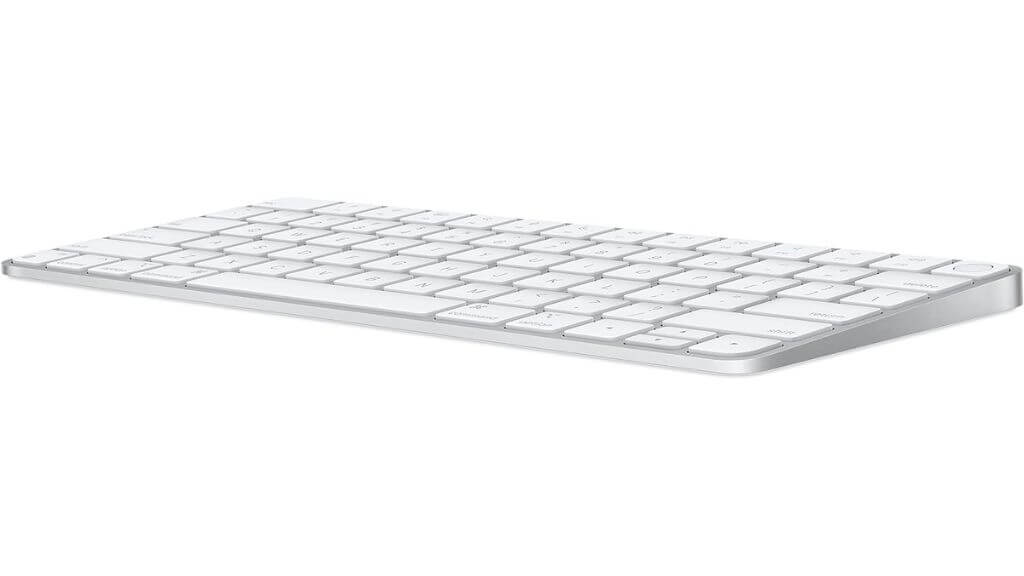
(Image Credit: Apple)
An external keyboard isn’t just for the desktop warriors among us. It’s also a great way to give your MacBook’s built-in keyboard some downtime, especially during those marathon work sessions.
And if you’re sticking with Apple, the Bluetooth Magic Keyboard is a sweet deal. It even works with your iPhone and iPad.
5. Trackpad and Touch Bar to the Rescue
Got a MacBook Pro keyboard with a Touch Bar? Use it! The Touch Bar is designed to make your life easier, and as a bonus, it eases the burden on your keyboard.
So adjust your volume or brightness with a swipe or a tap. Plus, unlocking with Touch ID feels a bit like living in the future, and not typing in a password every time will also save on wear. You’ll even get shortcuts on the bar in apps that support it.
6. Implement a “No Food or Drink” Rule
It sounds basic, but you’d be surprised how many keyboard issues arise from accidental spills or crumbs finding their way into the crevices. A strict “no food or drink near the MacBook” policy can go a long way.
7. Wipe It Down
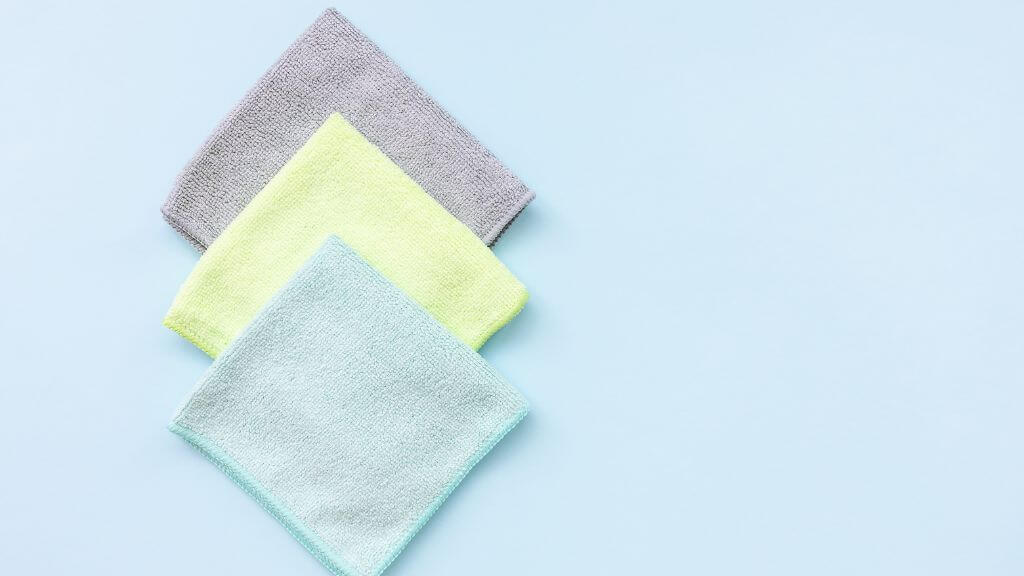
A microfiber cloth isn’t just for cleaning your glasses. A quick wipe-down can keep oils and grime at bay, helping to prevent long-term wear on your keys. Keep one in your laptop bag; you’ll thank us later!
This also protects your MacBook Retina Display since grime and harsh particulates on your keycaps can contact your screen when closed and damage the anti-glare coating.
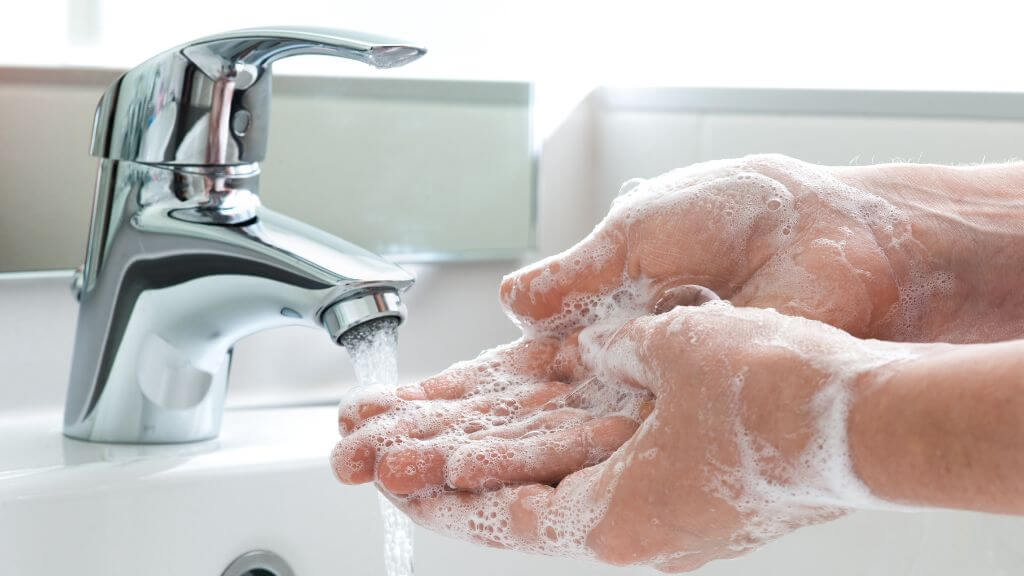
8. Keep Your Hands Clean and Dry
Your keyboard’s main sources of wear and tear are your hands and fingers. If you don’t want your keycaps to wear down prematurely, ensuring your hands are clean, dry, and free from oil and debris is a prime way to keep your keys legible for longer.
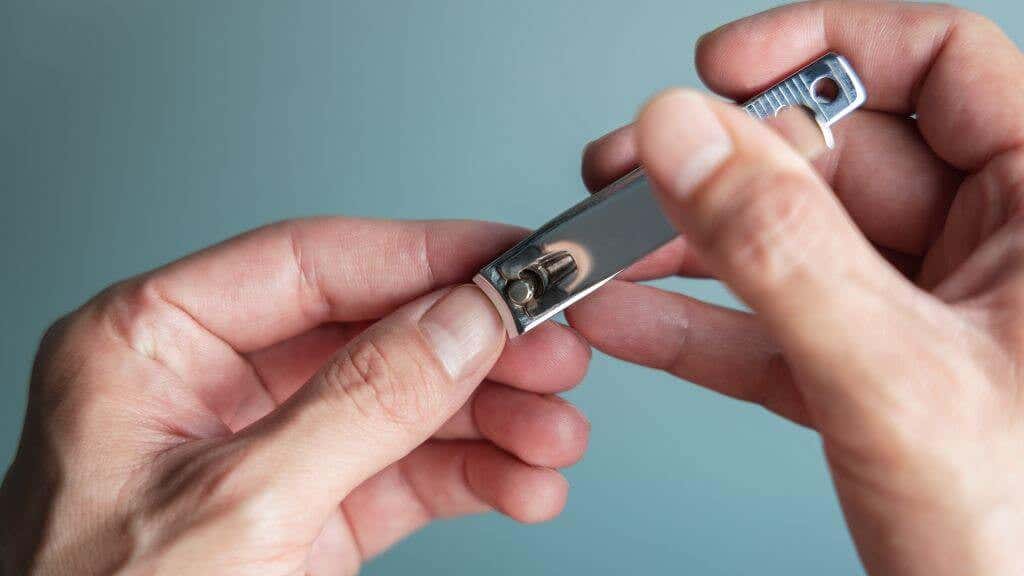
9. Clip Your Fingernails!
Depending on your angle of attack when you type, your fingernails might be hitting your Mac’s key caps repeatedly, wearing them down faster than a soft fingertip would.
Keeping your fingernails trimmed makes it less likely that this will happen, and it might even make your typing a little quieter.
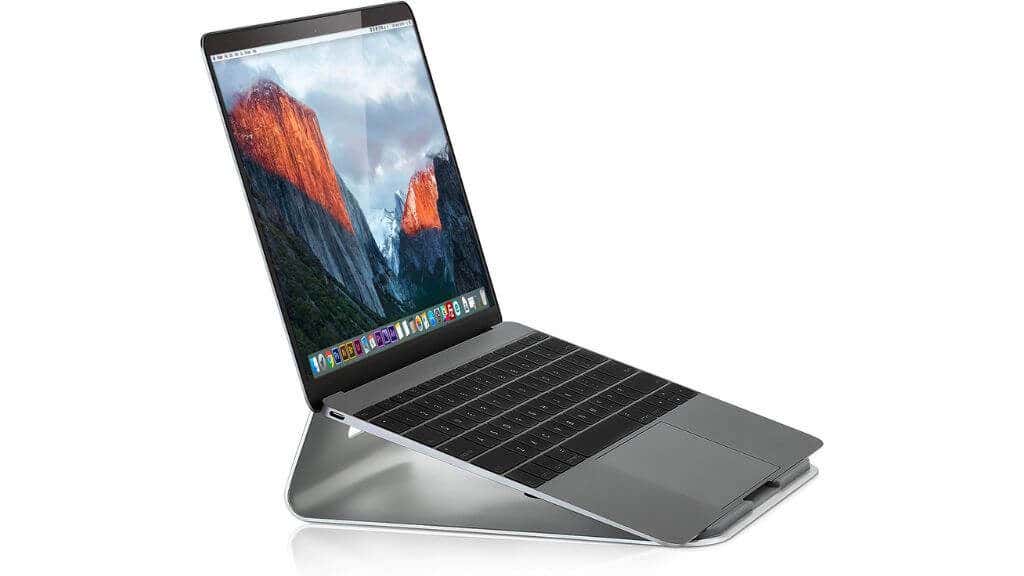
10. Consider a Laptop Stand
(Image Credit: Mount-It!)
Using a laptop stand helps with ergonomics and reduces the pressure exerted on your keyboard. With a raised angle, you’re less likely to hammer away at the keys, which can extend their lifespan.
11. Know Your Warranty and AppleCare
It’s like that old saying: “Hope for the best, but prepare for the worst.” Know what your warranty and AppleCare plans cover.
If disaster strikes, you’ll know exactly how to handle it, whether heading to Apple support or making a Genius Bar appointment.
Also, although Apple won’t usually cover accidental damage, an insurance company will. It’s not related to wear and tear, but it’s worth noting if you also want some assurances against unintentional damage to your laptop keyboard or other laptop parts.
12. Get Creative With Stickers
If your keycaps have been worn to the point where you can’t distinguish the letters, you could always put stickers on. Going for a transparent set ensures you can still benefit from your Mac’s backlight.
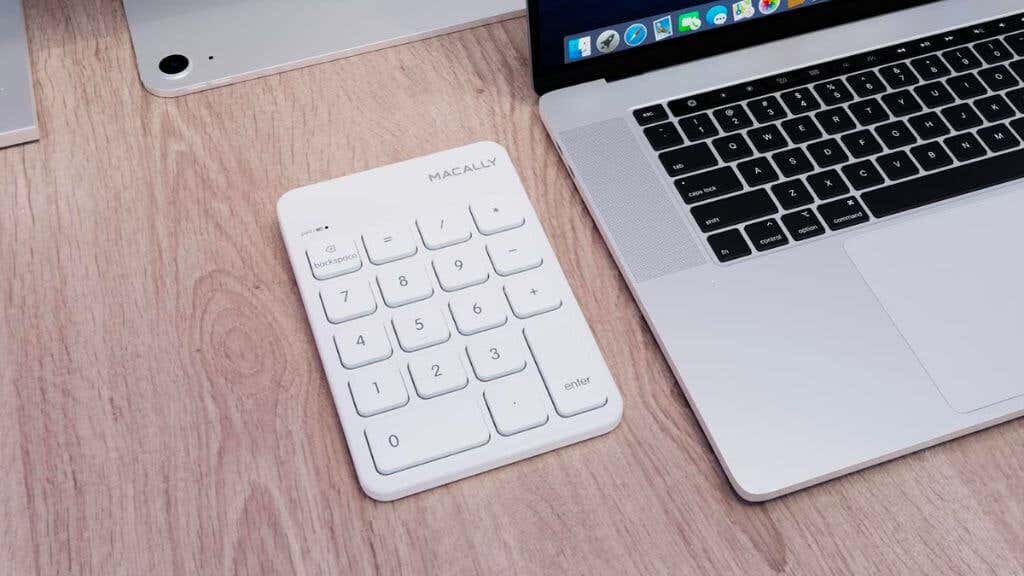
13. Get an External Numeric Keypad
(Image Credit: MacAlly)
Not even the big 16-inch MacBook has a built-in numeric keypad, which is frustrating if your work involves typing in lots of numbers, but it also offers an opportunity for you to give the number row keyboard keys a break.
14. Don’t Game With the Keyboard
Between Apple Arcade and the latest Mac ports of AAA games like Resident Evil 8 Mac gaming is going through a renaissance, but while it may be tempting to smash that space bar or those backlit WASD keys, nothing will wear out your Mac keyboard faster than playing games.
Luckily, iOS and macOS natively support all the major game controllers, and of course, you can still use an external keyboard or one of those nifty one-handed gaming keyboards instead.
15. When in Doubt, Head to the Apple Store
Sometimes, you’ve done all you can, and it’s time to bring in the pros. If you notice persistent issues, don’t hesitate to take your Mac to the Apple Store. They can provide a proper diagnosis and guide you on what steps to take next.
With keyboard issues, it’s often better to get the problem sorted early rather than wait for it to malfunction. Remember, you don’t have to accept a repair quote if it’s too high.
Can You Replace Worn Key Caps?
With most modern keyboards, for laptops or otherwise, it’s possible to replace worn-out keycaps with new ones—either third-party caps, new official keyboard replacement caps, or ones cannibalized from another keyboard.
With a MacBook, things work a little differently. I took a 2019 MacBook Pro 13 to Apple to ask about worn key cap replacement and was told that the only way to replace those keys was to remove the laptop’s top case, which is quite expensive. The entire keyboard is replaced rather than single keycaps since the key mechanism is too delicate and will most likely break if you try to remove the key cap.
However, you can buy unofficial replacement key caps on sites like Amazon for MacBooks, and there’s no end of YouTube videos that demonstrate how to remove and replace worn caps safely. That said, if you attempt this, you have to take full responsibility for any potential damage, and worn caps are rarely worth taking this risk for.

