But first we define what a "shake" is
Whether you have the latest iPhone or a trusty older model, if you’re experiencing a camera shake, there may be a few things you can do about it before reaching out to Apple support.
Of course, when someone says their camera is “shaking,” that doesn’t always mean the same thing in every context, so it’s important to clear up what “shake” means first.
Types of “Shake”
What many people think of as “shake” is one type of glitch where the automatic systems in the camera hardware or software can’t make up their mind about something. For example, it might rapidly switch between cameras or constantly flip between different subjects to focus on.
This is why figuring out your phone’s shaking problem is essential. Is the image shaking, or is it just a rapid perspective or focus shift? Does it happen only when you hold your phone in hand or have it set on a stable surface?
1. Restart or Reset Your iPhone
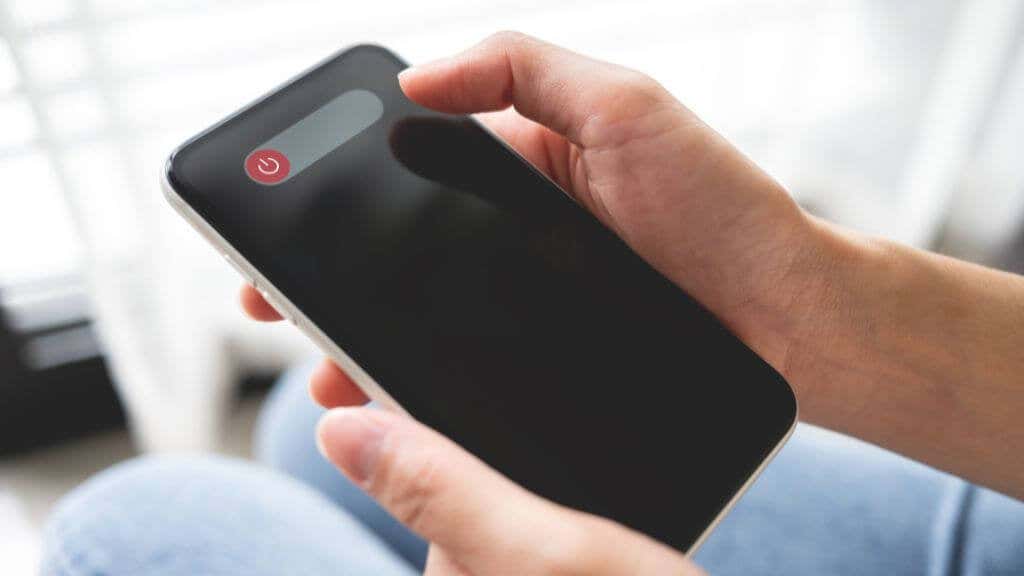
The first thing you should do if you encounter strange behavior from your iPhone cameras is to restart your iPhone. On iPhones with a Home button, press and hold the side button until you see the Slide to power off message, and then follow that instruction. If you have an iPhone without a Home button, press and hold the side button and the volume up button to get the same result.
In both cases, once the phone is off, hold the side button until you see the Apple logo and then wait for the phone to complete its startup. Then open the camera app and check whether the shaking problem is resolved.
If you’ve tried everything mentioned in this article, the last thing you can try on your own is to factory reset your device and set it up again to see if that resolves the issues. We’ll circle back to reset your phone at the end of the article.
2. Update to The Latest iOS Version!
Regardless of what type of shake or iPhone model you have, it’s a good idea to update your version of iOS if possible. In iOS 16, there’s a bug fix that resolved the camera shake issues experienced by some users on the latest model of iPhone, as one example. Camera improvements are a common feature of iOS and iPadOS software updates, so be sure to get the latest fixes before fiddling with anything else.
3. Clean The Camera
Sometimes dirt or smudges on your camera lenses or your iPhone’s sensors can interfere with regular operations. Use a microfiber cloth to clean all the sensors on your camera module and see if this helps your shaking problem.
4. Try Removing Your Phone Case
Following the above, you may also want to try using the camera without your phone case, so camera sensors aren’t obscured. This can happen as the case wears out, loosening its fit, or if threads from the case material start to unravel and poke out over the camera bump.
5. Don’t Use Third-party Camera Apps
Many of the reports of camera shake are from apps other than the iPhone’s standard app. Common offenders include social media apps such as TikTok and Snapchat. Visual glitches can occur when using these apps to take photos directly, including something that looks like a shaky image.
At least in the meantime, the solution is to stick with the official iOS camera app. Take your photos with the app and then import them into the app of your choice to do further editing. This does pose an issue for apps that require live access to your camera feed, such as Snapchat filters, but it should be a temporary issue. Either Apple, the app developer, or both are likely to issue updates that address new camera bugs.
6. Turn Enhanced Stabilization Off or On (iPhone 14)
Suppose you have an iPhone 14 or (presumably) a later model. In that case, you have access to a more aggressive OIS (Optical Image Stabilization) version than the standard version that’s automatically applied.
It’s a feature called Enhanced Stabilization, and you can enable it by going to Settings > Camera > Record Video and toggling it off or on. The feature is on by default, so if you experience camera shake while recording video in Cinematic or Video mode, try turning it off to see if things improve.
7. Activate Lock Camera (iPhone 13 and iPhone 14)
If you have an iPhone 13 or 14, you can use a feature called Lock Camera to prevent the camera app from automatically switching between the different cameras in your phone. Go to Settings > Camera > Record Video and then toggle Lock Camera on.
8. Use a Gimbal or Tripod
The OIS feature in your iPhone is only capable of so much. The latest iPhones, such as the iPhone 14 Pro Max, have incredible stabilization, competing with dedicated action cameras like the GoPro product family. Unfortunately, the further back you go in the iPhone line, the less effective the solution is. The iPhone 6 Plus is the first iPhone to have OIS. If you have an iPhone 6S, your camera footage will be much more prone to shake. Those with an iPhone 6 Plus, iPhone 6s, iPhone 7, iPhone 8, or iPhone X (and so on) will enjoy better image stability with each successive generation.
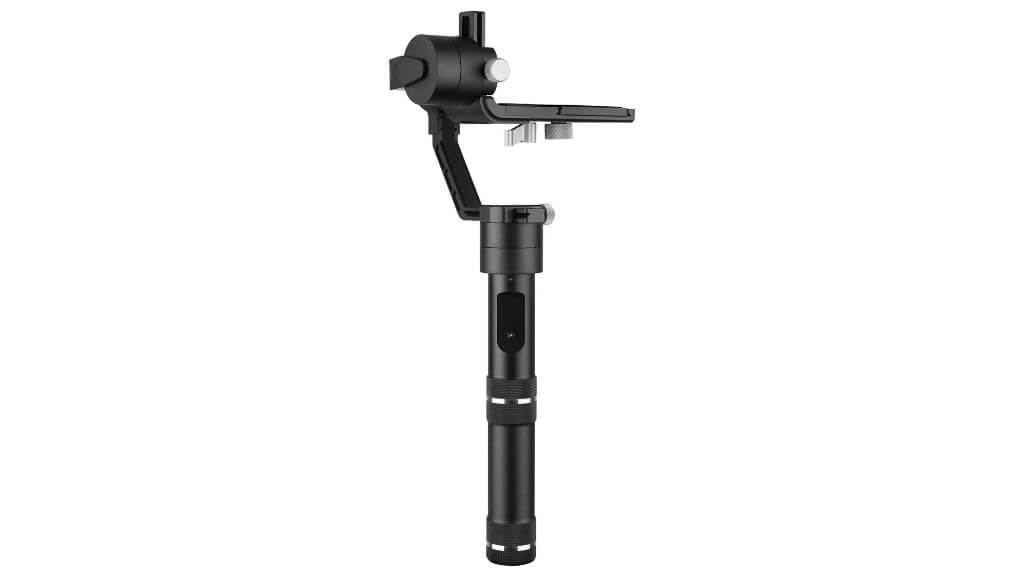
Consider getting a phone gimbal such as a DJI OSMO if you have an early OIS model or an iPhone without OIS. This device uses gyroscopes and motors to keep your phone perfectly stable, even if you’re walking with a rough gait.
A gimbal is also a fantastic way to get more cinematic shots, so if you use your iPhone to film moving subjects or like to move around while shooting, a gimbal is a great option.
If you don’t need to move your camera around while filming, a cheaper option is to use a tripod. There are plenty of affordable smartphone tripods or tripod adapters, so you can use your phone with a regular tripod you already own.
9. Avoid High-frequency Vibration
A modern smartphone has tiny electromechanical components that can be sensitive to external forces. For example, in iPhones with OIS, a microscopic gyroscope senses movement, and that data is used to counteract any image shake. Some iPhone models (iPhone XS and later) also have a closed-loop autofocus system designed to resist the effects of gravity and vibration.
These tiny components are delicate and vulnerable to high-frequency vibration.
Apple says iPhones with these components can suffer focus and stabilization issues if exposed to high-frequency vibrations. The main example is high-performance motorcycles. Apple recommends iPhone users refrain from mounting their iPhones on motorcycles that produce these high-frequency, high-amplitude vibrations that can permanently damage these phone components. Which can lead to a shaky image as the systems meant to stabilize the image on your iPhone screen no longer work.
10. Tap Your Phone Against Your Palm
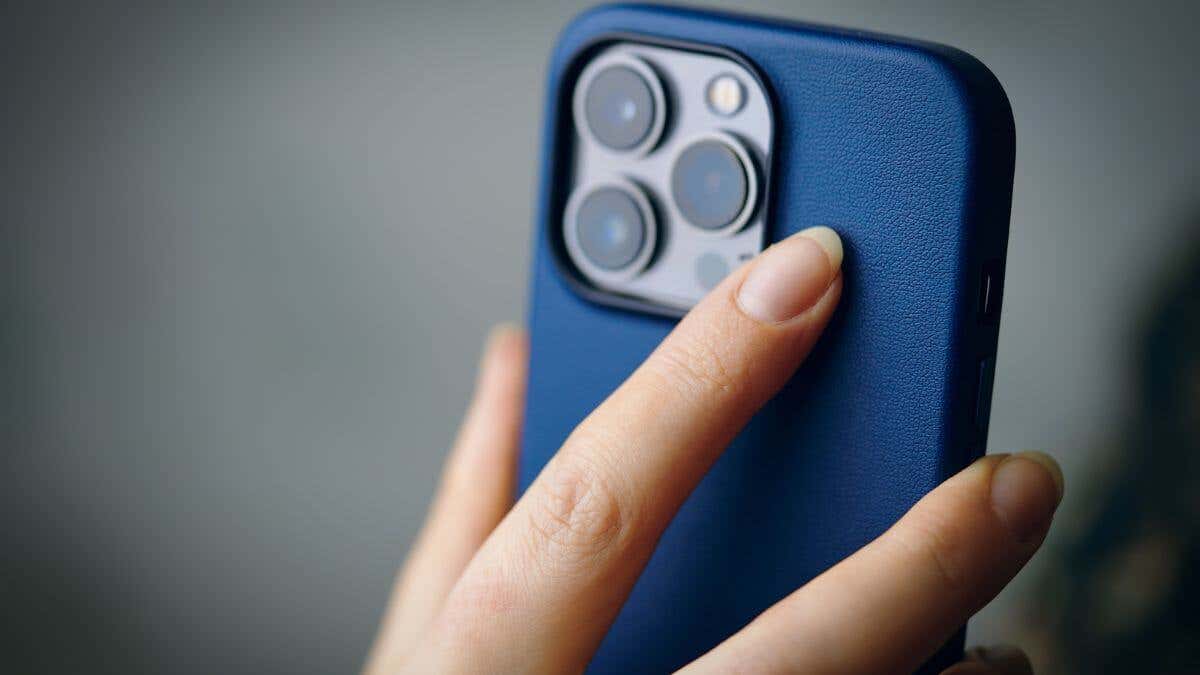
One DIY “fix” for the iPhone camera shaking issue comes from a trick that seems to work for Samsung phones. With some Samsung Galaxy phones, the camera components seem to get “stuck,” and users claim they can fix this by gently tapping the phone against something like the heel of the palm.
It’s unclear whether this helps fix camera issues on either Android phones or iPhones, but there’s little harm possible from a light tap of the camera bump against the hand. So if you want to try it as a last resort, it at least won’t hurt anything.
Have Your iPhone Evaluated
If none of the troubleshooting tips above work for you, there’s a good chance that something’s gone wrong with your iPhone’s cameras beyond your ability to fix it yourself. Take your phone to an Apple store for an evaluation, or use an accredited third-party repair shop.
You should check the Apple Service Program page, which lists devices with known issues that Apple generally fixes even when the device is out of warranty. For example, the Apple Watch Series 6 blank screen issue. The service program will likely be listed here if Apple acknowledges a known camera issue. You can check your serial number to see if your iPhone, iPad, or iPod qualifies. While Apple can replace camera modules in some cases, there’s a good chance you may need a new iPhone, depending on what’s wrong.
Before handing your device over to anyone, make sure you have a recent iCloud backup of the device and be sure to factory reset your iPhone.


