It’s always a good idea to keep your iPhone up to date with the latest iOS version for security reasons as well as those pesky bugs. However, sometimes your iPhone just won’t get with the times, and won’t update.
There are a few different reasons why this might be happening, ranging from things that can be fixed easily and immediately, to those you’ll have to take an afternoon off for so you can do some serious troubleshooting.
1. Checking the Update Server Status and Phone Eligibility
With major new iOS updates, it’s not unusual for Apple’s servers to be overwhelmed in the period shortly following its release. Basically, everyone is trying to download the shiny new operating system first, and some people are being turned away temporarily.
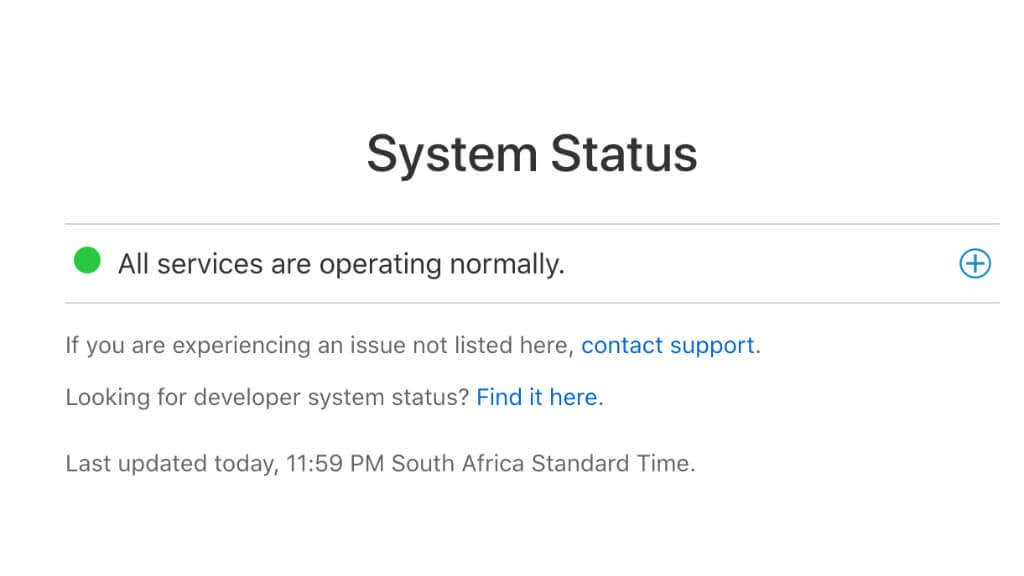
If there’s nothing special about the timing of your update, you should head over to the Apple System Status page. Here you’ll see any notifications about server problems that Apple’s aware of.
2. Toggle AirPlane Mode On and Off
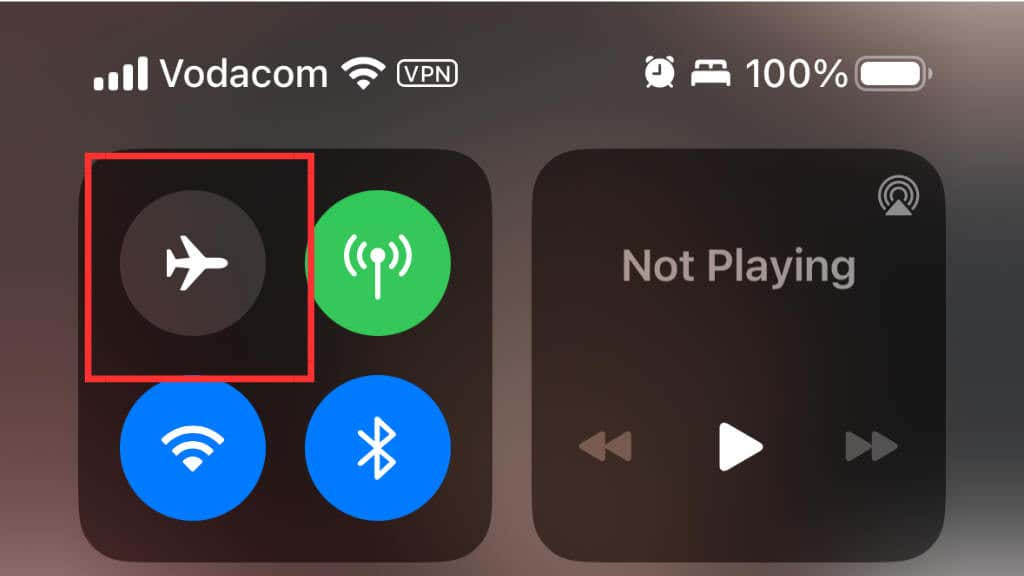
Sometimes network functions in iOS seem to die for no apparent reason. The fastest way to get your data flowing again is usually to toggle Airplane mode on and then off again. If you swipe down from the top-right of the screen to reveal the Control Center, it’s the button with a picture of a plane on it.
Don’t use the Wi-Fi toggle, since this doesn’t actually turn the Wi-Fi module off, but rather disconnects you from all Wi-Fi networks until the next day.
3. Restarting Your iPhone
As with most technology problems, the first thing you should do is reboot your iPhone in case the issue is just a temporary glitch.
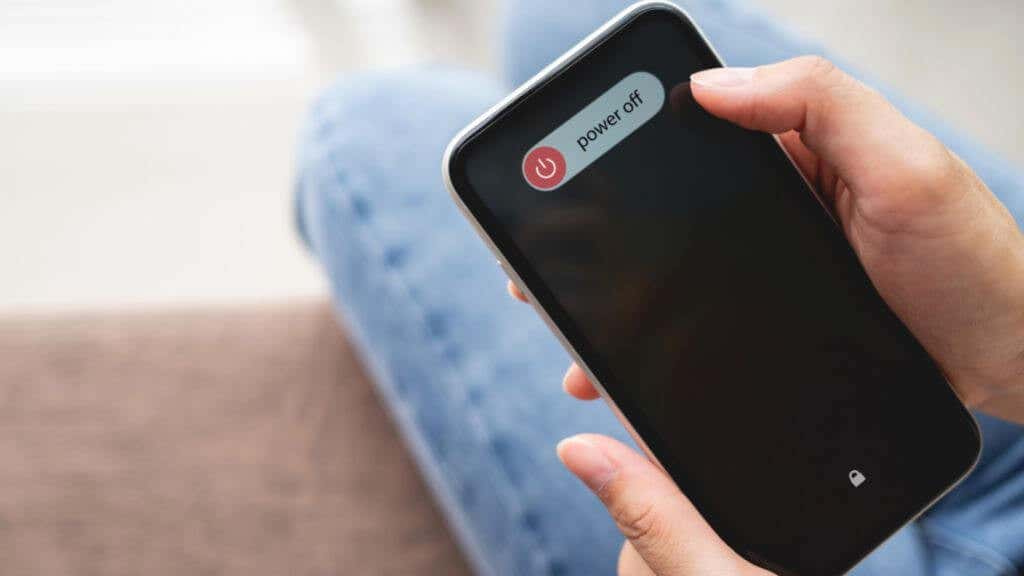
On an iPhone without a Home button, press and hold the Side button and Volume + button until you see Slide to turn off. On an iPhone with a physical Home button, hold the power button until you see the same message. After turning the phone off, press and hold the Side or Power button until you see the Apple logo appear.
4. Make Sure Your Phone Is Plugged In and Charged
Because a power interruption during an update could potentially brick your phone, your iPhone won’t go ahead with an update if there’s less than 50% battery remaining. If you’ve scheduled the update, the phone must also be charging, or your iPhone will skip the update regardless of battery level.
While putting your phone on a wireless charging pad will work for overnight updates, in our experience any disruption of the power will result in the phone potentially not restarting its charge. So it’s better and more reliable to use cable charging if you want an auto update overnight.
5. Checking Your Network Connection
Your iPhone needs to have a stable and suitable internet connection to download and install updates. Here are the key things you need to check:
- Are you using Wi-Fi?
- Is your Wi-Fi strength good?
- Is it the router? Restart it just to be sure.
- Is your connection fast enough? Run a speed test on your iPhone to make sure.
- Are you using a VPN? Disable your VPN temporarily to complete the update.
If your network connection is fine and you’ve checked off all the things listed above, we can move on to the next likely cause of the issue.
6. Reset Your Network Connection
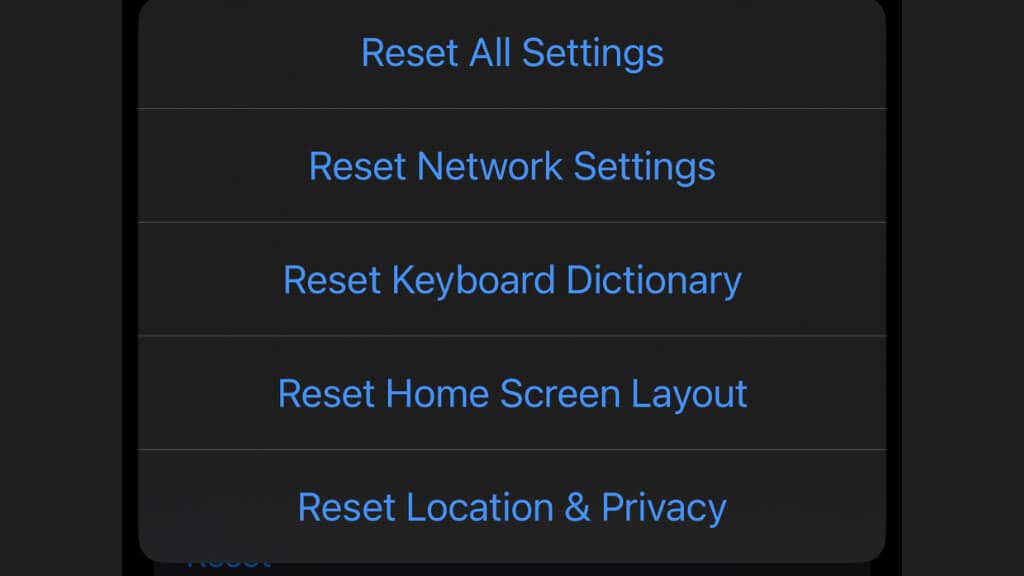
If your network settings have become corrupted or otherwise aren’t working correctly any more, you can reset them. This won’t affect anything else on your iPhone, but do be warned that you’ll have to re-enter the Wi-Fi passwords for every network you have saved.
Go to Settings App > General > Transfer or Reset iPhone > Reset and then select Reset Network Settings.
7. Ensuring Enough Storage Space
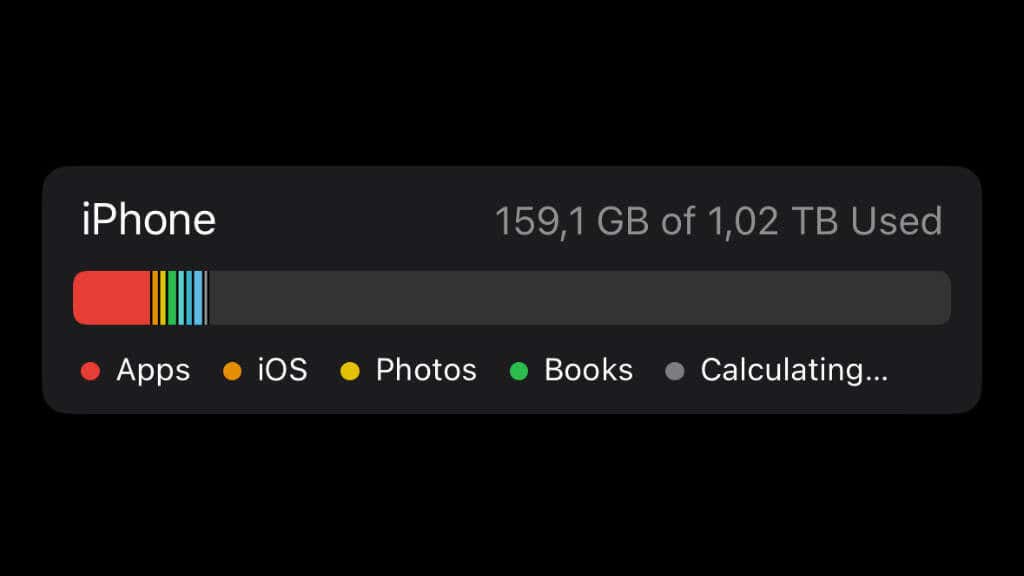
To download and install a software update, your iPhone needs enough free space. You’ll usually get a warning that there’s not enough storage to download and install the update, in which case there are a few things you can do to free up some room:
- Check how much free space you have under Settings > General > iPhone Storage to determine how much you need to free up.
- Delete or offload apps you don’t need or can re-download after the update is complete.
- Clear app caches. Some apps, such as Netflix, may have large amounts of data stored in their cache. You can safely remove this data under Settings > General > iPhone Storage, where each individual app’s data will be listed by size.
- Go to Settings > Apple ID > iCloud > Photos and make sure Optimize Phone Storage is selected. This will move the high-quality versions of photos to the cloud and only leave a preview on your phone.
There are also several specialized apps that can help you free up space on your iPhone quickly if you don’t have time to do it manually. If you’re willing to use mobile data for the update, head over to our guide on how to update an iPhone without Wi-Fi.
8. Updating iOS via iTunes or Finder
If your iPhone won’t update directly on the device, you can try updating it using iTunes (for Windows or macOS Mojave and earlier) or Finder (for macOS Catalina and later). This can help bypass issues you might be experiencing with over-the-air updates.
In iTunes, you only have to select your phone once it appears in the app, and then select Check for Update.
In Finder, the phone will appear under Locations once you plug it into your Mac. Select it and then look for Check for Update under the General tab.
9. Deleting and Reinstalling the Update
In case something goes wrong with the downloaded update and it’s not automatically corrected during the update verification phase, you can actually delete the pending update data and start again.
Go to Settings > General > iPhone Storage and then find the iOS update in the list of installed apps. Then select it and use Delete Update to remove it. Once that’s done, restart your phone and try to update again with a fresh download.
10. Remove Any Jailbreaks
If your iPhone is jailbroken, this is likely to interfere with normal updates. Usually, jailbroken devices get their updates from a third-party source after the creators of the jailbreak have verified that the update doesn’t close the exploit they’re using to unlock the phone.
If you’ve received your phone from someone else, such as through a second-hand purchase, you may not be aware that the device is jailbroken. Either way, to undo a jailbreak, you’ll have to restore the iPhone to its officially-sanctioned state by performing a clean install.
During the clean install process, you’ll get the latest version of iOS anyway, and unless something else is wrong with your phone, it will continue to update as normal going ahead.
11. Force Restart or Use Recovery Mode
If your problem is that the update started but failed, you need recovery mode. This usually manifests as a boot loop where you just repeatedly see the Apple logo, but the phone never starts up.
From the recovery mode menu you can either restore or update your iPhone, the choice is yours. By choosing the update option, you’ll preserve existing content and settings on the phone, so it’s generally the most sensible option to go for.
To get detailed instructions on how to force restart your phone and then boot it into Recovery Mode, check out our simple Recovery Mode guide.
12. Fixing Update Errors With DFU Mode
If nothing you’ve done so far has helped you update your iPhone, it’s time to get a little more serious. Your iPhone has a special mode known as DFU or Device Firmware Mode. This is essentially flashing your iPhone with a new factory image, completely erasing what’s currently on the phone.
Needless to say, any data on the phone that hasn’t been backed up will be lost, but at this point your data is lost anyway if no other method has worked. However, if you’re using DFU mode to update a phone that you still have access to, take the time to make sure everything is backed up to iCloud or any other backup location of your choice.
If this is the way you want to go, head over to our iPad and iPhone DFU Mode Guide.
13. Visiting an Apple Store for Assistance
If none of the steps above let you fix your iphone, then the remaining option is to take it in for assessment at an Apple Store. They may even be able to restore or flash the phone’s firmware for you. They can also run diagnostic tests on your phone to check if there’s anything wrong with its hardware and advise you from there.
