If you’ve been using a Mac for quite some time, you’ve likely integrated your iCloud Drive account to your machine. It makes storing and sharing files over cloud much easier than ever. Since it’s an Apple feature, it works natively with the built-in tools on your Mac.
If your Mac is used by two or more users, you might want to add their iCloud Drives as well to your machine. However, there’s a limitation that prevents you from adding two iCloud Drives to a single account on your machine. You can only keep a single iCloud Drive account active at a time in your user account on Mac.
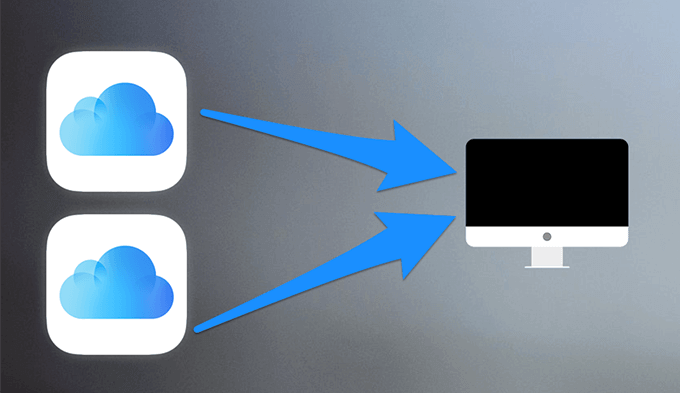
So how do you deal with the restriction and have multiple iCloud Drives running at the same time on your Mac?
Use Fast User Switching To Use Multiple iCloud Drive Accounts
There’s a feature on your Mac that allows you to easily switch between two accounts on your system. It’s called Fast User Switching and it lets you immediately get into another account on your Mac with the click of a button.
What’s great about that is that even if your main account is in foreground and you’re using it, your other account will still be logged in and processes will continue to run on it.
This means you can add your other iCloud Drive account to a new user on your Mac and be able to sync files for both of your accounts at the same time. Setting the whole thing up is fairly easy.
Create a New User Account
If you haven’t already, you need to create a new account on your Mac that you’ll use to integrate with your other iCloud Drive account.
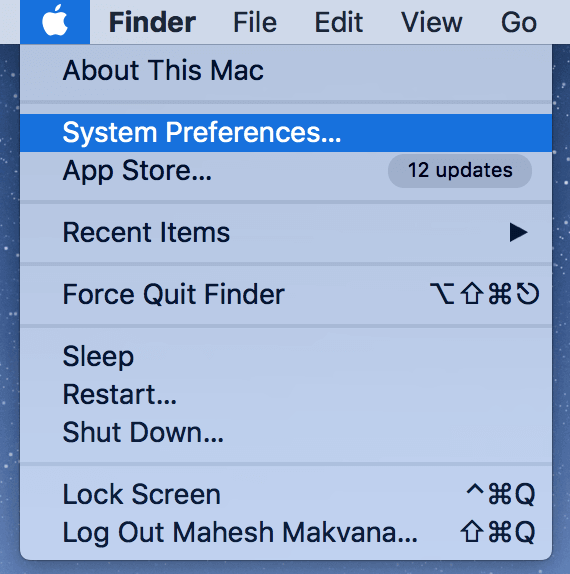
- Click on the Apple logo at the top-left corner of your screen and select System Preferences.
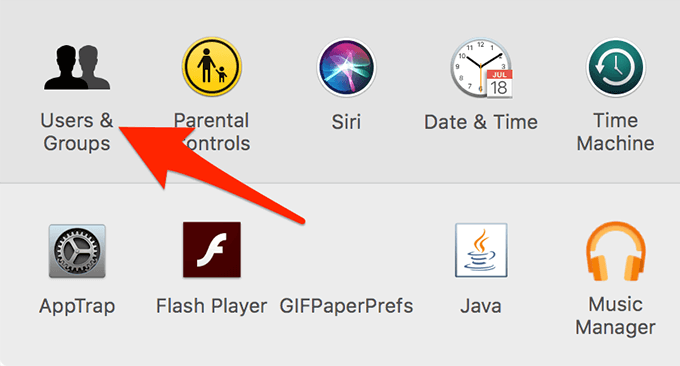
- Select Users & Groups on the following screen to open the user settings menu.
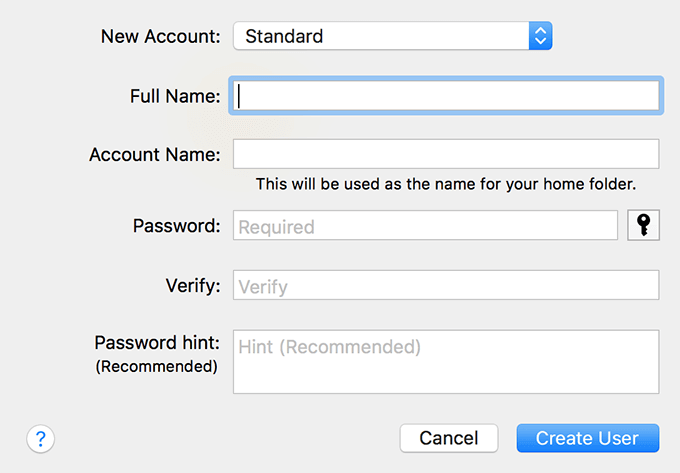
- Click on the + (plus) sign at the bottom of the users list and it’ll let you add a new account. Enter the required information on your screen and then click on Create User to add the account to your system.
Enable Fast User Switching
Now that a new account is created to let you use your other iCloud Drive account, you’ll need to enable the Fast User Switching feature to allow quick switching between two accounts.
- Click on the Apple logo at the top and select System Preferences.
- Select the Users & Groups option on the following screen.
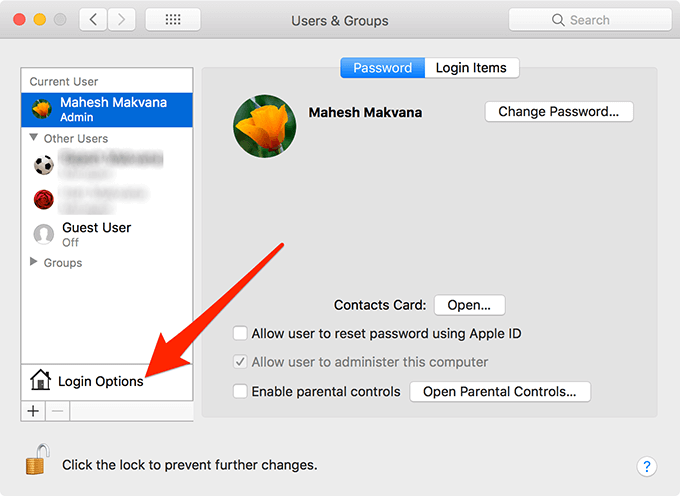
- Click on the Login Options button at the bottom of the user list.
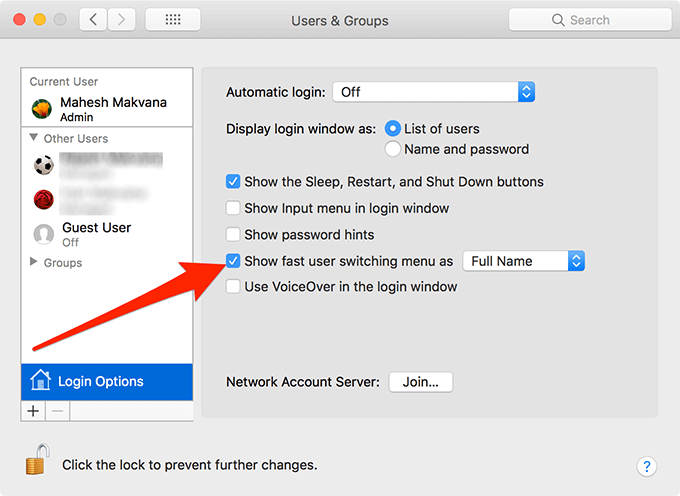
- The following screen lets you modify several settings related to user accounts. Find the option that says Show fast user switching menu as and tick-mark the box for it. It’ll enable the feature on your Mac.
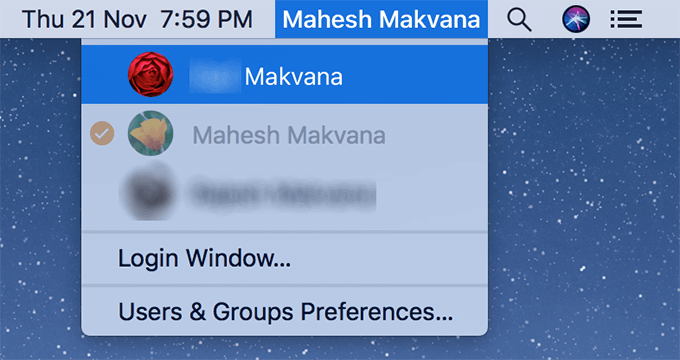
You’ll find a new option in the menu bar (the top screen area) on your Mac. It should say the full name of your account and clicking on it reveals other user accounts you have on your machine.
Log-in to the New Account and Add iCloud Drive
Now that your new account is created and ready to use, let’s log into it and add your iCloud Drive to it.
Make sure you have your iCloud login details handy as you’ll be entering them in one of the following steps.
- Click on the newly added icon in your menu bar for Fast User Switching and choose the new account you created.
- You’ll be asked for the password of your new account. Enter the password and it’ll then likely launch the setup wizard. Set the options as how you’d like them. You may also be asked to enter your iCloud login details but skip that for now as you’ll be doing that later in this guide.
- Click on the Apple logo at the top and select System Preferences.
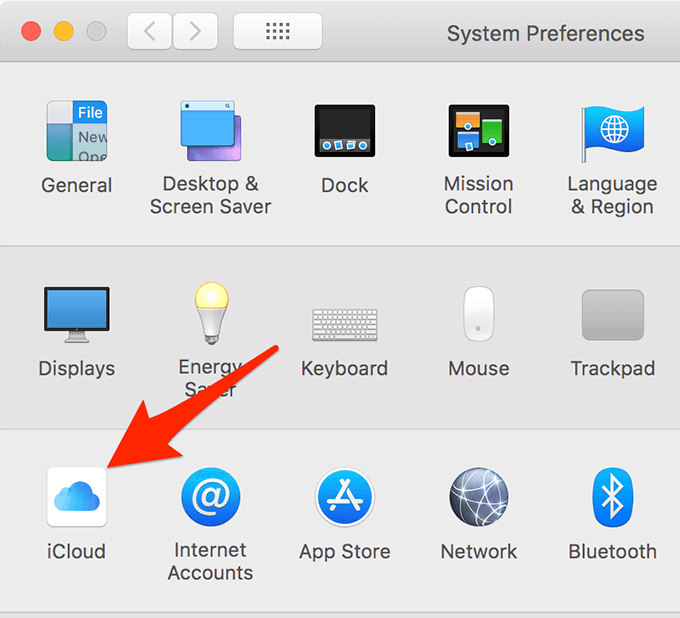
- Choose iCloud on the following screen as you wish to add an iCloud account to your new account.
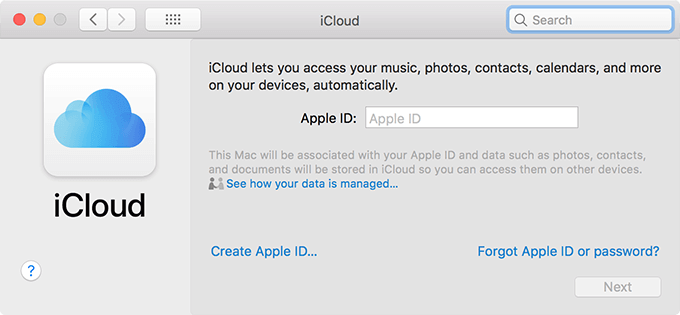
- On the following screen, it’ll ask you to enter your Apple ID. Enter in your Apple/iCloud ID and click on Next at the bottom.
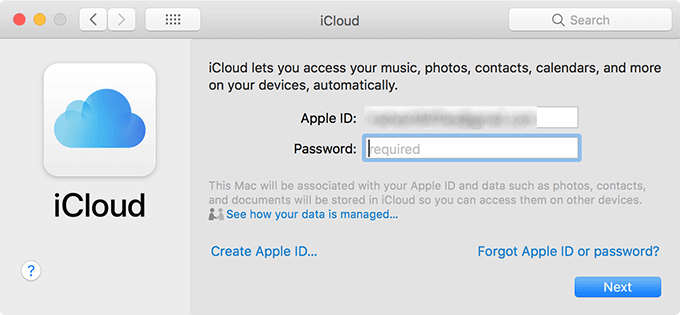
- Enter your iCloud ID password on the following screen and click on Next.
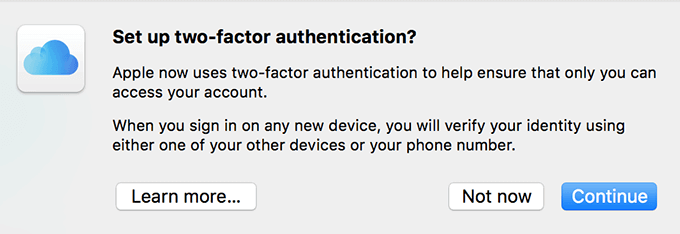
- If you haven’t already enabled it, it’ll ask you to set up two factor authentication. It’s up to you to decide whether you should do it or not, but it is highly recommended.
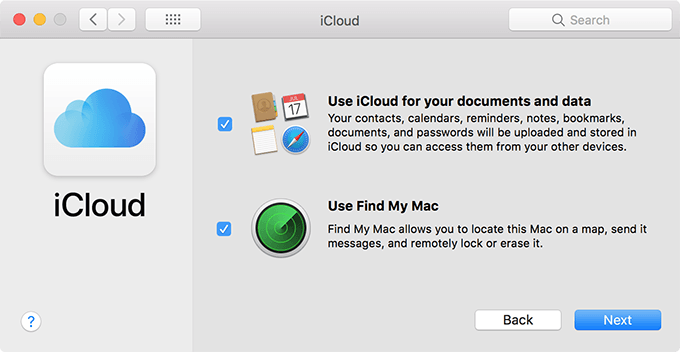
- You’ll now have a screen with two options on it. You can checkmark the first one and click on Next. The second option, Find My Mac, can only be used by one user per Mac and if the other account has it enabled, it won’t let you turn it on for your account.
- You’ll now be on the screen where all iCloud features are listed. Make sure the iCloud Drive option is tick-marked. It ensures the Drive is available to use on your machine.
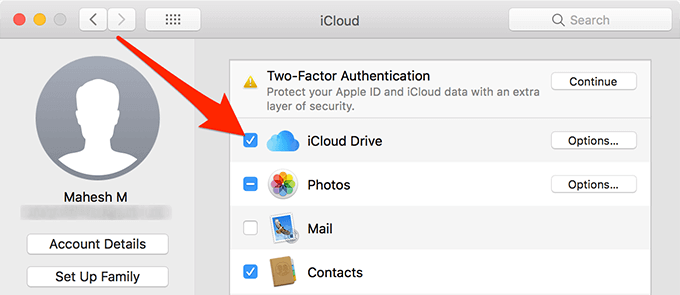
- Launch a Finder window by clicking on Finder in the Dock. You’ll see a new item labeled as iCloud Drive in the left sidebar. That’s what allows you to use your other iCloud Drive account on your machine.
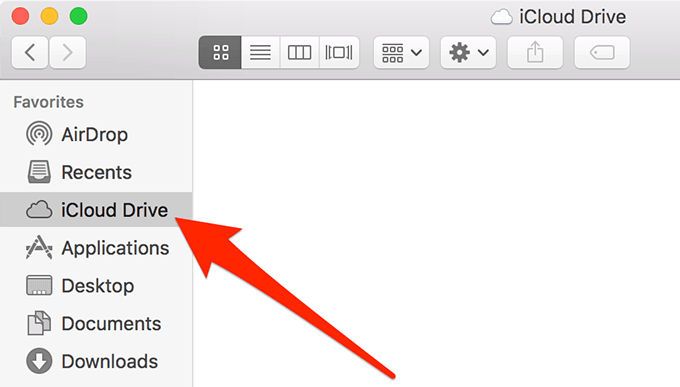
You can now upload and download files from this newly added iCloud Drive account. Also, it’ll continue to sync even when you’ve switched to your main user account using Fast User Switching.
How To Remove Multiple iCloud Drive Accounts On a Mac
If you no longer wants to use multiple iCloud Drives on your Mac, you can have them removed in a few steps.
- Log into the account you want to remove the Drive from.
- Launch System Preferences and click on iCloud.
- If you don’t want to use any of the iCloud features in your account, click on the Sign Out button.
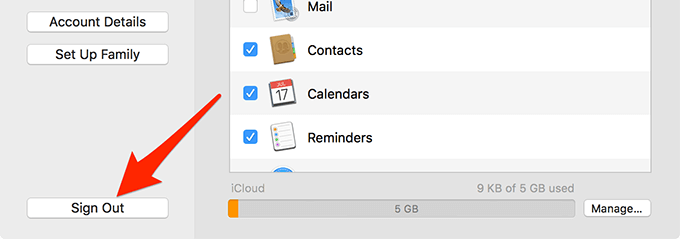
- If you only want to disable iCloud Drive, untick the box for it on your screen.
- iCloud Drive will no longer appear in the Finder.