And get done much more quickly
Finder is a Mac equivalent of a Windows file explorer program. In many ways, it’s more powerful than Windows Explorer. In Finder, you can open multiple tabs in the same window which allows you to copy and move your files to different locations quicker. Finder’s sidebar is a useful tool that you can use to access useful information like shared servers, other computers, or connected devices.
That’s not everything Finder is good for. Learning how to use Finder with a few pro tricks can save you a lot of time that you spend navigating among your folders, files, and apps. Become a professional Mac user by mastering Finder and learning how to achieve more faster.

How to Use Finder’s Go Menu
Finder has one useful feature that can instantly take you anywhere from your Documents folder to any specific folder that you recently accessed. It’s Finder’s Go Menu that lives in the app’s menu bar.

To access the Go Menu, select Finder, and then find Go in the ribbon menu on top of the screen.
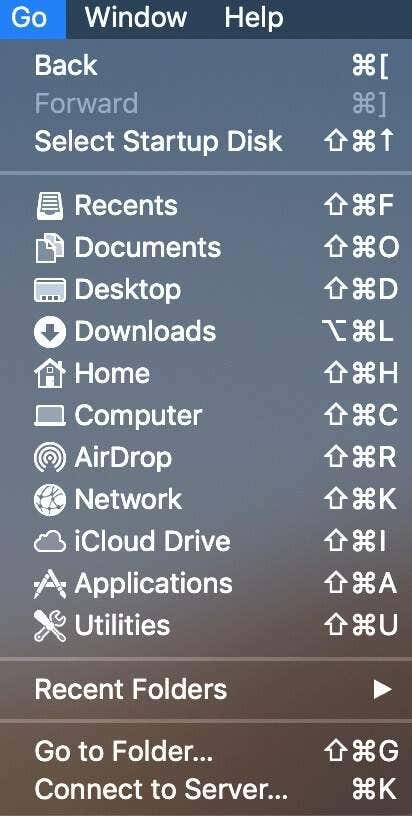
From here, you can already jump to a variety of destinations without having to manually dig through folders.
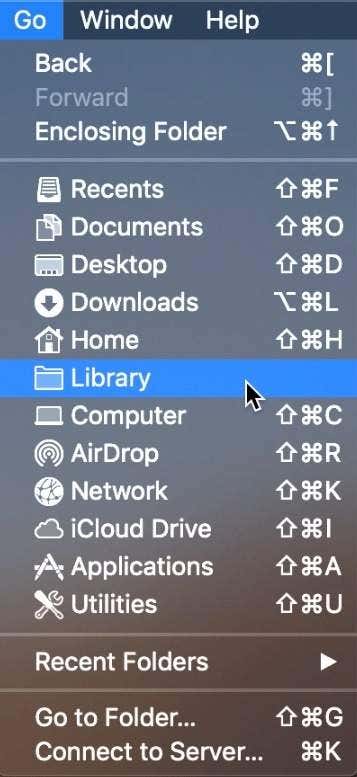
In the same menu, you can access even more destinations by pressing different keyboard combinations. For example, when you press the Option key, you’ll see the hidden Library folder appear in the drop-down Go menu.
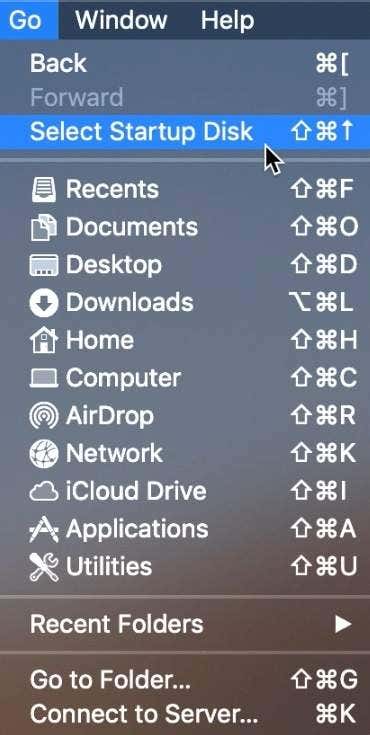
If you hold Cmd + Shift, you’ll see the Enclosing Folder option change to Select Startup Disk.
Knowing how to move around your Mac using keyboard shortcuts is what truly makes you a power user. When it comes to using Finder, learning the main Go To Folder keyboard shortcut can make your life a lot easier.

In order to instantly jump to any location on your Mac, press Shift + Command + G. Then type in (or copy-paste) your desired destination into the Enter a path bar and select Go. This could be especially useful when you’re trying to access a file or folder that you don’t know the destination of, or when you follow a tutorial on troubleshooting your Mac.
How to Use Finder’s Toolbar
Finder’s Toolbar is another useful tool that you can use to move around your Mac quicker.
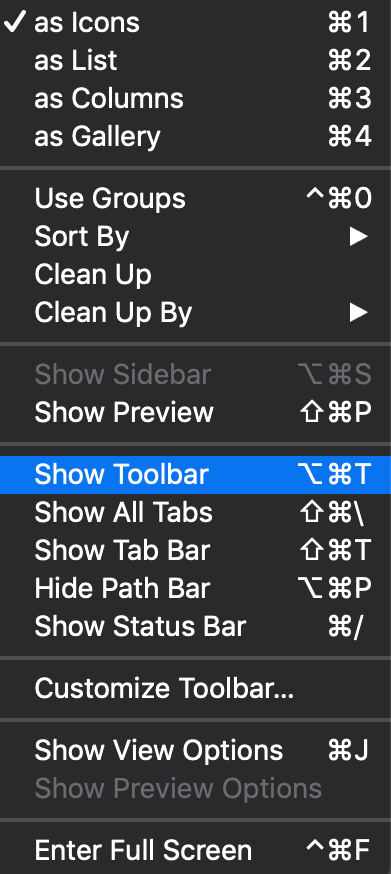
If you don’t have it in Finder, go to the Finder’s ribbon menu on top of the screen, and select View > Show Toolbar to enable it.
You’ve probably used the Forward and Back buttons from the FInder’s toolbar before. When you double-click a folder to enter it, you can use the Back button to get to the folder above it.
However, this only works if you’ve entered the folder by double-clicking it. If you used the Go To Folder command from above or any other method, the Back button will take you to the destination you were in previously instead of one folder above.
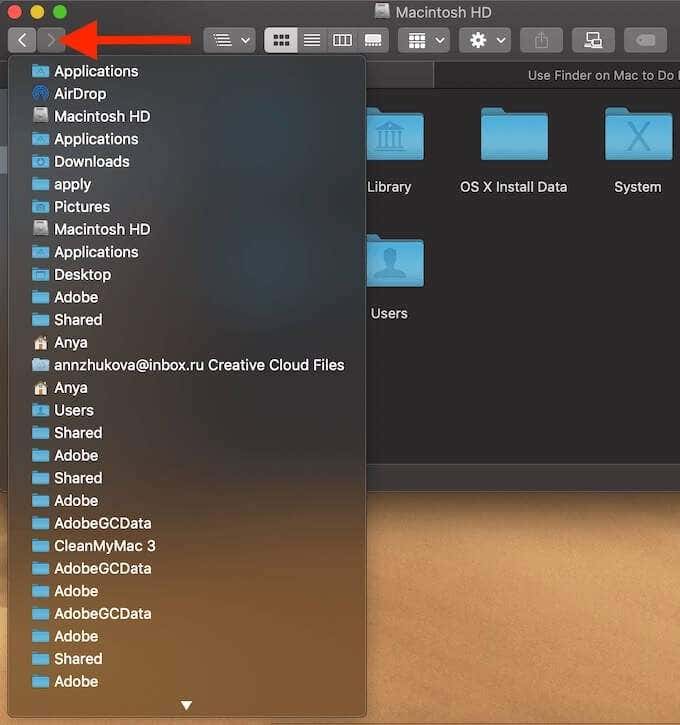
If you hold down the Back button, you can access the list of recently visited folders. It will list all the places you visited since the last time you launched Finder, and it will automatically clear when you quit Finder or restart it. Using this list you can quickly jump to a place you recently accessed without digging through folders in Finder again.
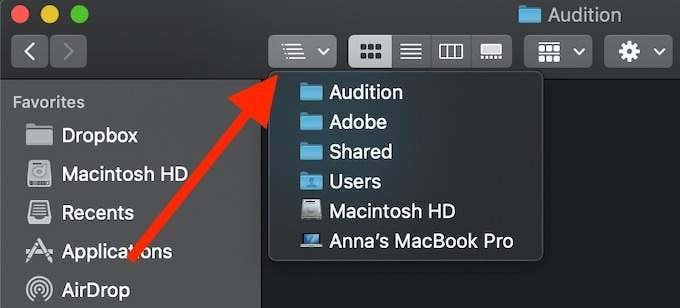
One more handy button that you can find in the Finder’s toolbar is the Path button. Its purpose is to show you the location of the folder you’re in. Instead of using the Back button to move above one folder at a time, you can use the Path button to quickly jump a few folders up in one go. Simply select the desired folder from the drop-down menu to open it.
Enable the Path Bar in Finder

If you move back and forth from one folder to another a lot when working on your Mac, you’ll benefit from using the Finder’s Path Bar.
It will always display the hierarchy of the folders and your exact location at the bottom of your Finder window. You can also use it to move to any folder within the path displayed by double-clicking it.
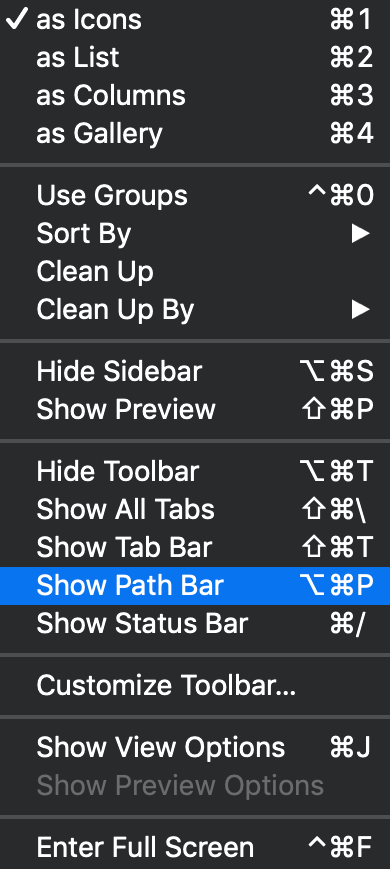
To enable the Path bar in Finder, select View > Show Path Bar.
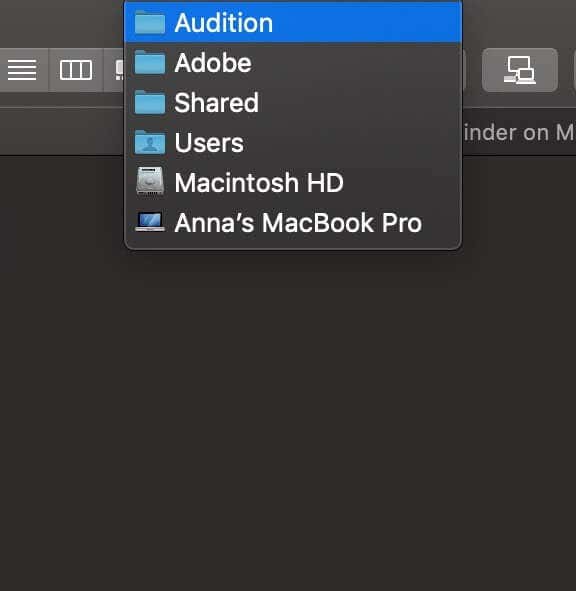
In case you don’t want to overload Finder with more bars and tabs, you can always use the Command key to view the path of the folder you’re in. Hold the Cmd key and select the folder’s icon in the Finder window, and it’ll show you the path in the form of a drop-down menu. You can also use this menu to move to any folder within the path.
Take Advantage of the Arrow Keys
There’s one more useful keyboard combination that you can learn which will help you save time when working in Finder. It involves using arrow keys to move up and down a folder.
To move up a folder (or to move back), use the Cmd + Up arrow key. To move down a folder (or forward), use the Cmd + Down arrow key.
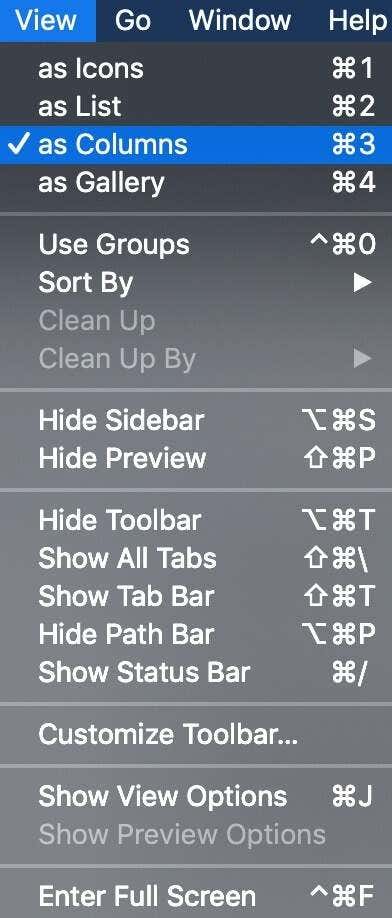
If you’re using Finder in Column view, you can also move around folders by simply using the Left and Right arrow keys. To enable the Column view in Finder, select View > as Columns.
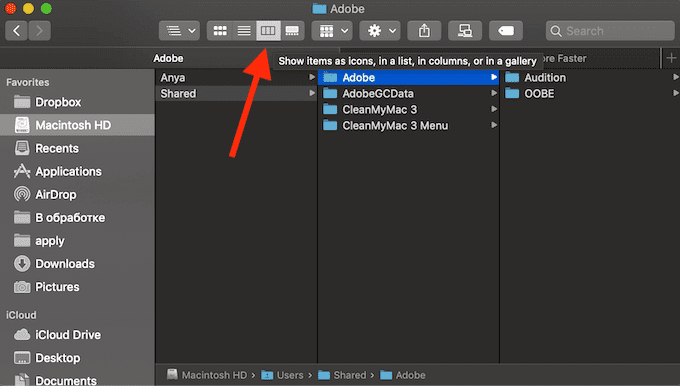
Alternatively, you can switch between different viewing options using the Finder’s toolbar as well.
Use XtraFinder to Do More With Finder
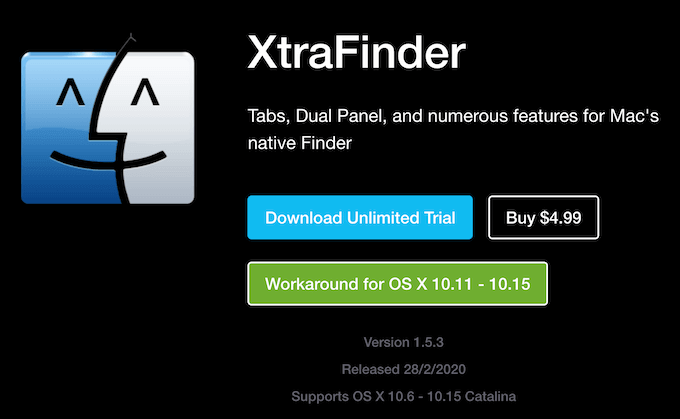
While Finder is pretty efficient, you may still find it limiting sometimes. If you feel like a certain feature or function is missing, you can enhance Finder by installing a free third-party extension like XtraFinder.
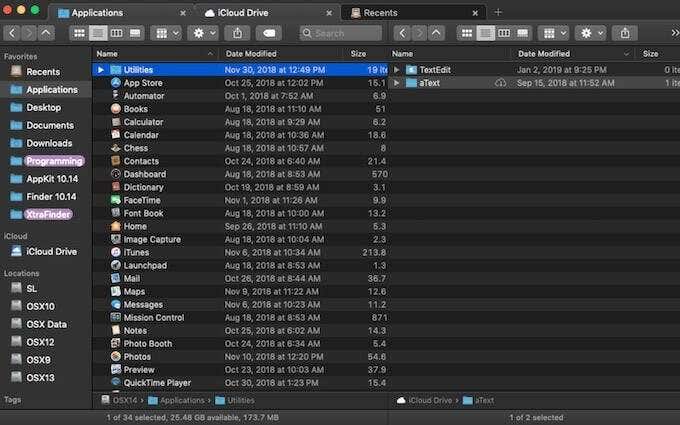
XtraFinder will add a range of features that can improve your Finder productivity and save you even more time. Some functions that XtraFinder comes with include:
- Copy Path
- Show Hidden Items
- Hide Desktop
- Transparent Window
- Dual Panel
- …and many more
Since it’s an extension and not an independent software, it blends into Finder so there’s no need to learn how to use an entirely new application. You simply need to know how to use it in Finder!
Get the Most Out of Finder
Finder is a wonderful built-in app that can help you keep your Mac organized. As long as you know how to get the most out of Finder, you should have no problem locating files or moving around folders on your computer.
Do you know of any other tips and tricks that can speed you up and help do more in Finder? Share your Finder knowledge with us in the comments below.


