Recently, I wrote a post on how to copy and paste content across different Apple devices using Handoff and Universal Clipboard. Continuity also includes a host of other cool features, one of them being Continuity Camera.
This is a new feature that is only available on iOS 12 and OS X Mojave devices. It essentially allows you to open a supported app on your desktop (like Pages, Notes, TextEdit, etc.) and import a picture in real-time by either using the camera app or scanning a document using your phone.
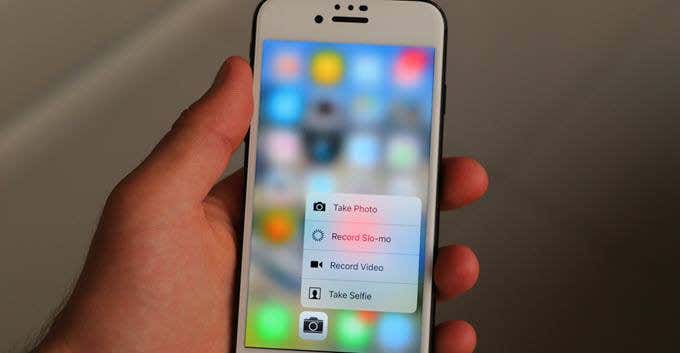
In this post, I’ll go over the requirements for setting up continuity camera and give you an example of how to use it.
Continuity Camera Requirements
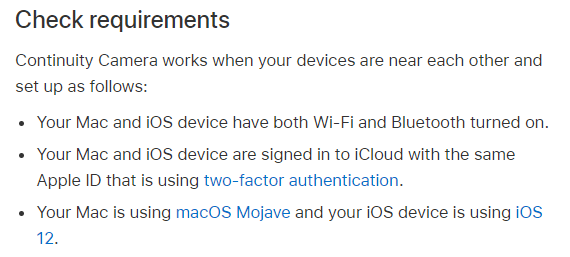
Basically, you need to be running iOS 12 or later and Mac OS X Mojave or later. So if you can install either of those operating systems onto your device, it will support this feature.
Next, you need to have several features turned on.
On both of the devices, you have to enable Wifi and Bluetooth. You also need to make sure that the devices are using the same iCloud account. Also, it seems like you need to have 2FA enabled in order for this to work. Since I already had it enabled, I couldn’t really test it.
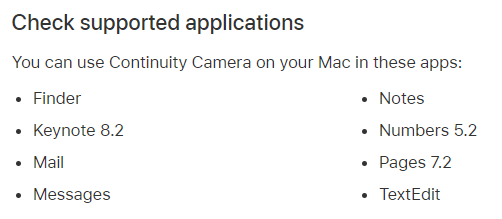
Lastly, you can currently only do this in certain apps on OS X:
These apps include Finder, Keynote, Pages, Numbers, Mail, Messages, Notes, and TextEdit. More apps may support the feature in future versions, but this is the list for now.
It’s also worth noting that you do not need to enable Handoff in order for this feature to work. Handoff is needed for Universal Clipboard, but not for Continuity Camera.
Insert Photos into Mojave Directly from iPhone
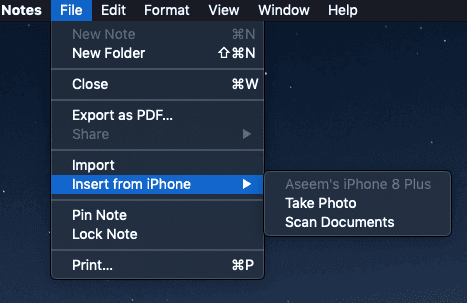
To get started, open one of the supported apps on your Mac. For my tests, I used the Notes app. At the location where you want to insert the photo or scanned document, go ahead and press CTRL and then right-click.
In the context menu, you’ll see an option with a heading named based on the model of your phone. You’ll be able to choose from Take Photo or Scan Documents. In addition, you can also just go to the File menu and you’ll get the same options from there.
On your phone, it should automatically open up your camera app, ready to take a picture or scan a document. This will work even if your phone is locked. You don’t have to enter your passcode or unlock it with touch ID.
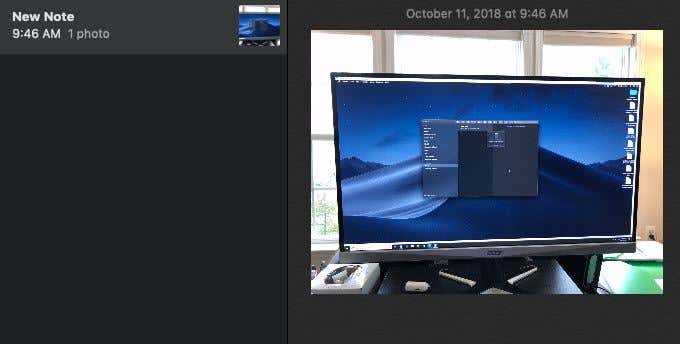
Once you take the photo and tap Use Photo, it should immediately appear in the document on your Mac.
Pretty neat, eh!? When it works, it is awesome! If continuity camera isn’t working, however, it can be quite frustrating. Here are some troubleshooting tips.
Troubleshooting Continuity Camera
The first thing to do is to try enabling 2FA on your Apple ID. Since the feature automatically opens your camera app without requiring you to unlock your phone, I have a feeling 2FA is definitely a requirement.
Once you have that enabled, go ahead and disable and enable Wifi and Bluetooth on both devices. Then, make sure you restart both devices. If it’s still not working, there aren’t too many options left.
One thing you could try is to log out of iCloud on both of your devices and then log back in. If a device isn’t syncing to iCloud properly, that should fix it. Choose Keep a Copy when you sign out of iCloud. Also, restart your device for logging back into iCloud.
Lastly, make sure you are connected to the same Wifi network on both devices. Technically, one device connect to a 2.4 GHz network and one connected to the 5 GHz network are still on the same network, but just pick one to rule out any potential issues.
Hopefully, you’re able to use to continuity camera on your Apple devices! Enjoy!
[related_posts_by_tax posts_per_page="5"]