As you might expect from a high-end computer, almost all of Apple’s Mac systems have a built-in camera. These allow you to make the sort of high-resolution Zoom calls you (and your bosses) might expect you to be making. Whether it’s a video conference with colleagues or a chat with friends, it’s easy to turn on the camera on a Mac.
It isn’t just about turning a camera on, however. Once you know how to turn on the camera on a Mac, you’ll need to know how to configure it for the apps you want to use, how to take photos, and how to restrict camera access to stop snoopers from spying on you. To do all that and more, follow the steps we’ve outlined below.
How to Test the Camera on a Mac Using Photo Booth
One of the easiest ways to turn on the camera on a Mac is to use one of macOS’ built-in apps called Photo Booth. This app is designed with selfies in mind, allowing you to take pictures and apply basic filters. Keep in mind that it isn’t a fully-fledged Mac photo editing app.
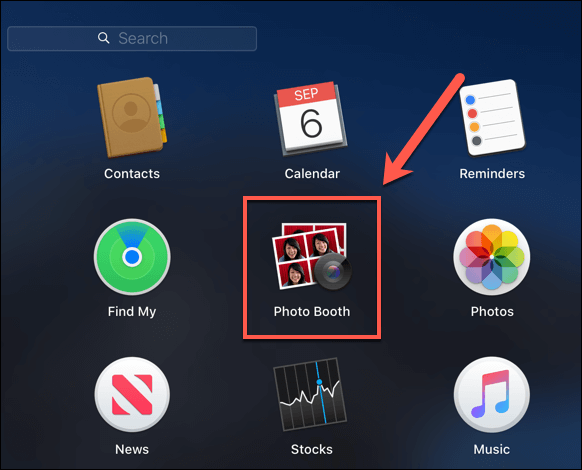
- To use it, launch the Photo Booth app from your Launchpad, accessible from the Dock at the bottom of your screen.
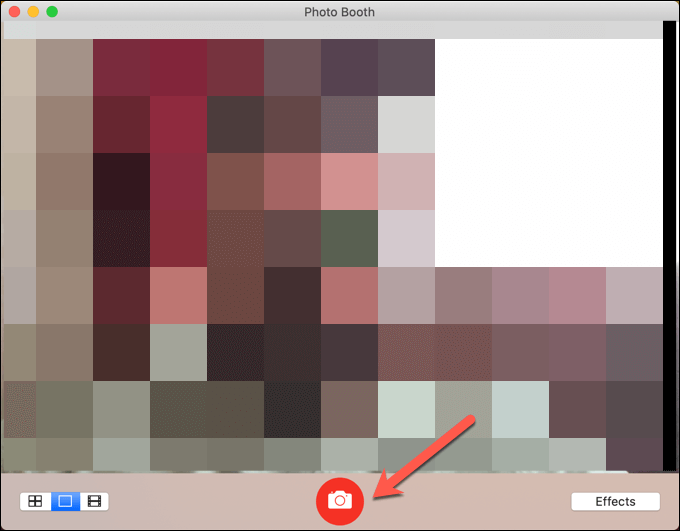
- This will immediately activate the built-in camera (or a third-party USB camera) on your Mac. You should see a live view of yourself in the main window. If you want to take a selfie, select the red Take Photo button at the bottom.
- Your saved photo will be visible in the carousel bar at the bottom. If you want to save the photo, right-click the photo and select Export to save it.

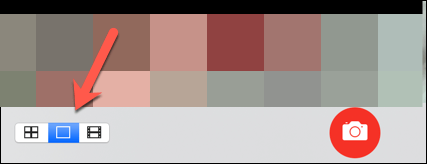
- You can also use Photo Booth to take videos or to take four quick pictures in succession. To do this, press one of the camera options in the bottom-right corner. The first option (on the left) will take four photos in quick succession, allowing you to pick the best option. The second option (in the center) will take a standard photo. The third option (on the right) will record a video.
- You can also apply effects to your photo or video by pressing the Effects button in the bottom right. In the Effects window, various filters and distortion effects can be applied by pressing them—your camera will be updated to show the effect immediately.
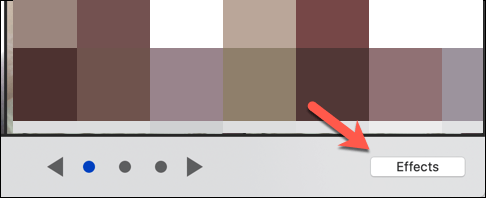
The Photo Booth app is a great way to test the camera on your Mac, as well as judge the lighting and overall quality. You’ll need to install a third-party app to gain access to more effects, filters, and settings, however.
Restricting Mac Camera Access in System Preferences
Unfortunately, there isn’t a significant amount of built-in customization for your Mac camera. If you want to adjust the lighting, quality, and more, you’ll need to use a third-party app.
What macOS allows you to do, however, is limit the access to your camera. This is important, as you don’t want to allow a rogue app to view or record your camera feed.
By default, you’ll need to approve third-party access to your Mac camera from the System Preferences menu.
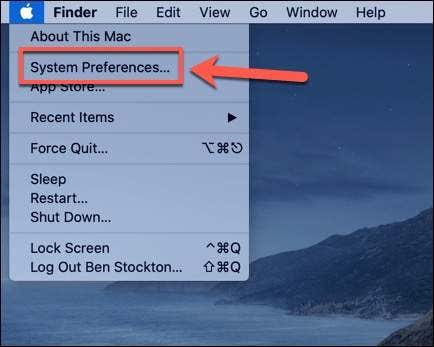
- To access System Preferences, select the Apple icon in the top-left corner of the Mac menu bar. From the drop-down menu, select the System Preferences option.
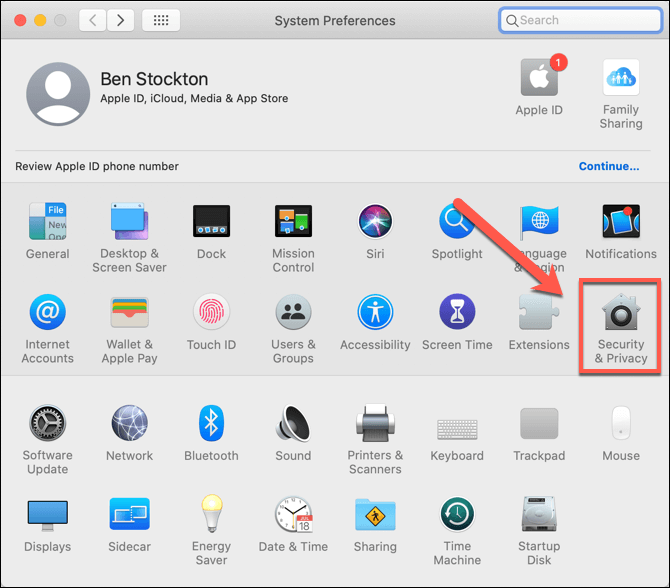
- In the System Preferences menu, select the Security & Privacy option.
- In the Privacy tab in the Security & Privacy menu, select the Camera option. This will show the list of third-party apps that have access to your camera. If you install a new app to access or control your camera, you’ll need to approve it here.
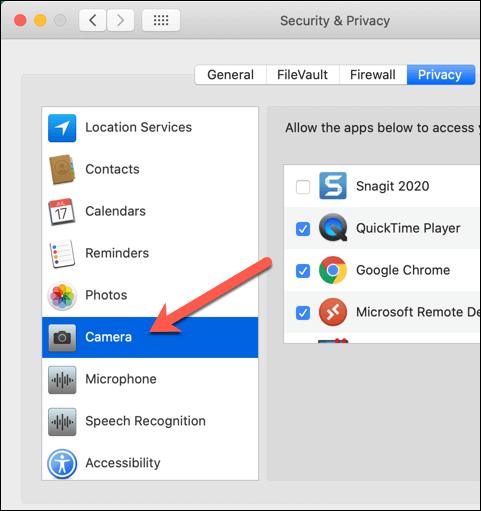
- To provide access to your camera, select the checkbox next to the app name to enable it. To remove access, make sure that the checkbox next to an app name is disabled.
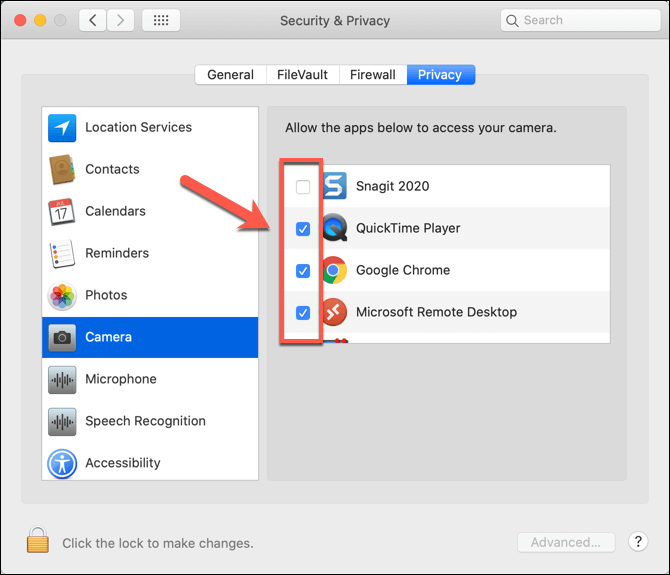
These settings only apply to third-party apps you install. Unfortunately, you can’t restrict access to built-in Mac apps like Photo Booth. While it is technically possible to disable the camera on a Mac completely, it isn’t something we recommend, as it involves disabling other high-level security protection used in macOS.
Using Third-Party Apps with Your Mac Camera
To get the most out of your Mac camera, you’ll need to use a third-party app. These come with many additional features, such as lighting controls, filters, and zooming.
Some apps, like Hand Mirror, will give you one-click access to your camera feed but offer no additional features. Other apps, like Webcam Settings, are powerful editing tools in their own right, with features that let you edit your camera feed before you take photos or recordings, or before any video calls you make.
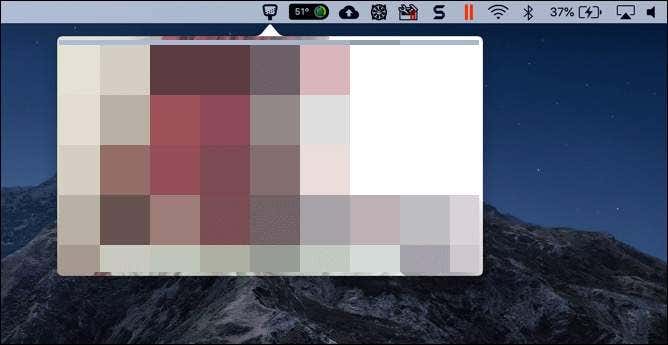
Unfortunately, some of the editing used in apps like Webcam Settings is restricted to other third-party apps. You could use apps like these to change your video saturation settings, but as Mac classifies apps like these as virtual cameras, the effects can’t be used in Photo Booth or FaceTime, as well as some third-party apps like Skype.
You’ll need to enable access to third-party apps like these in the System Preferences > Security & Privacy > Privacy > Camera menu. For security reasons, it’s best to only install apps you trust, such as those available in the App Store.
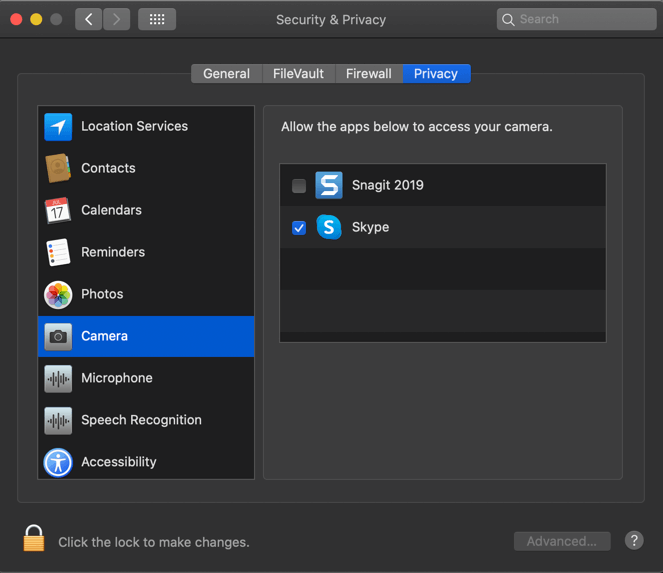
These apps will have been vetted by Apple before being approved. Because of this, the risk of installing a non-secure app will be lower. If you download and install software online that isn’t from the App Store, you’ll need to make sure that you really trust the source before you allow it access to your Mac camera feed.
Using the Camera on a Mac Effectively
Now that you know how to turn on the camera on a Mac, you can use it to stay in touch with loved ones, take impressive selfies using Photo Booth, or even sign a PDF on a Mac using the Preview app. Thanks to your Apple Photos library, you can save all of your camera photos in one place, syncing them to your iCloud storage as you do so.
Where the Mac camera really shines, however, is in video communication. You can chat and record FaceTime video calls, or you can use your camera with third-party services like Zoom or Microsoft Teams. Don’t be afraid to disable camera access if you’re not using it, especially if you’re worried about your network security.
[related_posts_by_tax posts_per_page="5"]