While the Mac definitely has some of the top-notch apps that Windows counterparts will never be able to compete with, there are a few areas where a Mac doesn’t offer the convenience that a Windows PC does. One of these is attaching storage devices to your computer.
If you ever need to transfer files from your Android device to your computer, you can do so easily on a Windows PC. Your PC will quickly recognize the device as a storage device and show it up in Explorer. You can then copy and move files as you please.
On a Mac machine though, things aren’t that straightforward. You need to first install certain apps on your machine before you’re able to interact with an Android device. Seasonal Mac users will have no issues getting around this, but if you’re a new user, you may definitely want to learn the various ways to transfer files from Android to Mac.
Use Android File Transfer To Transfer Files
Google understands connecting an Android device to a Mac isn’t as easy as it is on a Windows PC. Therefore, they’ve developed a dedicated app for Mac users to transfer their files between the two devices.
Android File Transfer is an app built for the Mac to help your machine recognize your device. Once the device is recognized, the app acts as a file manager to let you add files to your device, download files from your device, and perform a few other file management tasks on your files.
The app is completely free to download and use and it works regardless of who manufactured your Android device.
- Open a new tab in your browser and head over to the Android File Transfer webpage. Download and install the app on your Mac.
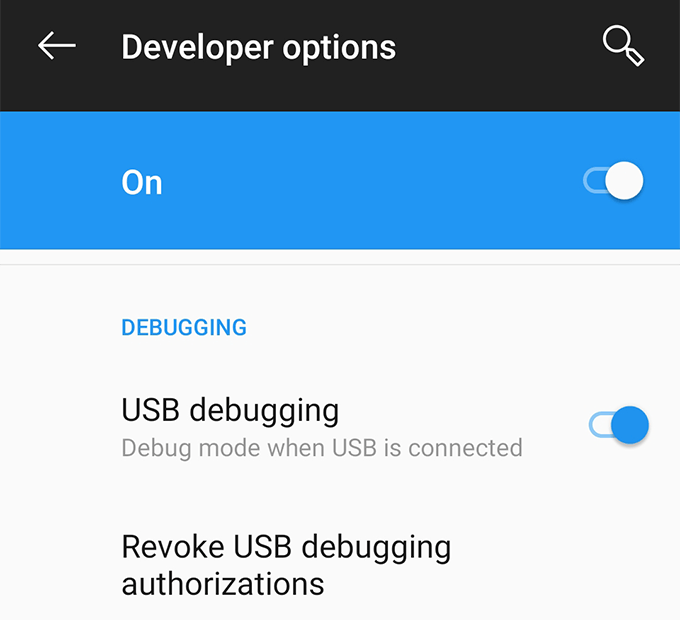
- On your Android based device, launch the Settings app and tap on Developer options. Turn on the option that says USB debugging.
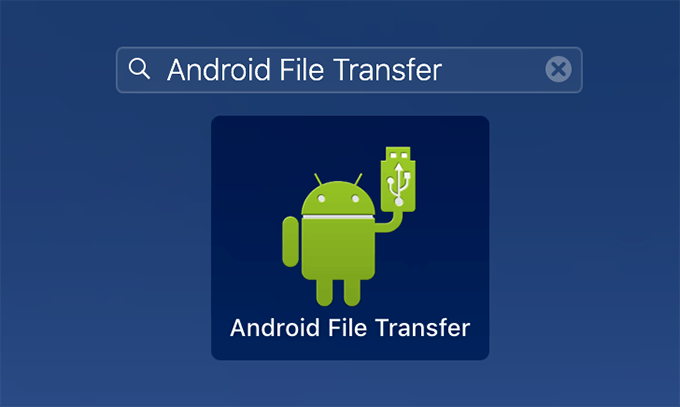
- Plug-in your Android device to your Mac using a compatible USB cable. Launch the Android File Transfer app from the Launchpad on your Mac.
- The app will recognize your device and show you all of your files and directories in a file manager type of layout.
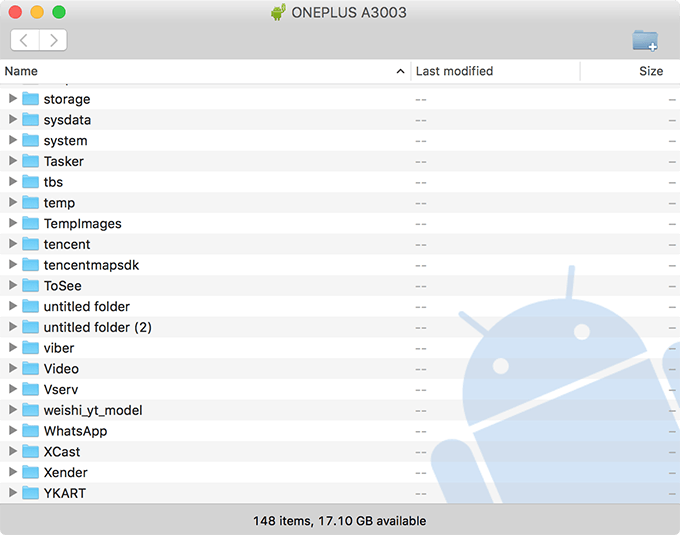
You can now play around with your Android files as you would do with your Mac files.
- To copy a file from your device to your Mac, simply drag and drop it onto your desktop. To add a file from your Mac to your device, drag the file from your machine and drop it onto the relevant folder in the app.
- All the file transfer tasks take place inside the app. Once you close the app, you can’t transfer files anymore so keep that in mind.
Use AirDroid To Wirelessly Transfer Files
The Android File Transfer app works fine most of the time to let you exchange files between your devices. However, there are times when it fails to recognize your device or it gets closed automatically too often.
Fortunately, you don’t have to rely on that one app for your file transfer tasks. There’s a great alternative available to it and it’s called AirDroid. This app allows you to wirelessly transfer files between your Android device and your Mac, as long as both the devices are on the same network.
The app doesn’t require you to install anything on your Mac. You only need to install the app on your Android device and you’re ready to start using it.
- Head over to the Google Play Store and download and install the AirDroid app on your Android device.
- Launch the app on your device and tap on AirDroid Web on the main interface.
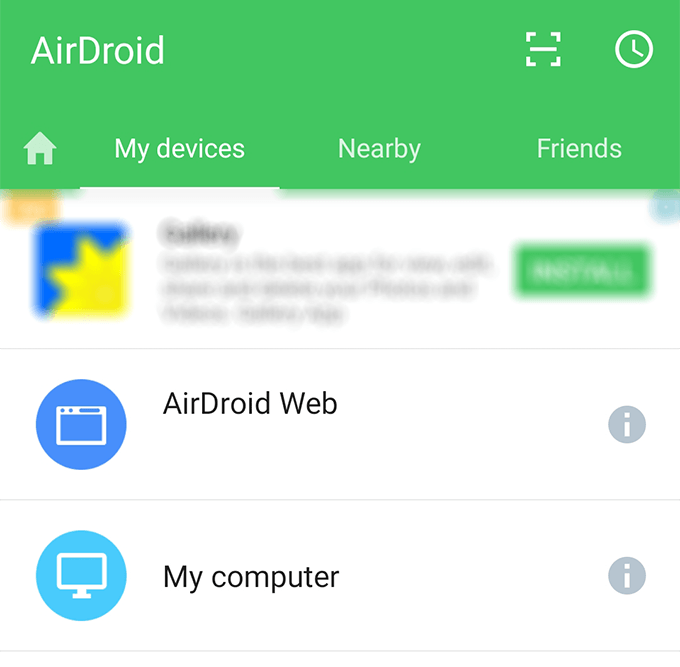
- On the following screen, you’ll see an IP address that lets you access your Android device. Note it down.

- Open a browser on your Mac and enter in the IP address you noted down previously.

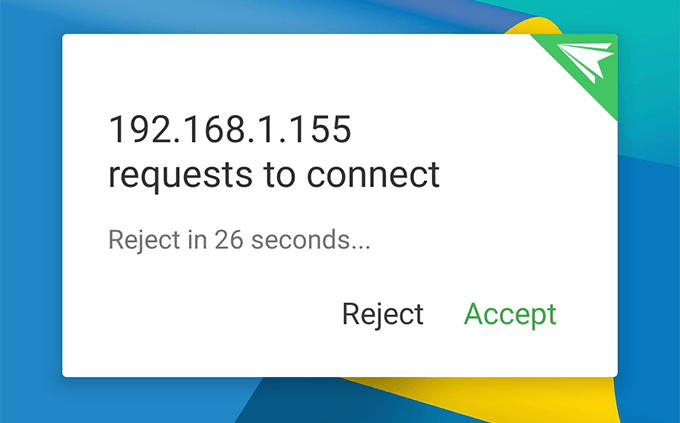
- A prompt will appear on your device asking you to grant permissions to your Mac. Hit Accept in the prompt.
- AirDroid will launch in the browser on your Mac. You can now choose any of the available options to play around with your device’s files.
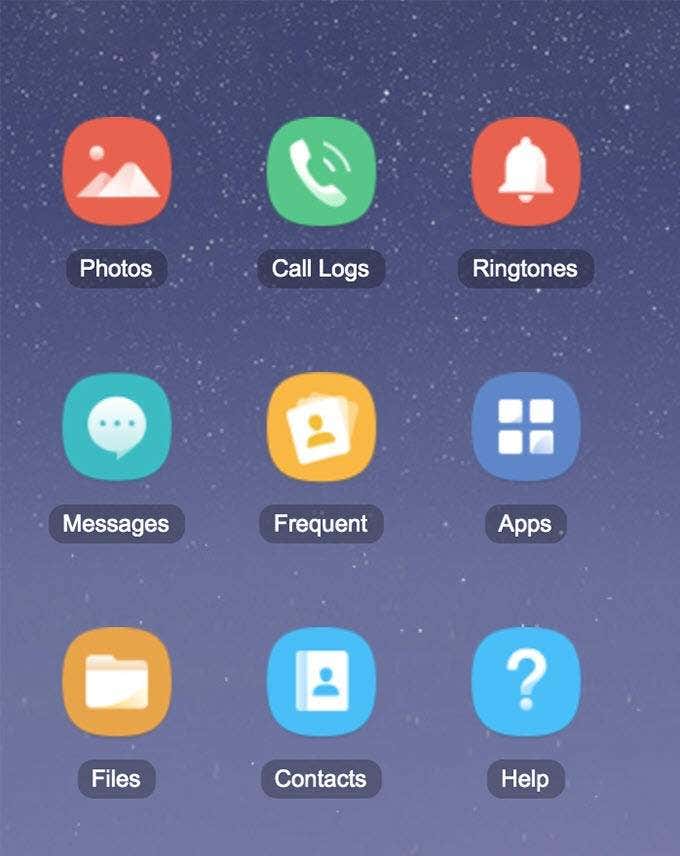
With AirDroid, you have the option to access specific file types on your device. For example, if you’d only like to view your photos, you can click on the Photos option on the AirDroid interface in your browser, and so on.
AirDroid isn’t just a file transfer tool but it’s more than that. Explore the available options and you might just discover something new to try.
Use A Cloud Service To Transfer Files
If you have a stable and high-speed Internet connection, you can use a cloud service to transfer files between your Android and Mac.
Services like Google Drive and Dropbox let you upload files from one device and access the files on another device. Here we show you how to use Google Drive to do the task.
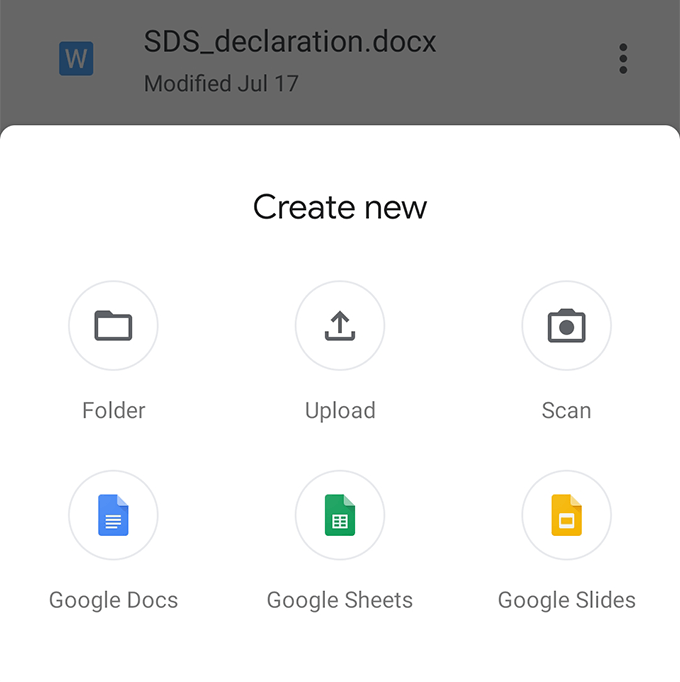
- Launch the Google Drive app on your Android device. Tap on the + (plus) icon and select the Upload option. Upload the files that you want to share with your Mac.
- On your Mac, open a browser and head over to the Google Drive website. Log-in to your account if you aren’t already. You’ll find all of the files uploaded from your device on your screen. You can download these for offline access on your Mac.
This is a great way to transfer files between your devices if the Internet isn’t an issue for you.
Use An SD Card To Transfer Files
Although most newer Android phones come with plenty of internal storage, they often have the option to add an SD card to increase the storage space.
If your phone supports an SD card, transferring files from your device to your Mac is pretty easy.
- Copy all the files you want to transfer to your Mac from your internal storage to your SD card. You can use the file manager app on your device to do it.
- Insert your SD card into an SD card reader and connect the reader to your Mac.
- Your Mac will show the SD card as a storage device and you’ll be able to explore the files available on it.
If you don’t mind copying files to your SD card or SD card is where you save all of your files, this one’s the easiest way to transfer files to your Mac.