Make sure they are gone for good
If you don’t already know how the file deletion process works on your Mac, you may want to learn about it so you can ensure that when you delete your files, they’re gone for good.
Most of the time when you delete a file on your Mac, your Mac only removes the reference to your file. The file that you deleted continues to exist on your machine but without a reference to it.

This makes you think your file’s gone for good and that no one will be able to recover it. However, the reality is that your file still exists on your machine and good data recovery software can retrieve the file for you – even when you’ve emptied the Trash on your Mac.
To help you out with that, your Mac provides you with a secure deletion option. Using this feature, you can delete your files ensuring no software will be able to recover them. There are actually various ways to securely delete files on a Mac and here we take a look at three of those methods.
Use Terminal To Securely Delete Files On Mac
Terminal lets you do a lot of things on your Mac and one of those things is the ability to let you securely delete files on your machine. Using a command in the app, you can remove your files for good so they can’t ever be recovered using any app or software.
The command that lets you securely erase data on your Mac is called rm. It has an argument called P that overwrites your data three times to make it almost impossible for your data to be retrieved.
You don’t really have to dig deeper and find out more about the command to use it. All you need to know is that the command will make sure your files are securely erased and can’t be recovered in the future.
Launch the Terminal app from the Launchpad on your Mac.
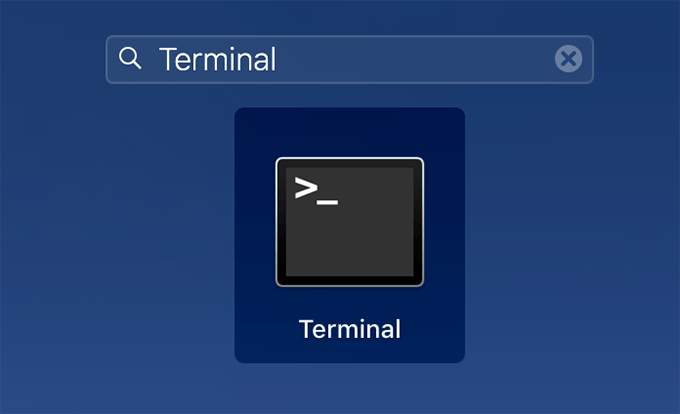
Type in the following command, press the Spacebar, drag and drop the file you want to delete, and press Enter.
rm -P

Your chosen file will be securely erased from your Mac. You won’t find it in the Trash either as it’s been completely removed from your machine.
Since the command won’t let you recover your file, double-check the command before you run it or you’ll end up deleting an important file that cannot be got back on your machine.
Use An App To Securely Erase Files On Mac
The ability to securely delete files is something that most users will need at times, so some apps have come into existence allowing you to securely erase files on your Mac. These apps work pretty much the same way as the Terminal method but these use different algorithms to help you get rid of your files.
Permanent Erase is one of these apps that allows you to permanently delete files from your Mac. It overwrites your data multiple times and also scrambles the data to ensure it’s unreadable.
Head over to the Permanent Eraser app website and download and install the app on your Mac.
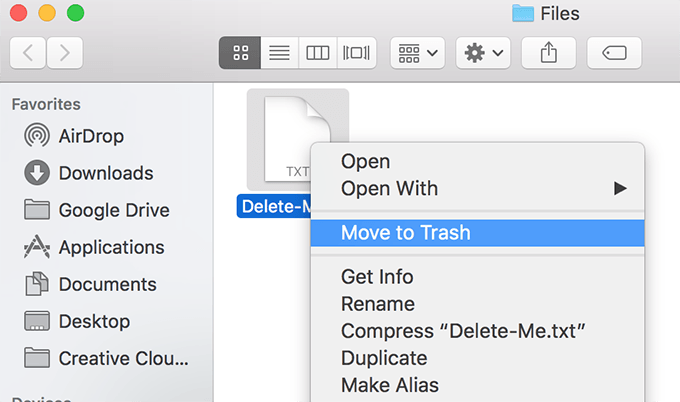
Delete the files you want to remove from your Mac as you would normally. These files should go into the Trash on your machine.
Launch the newly installed app. A prompt will appear asking to securely erase the Trash. Click on OK in the prompt and it will securely delete all the files that are in the Trash.
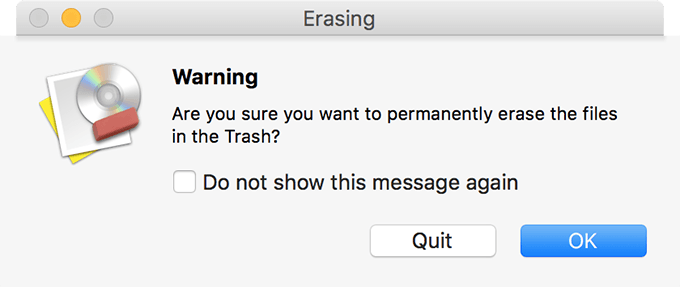
All of your files in the Trash are gone for good. You won’t be able to retrieve these files using any apps or software.
Each time you open the app on your Mac, you’re going to get the prompt that asks you to securely erase the Trash on your machine. Hitting OK will remove the Trash files completely from your machine.
Integrate Permanent Eraser With The Finder
As you can see, the default behavior of Permanent Eraser is somewhat awkward. Opening the app asks you to empty the Trash straightaway, which isn’t something you’re used to seeing on your Mac.
Fortunately, though, the app integrates with the Finder. What that means is you can use the app’s features without opening the app itself. You’ll be able to work directly with the app right from any of the Finder windows on your machine.
Here is how you make both Permanent Eraser and Finder work together:
Launch the Automator app from Launchpad. You’re going to create an app in Automator.

When Automator opens, select the option that says Application and then click on the Choose button at the bottom.
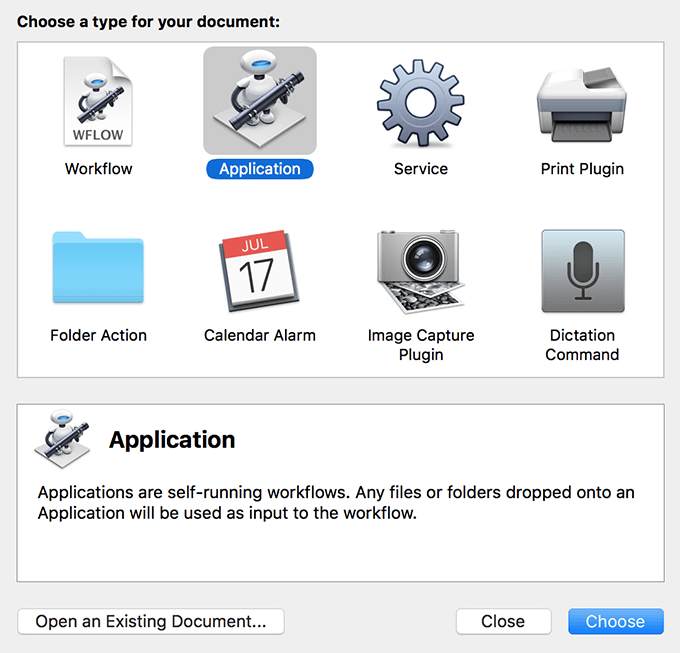
When the new app window opens, drag the action named Get Selected Finder Items from the actions list and drop it onto the main panel on the right-hand side of your screen.
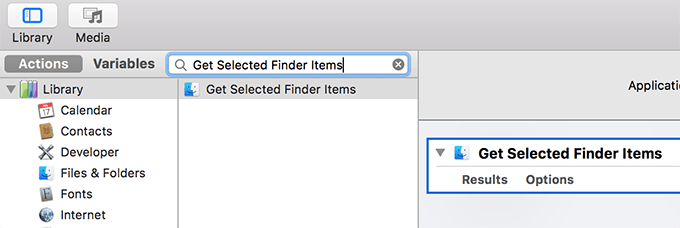
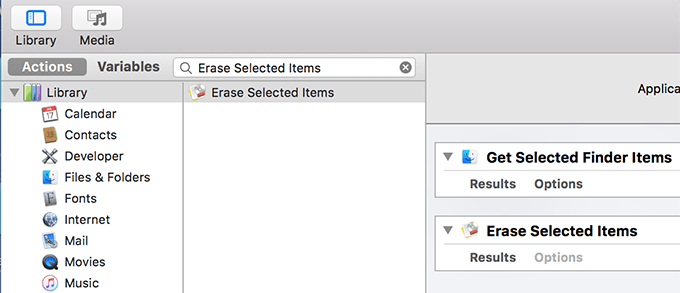
The second and the last action you will want to add to your app is Erase Selected Items. Select it from the list and drag and drop it onto the main panel.
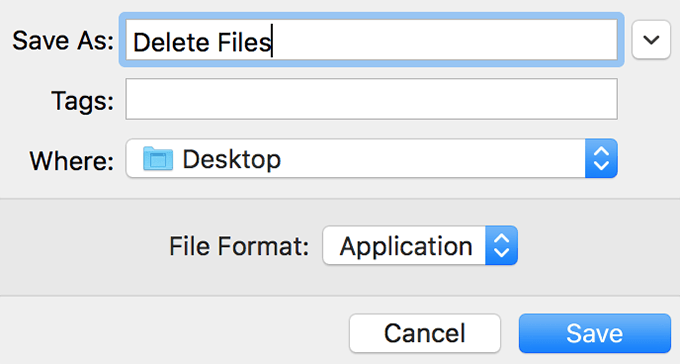
Save the app by clicking on File followed by Save. Enter a name for the app and hit Save.
Your app is now ready and let’s add it to the Finder. Open a Finder window, locate your newly created app, press and hold down Option + Command, and drag and drop the app onto Finder’s toolbar.
The app will sit in the toolbar letting you delete files with ease. Now each time you want to securely erase a file, drag the file and drop it onto the app icon in the toolbar. The file will be permanently deleted.
Conclusion
It is important that you always make sure the files you delete on your Mac are actually deleted from your storage. If that doesn’t happen, your files remain retrievable, and good data recovery software will be able to recover them. Thanks to the above guide, you now know how to delete files permanently on your machine.


