Do you keep noticing a process called “nsurlsessiond” using lots of CPU on your Mac? What is it, and why does that happen? Should you be concerned?
“Nsurlsessiond” is a legitimate process, but persistently high CPU usage can lead to performance hiccups and shorter battery life. We’ll dive into what “nsurlsessiond” is and show you ways to reduce its toll on the Mac’s CPU.
What Is the Nsurlsessiond Process?
The “nsurlsessiond” process on a Mac is integral to the NSURLSession API within Apple’s Foundation framework, and its primary role is to manage network operations in the background.
When you initiate a download or upload in one app and move to another, “nsurlsessiond” will seamlessly manage the task and prevent it from being interrupted.
For instance, a notable function of “nsurlsessiond” is its involvement in iCloud. It synchronizes photos, documents, and other data between the Mac and Apple’s servers. That means when you’re updating or adding files to an iCloud-based app, it’s “nsurlsessiond” that facilitates the data transfer, even when the app isn’t actively running.
Why Nsurlsessiond Uses More CPU
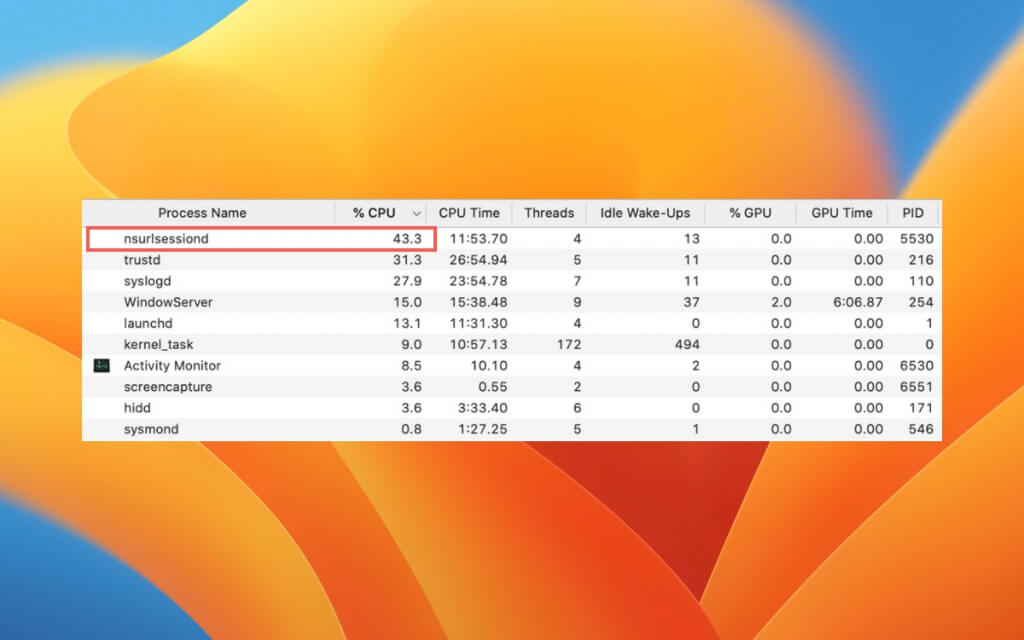
Since it’s “nsurlsessiond” that handles network tasks for various applications on the Mac, especially those that are background-driven, high CPU usage by this process could be attributed to large ongoing downloads, extensive data sync operations, or constant data transfers initiated by specific apps.
However, if “nsurlsessiond” uses lots of CPU all the time, that indicates other causes, such as the process getting stuck attempting to sync broken data or misbehaving applications making excessive or faulty network requests.
Software-related glitches or bugs related to macOS updates also lead to complications with “nsurlsessiond.” Like any software component, this process isn’t immune to issues from coding oversights, meaning conflicts with other native and third-party processes do occur.
How to Reduce High Nsurlsessiond CPU Usage
If you notice high “nsurlsessiond” CPU usage in the Mac’s Activity Monitor, you should always wait to check if it subsides. If that fails to happen after a reasonable amount of time, you must identify and troubleshoot the problem at its source.
For starters, that involves force-quitting “nsurlsessiond,” toggling iCloud off and on, and managing apps that use heavy network resources. If the problem persists, update the Mac’s system software and check the internal storage for malware.
Stop All Instances of Nsurlsessiond
It’s best to kick things off by shutting down “nsurlsessiond” on your Mac since that often resolves unexpected technical issues causing the process to go haywire.
Since there tend to be multiple instances of the “nsurlsessiond” process depending on network activity, the fastest way to do that is to run a specific command using the Terminal console in macOS. Just:
- Open the Launchpad and select Other > Terminal.
- Type the following command and press Return:
sudo killall nsurlsessiond
- Enter your Mac’s administrator password for authentication and press Return again.
Restart Your Mac
Restarting your Mac has many benefits, including resolving random anomalies in macOS. So, if you notice “nsurlsessiond” is ramping up CPU activity again, you should do just that.
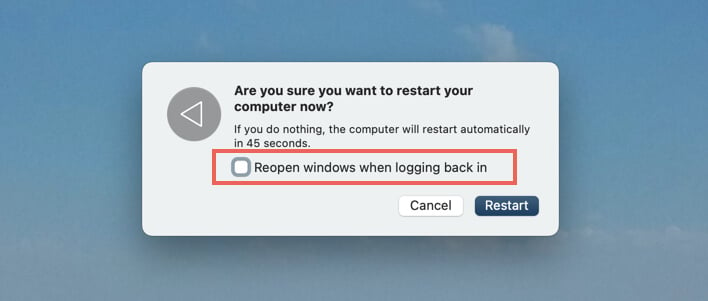
To reboot macOS, open the Apple menu, select Restart, uncheck the box next to Reopen windows when logging back in, and select Restart again.
Disable and Enable iCloud
iCloud services—like iCloud Drive and Photos—can run into sync issues that result in “nsurlsessiond” using excessive CPU. You can rule that out by refreshing the connection with iCloud. Here’s how:
- Open the Apple menu and select System Settings.
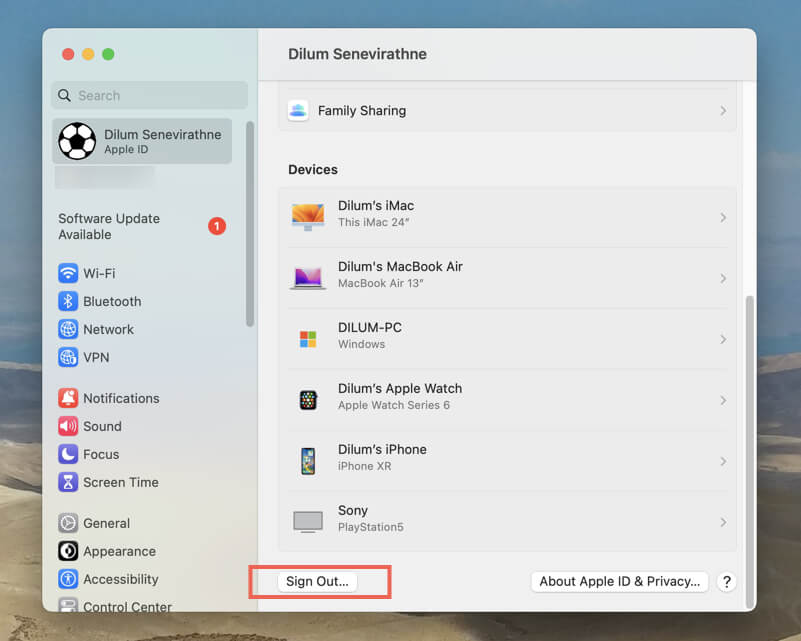
- Choose Apple ID on the sidebar.
- Scroll down the right pane and select Sign Out.
- Follow the on-screen instructions to sign out of your Apple ID—you’ll have the option to download your iCloud data locally, but this isn’t necessary since you’ll shortly be signing back in.
- Restart your Mac, re-open System Settings, and select Sign In to sign back in.
Troubleshoot Network-Intensive Apps
Another troubleshooting technique is identifying rogue or unoptimized Mac applications that push “nsurlsessiond” into overdrive due to heavy network activity. Just:
- Open the Launchpad and select Other > Activity Monitor.
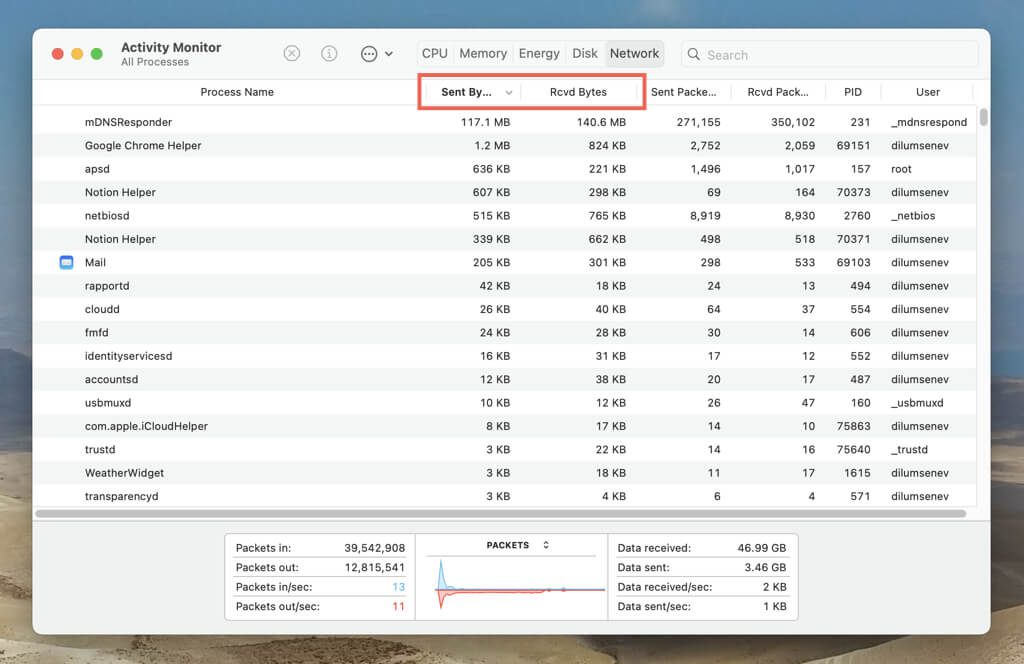
- Switch to the Network tab and sort the processes using the Sent Bytes and Rcvd Bytes columns.
- Note down any apps generated through your user account—check the User column—at the top of the list.
Tip: An alternative—and a much more straightforward—technique to pinpoint apps with high web traffic is to use a third-party monitoring tool like TripMode or Little Snitch.
Once you’ve done that, here are several things you can do to reduce the impact on “nsurlsessiond” caused by network-intensive apps.
- Pause and Resume Activity: Open the application’s user interface, and then pause and resume any uploads or downloads. You can also try to quit and relaunch the app.
- Update the App: You can update a Mac application to its latest version through the Mac’s App Store. If you got it from the developer’s website, look for a Check for Updates option within the application.
- Clear the App’s Cache: Open Finder, select Go > Go to Folder on the menu bar, and visit the ~/Library/Caches directory. Locate the cache folder related to the app and empty its contents.
- Remove and Reinstall the App: Visit the Applications folder and drag the app to the Trash. Then, reinstall the application via the Mac App Store or the developer’s website.
Optionally, you might want to block the app and any associated launch agents and daemons from loading at Mac startup.
Clear Temporary Nsurlsessiond Data
The next fix involves clearing the directory where the “nsurlsessiond” process stores temporary data. That could resolve problems stemming from cache corruption. To do that:
- Open Terminal.
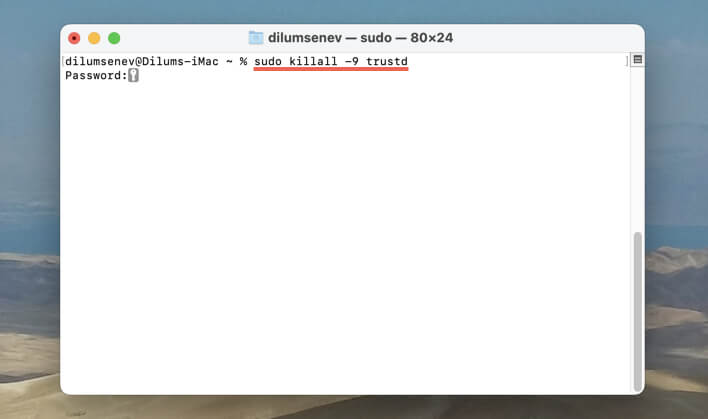
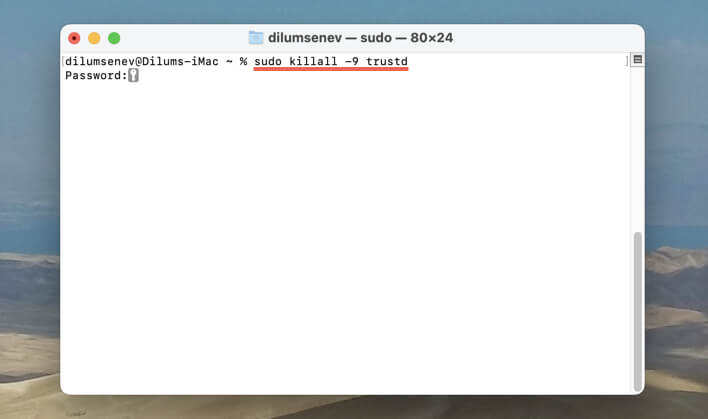
- Run the following command, enter your Mac’s password, and press Return:
sudo killall -9 trustd
- Execute the command below next:
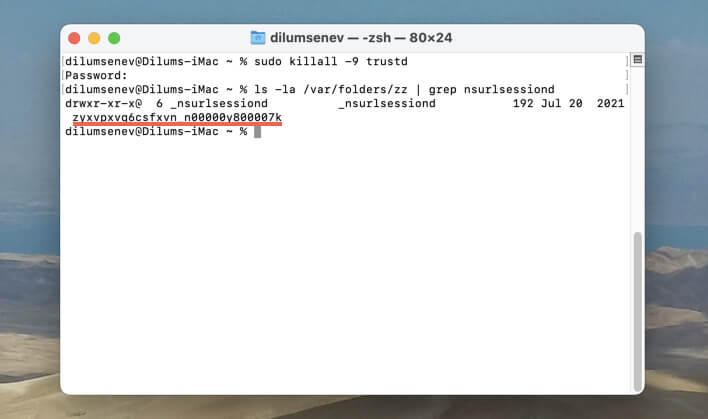
ls -la /var/folders/zz | grep nsurlsessiond
- In the Terminal output, note down the randomized folder name—e.g., zyxvpxvq6csfxvn_n00000y800007k.
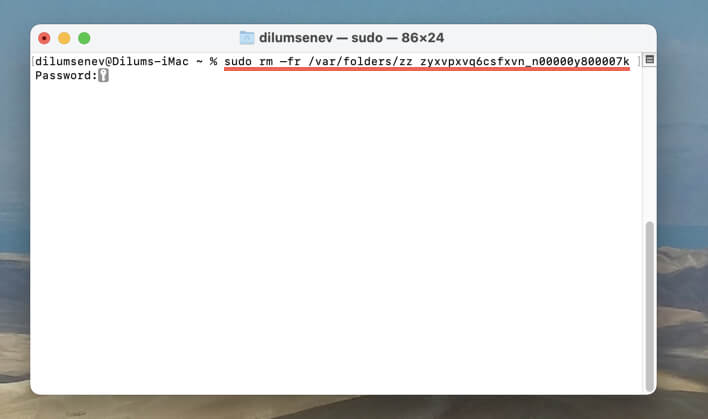
- Run the following command, replacing [randomized folder name] with what you noted down earlier:
sudo rm –fr /var/folders/zz [randomized folder name]
- Exit the command line and restart your Mac.
Update Your Mac
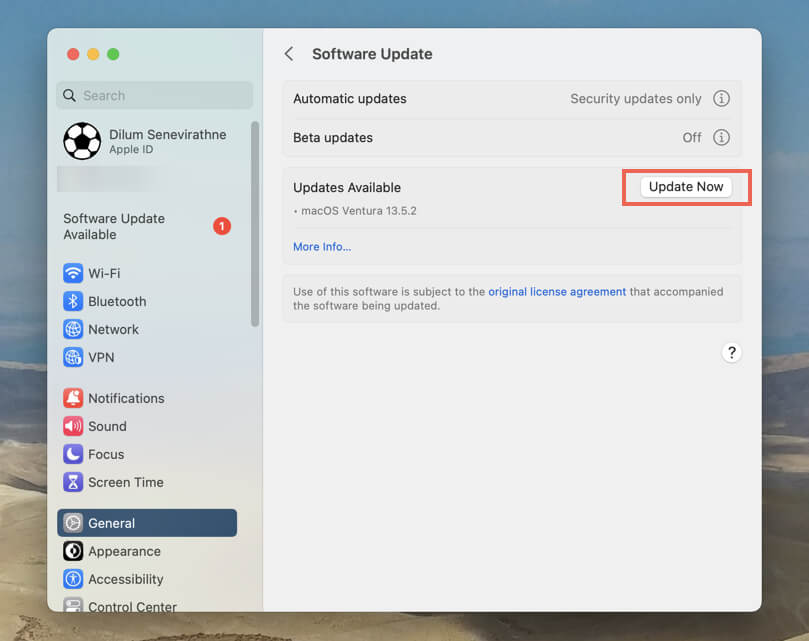
Newer macOS updates contain bug fixes and performance enhancements that address known problems with processes like “nsurlsessiond.” If the problem persists, update macOS to its latest version. Here’s how:
- Open the Apple menu and select System Settings.
- Go to General > Software Update.
- Select Update Now if there’s a new update available.
Check for Malware
Macs aren’t impervious to malware. If “nsurlsessiond” continues to cause trouble, it could indicate the presence of malicious software—e.g., a harmful program might be stealthily transmitting data online.
To deal with that, download and install a trustworthy anti-malware tool designed for the Mac. A popular option is the free version of Malwarebytes, which is highly potent at resolving severe infections.
After installing, open the antimalware utility and initiate a full system scan to locate and remove threats.
High Nsurlsessiond CPU Usage Reduced
Occasional bursts in “nsurlsessiond” CPU usage on your Mac are expected, but if it’s consistently hogging resources, that’s a concern. Knowing why can be crucial, and systematically working through the above instructions should help.
In cases where you’d like to perform additional troubleshooting, you can repeat the same solutions in Safe Mode, reset the Mac’s network settings, and clear the system software cache.

