High-quality video is available to anyone with a modern smartphone. Gone are the days when you needed a DSLR and $10,000 worth of lighting equipment to capture great shots and record quality audio—now you can do it just by changing a few settings on your iPhone.
This is a great advantage in this age of amateur filmmakers and video podcasts since it means that even a person on a tight budget can start on their creative endeavors without a huge upfront investment.

By default, the iPhone X, XS, and XR record at 1080p and 30 frames per second. This isn’t bad, but a higher FPS and better resolution can really add to the appeal of an up-and-coming podcast or film. Changing the recording settings isn’t as easy as it may seem, though. Here’s how you can do it.
How to Change iPhone Video Recording Settings
First things first—make sure you have space on your iPhone. If you intend to record a video of any length on it, you’ll want to free up memory. Here’s a rough breakdown of the different settings you can choose and how much each minute of video takes up.
- 40 MB at 720p HD and 30 FPS
- 60 MB at 1080p HD at 30 FPS
- 90 MB at 1080p HD at 60 FPS
- 135 MB at 4K with 24 FPS
- 170 MB at 4K with 30 FPS
- 400 MB at 4K with 60 FPS
It scales exponentially as you increase in resolution. Just ten minutes of video at 4K/60 FPS is 4 gigabytes of memory. See why you need to make sure you have the storage space?
Either plan carefully for your shoot, or give yourself a bit of wiggle room with how much memory it will take up. You can always transfer the file to your computer after you’ve finished filming and free the space back up.
With that settled, here’s how to change your settings.
1. Open the Settings menu in your iPhone.
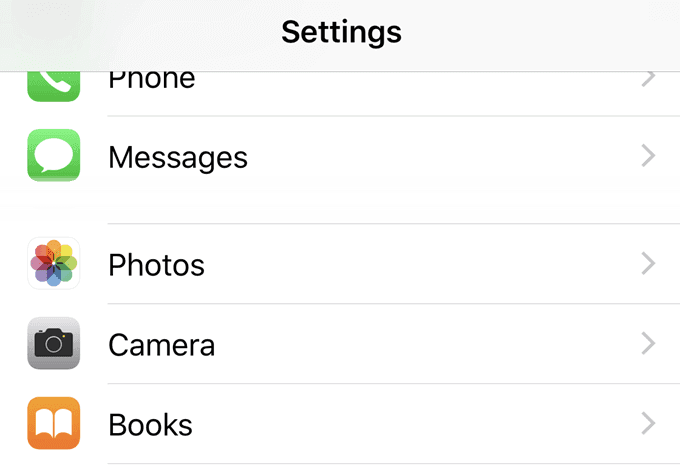
2. Scroll down to Camera and select it.
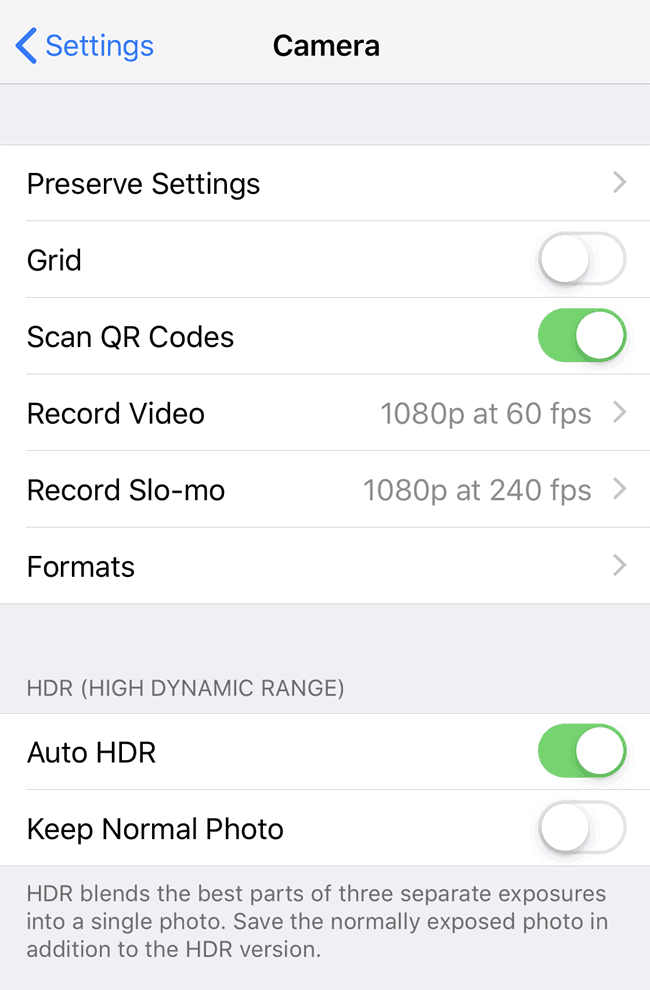
3. Select “Record Video” and tap it.
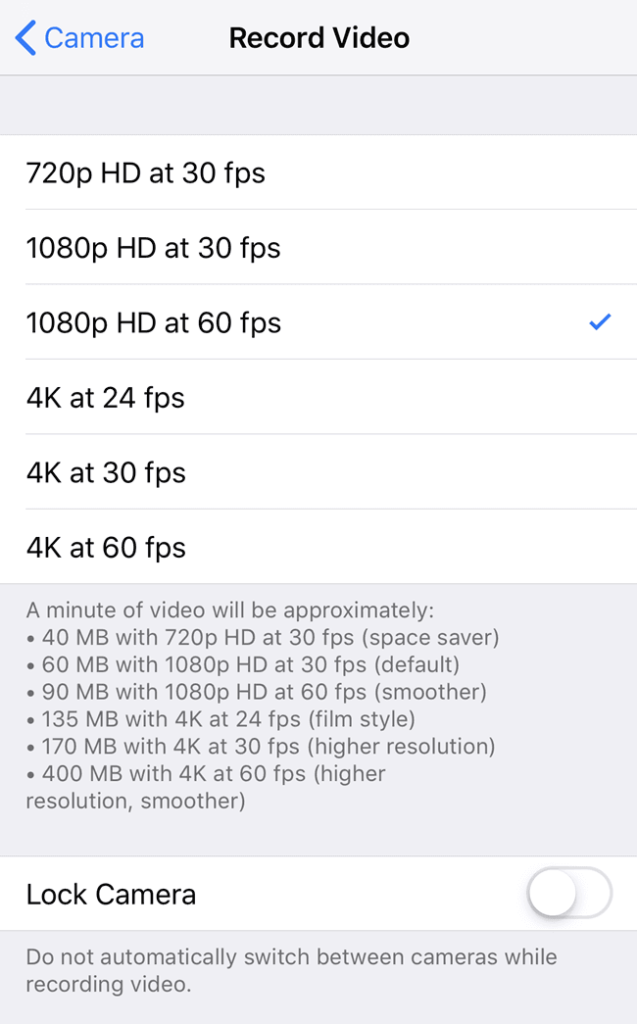
4. The list you see next will show you all of the options available to you. Choose the one you want to use.
Bravo! You’ve changed your recording speed. It changes the way your camera displays, too, so open up the Camera app and give it a whirl. Take the time and decide which one you like best, and then go with that. We recommend beginners go with 1080p and 60 FPS—it balances quality without ridiculous file sizes.
Alternatives to the iPhone Camera App
Not everyone wants to use the built-in iPhone camera. There are different recording requirements for broadcasting films in different countries, so if you’re shooting in the US, you might need to change your FPS rate to something else. Yeah, that can be done in post-production, but why not shoot it right, to begin with?
When it comes to a situation like that, consider a third-party app like FiLMiC Pro. At $14.99, it isn’t your run-of-the-mill camera app. The download page claims it is the “most advanced video camera for mobile.” A quick look at its feature list shows that might just be true:
- Focus and exposure controls
- Zoom rocker controls
- Automatic white balance
- Audio sync rates at 24, 25, 30,
48, 50, and 60 FPS - High speed frame rates of 60,
120, 240 FPS - Image stabilization
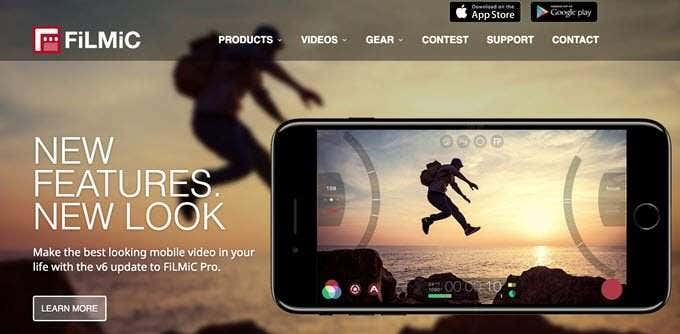
The list of features goes on and on, but these are some of the standout ones. If you’re serious about shooting video, then purchasing a recording app that gives you significantly more control over the final product than the default video recording app is a good investment.
Of course, if you’re just starting out, some of these terms might be confusing or new to you. If you don’t want to spend money but want more control than the basic app gives you, consider one of the numerous free apps on iPhone like Horizon Camera.
While Horizon Camera lacks anywhere near the level of control granted by FiLMiC Pro, it will let you set a few basic settings like the aspect ratio, overlay filters, and even use AirPlay to mirror the recording on another device so you can see how it looks in real-time. It’s a good way to ease yourself into recording video from your iPhone without getting overwhelmed.
iPhone Camera Accessories
If you have an app that gives great control and you still want to improve the quality of your videos, the next step lies in picking up the right accessories. There are so many options for iPhone camera accessories on the market that your phone is nearly the equivalent to a high-priced DSLR in potential.
There are a lot of different lens companies on the market, but some of the best are the Movement lenses. These lenses are produced by photographers, for photographers. You’ll find every type of lens you can dream of, too.
- Wide 18mm lenses
- Telephoto 58mm lenses
- Macro lenses
- Fish-eye lenses
- Anamorphic lenses
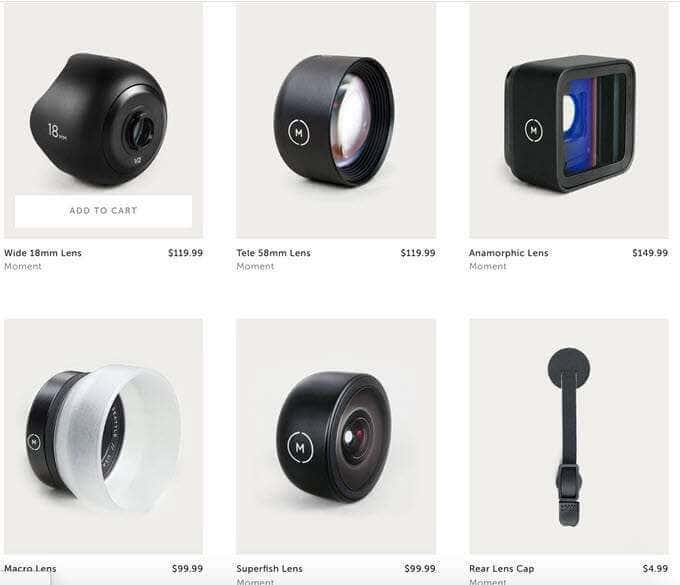
Anamorphic lenses are typically incredibly expensive, but Movement carries them for $149.99. These lenses give any video a widescreen, letterboxed look. It adds an air of professionalism from the moment you press record.
The lenses attach to your iPhone through a specialized case. Once you screw the lens on, it operates just like a DSLR lens would. A telephoto lets you get up close and personal without actually moving closer. A macro lens lets you capture small details that might otherwise be lost.
A fisheye lens gives an awesome effect to whatever you point it at. While purchasing all of these lenses would be a big investment, take the time to consider what kind of lens would increase the quality of your video the most.
In many cases, it’s the wide-angle lens. It allows the video to encompass more of an area with only minimal distortion on the edges. If you need to film a large space—such as a large couch while you and your friends talk about the latest Marvel film—then a wide-angle lens can help you keep a close focus without cutting anyone out of the shot.
Don’t wait until the perfect moment to start that creative project. You’ve got the basics of everything you need already with you—and you can shoot professional-level video with just a few tweaks to your iPhone if you know how to.
[related_posts_by_tax posts_per_page="5"]