Do you have sensitive messages that you don’t want anyone else to see? Protect yourself and your privacy by learning how to lock messages on your iPhone. With so many people having access to our devices these days, it’s important to keep certain information secure. Luckily, iOS gives you the tools you need to do just that. In this article, we’ll look at step-by-step instructions for how to lock messages on your iPhone and keep your private conversations safe from prying eyes.
1. Passcode-Protect Your iPhone
Before you lock the Messages app, make sure your iPhone is passcode protected. The lock screen is there to protect your smartphone from unauthorized access. If anyone tries to check on your messages, photos, or any other information you might have on your iPhone or iPad, they won’t be able to. But you’ll also need iPhone passcode protection for some of the methods we’ll describe later in this article.
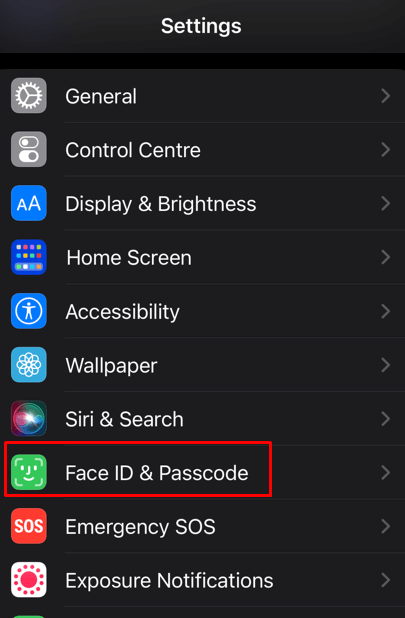
- Go to Settings.
- Select Face ID & Passcode (depending on the model you have it could be Touch ID & Passcode).
- Tap Turn Passcode On if needed. Some iPhones don’t have this option.
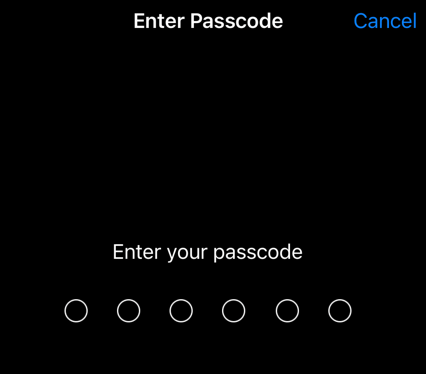
- Enter a 6-digit passcode of your choosing. You can also select the Password Option and set a 4-digit passcode, or an alphanumeric password code.
- Verify the passcode when prompted.
From now on, your device will ask you to enter this passcode every time you unlock your iPhone after a reset. It’ll also do the same when updating software, installing iOS configuration profiles, or connecting your smartphone to a PC.
2. Lock Messages Using Screen Time
You can lock the Messages app by using Screen Time. You’ll set up another passcode, but it will be different than the one you use to unlock your iPhone. If you never used Screen Time, you’ll first need to toggle it on:
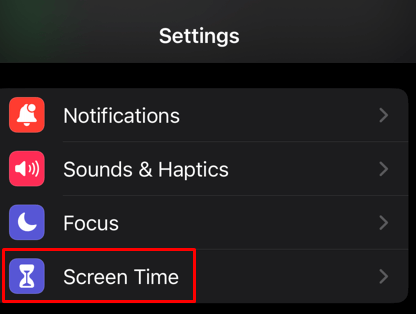
- Go to Settings and tap Screen Time.
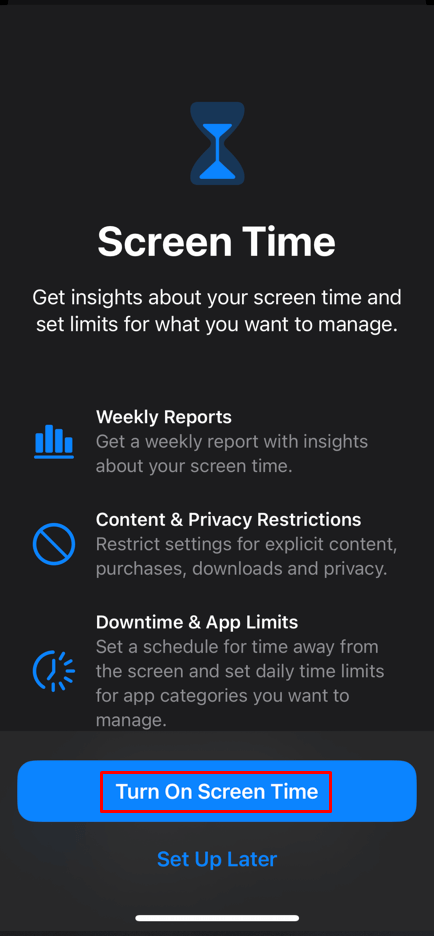
- Tap Turn On Screen Time.
- Tap Use Screen Time Passcode, and follow the on-screen instructions to set the custom code. Remember it as you’ll need it.
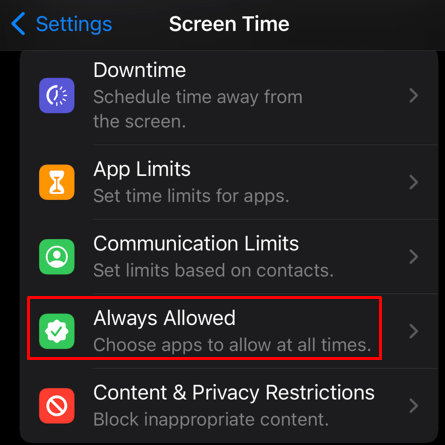
- Next, tap on Always Allowed.
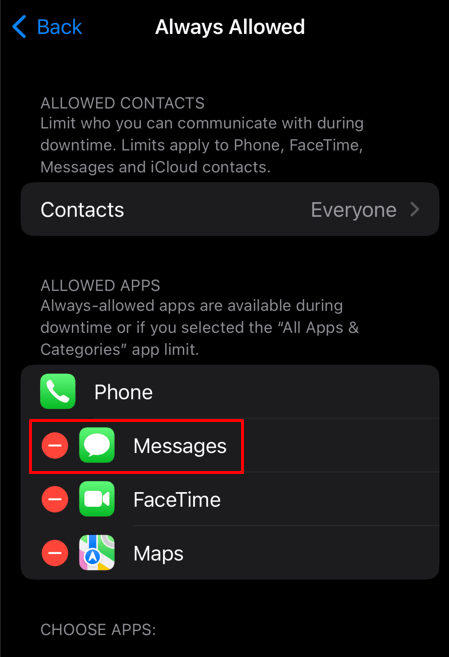
- Find the Messages app and tap its icon to remove it from the list of always-allowed apps.
To lock the Messages using Screen Time follow these steps:
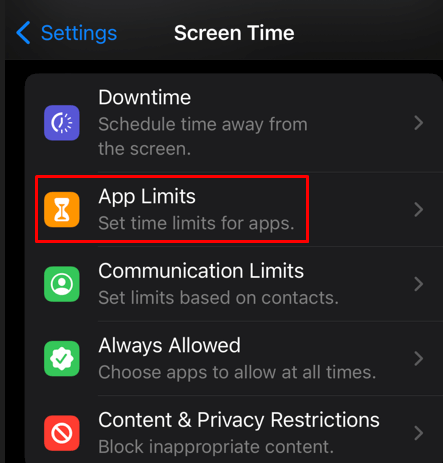
- While in Screen Time, in Settings, tap App Limits.
- Tap Add Limit.
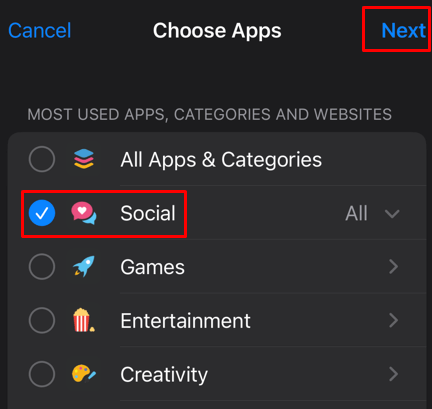
- On the next screen, select Social when prompted to choose apps. Then select Messages and tap Next in the upper right corner of the screen.
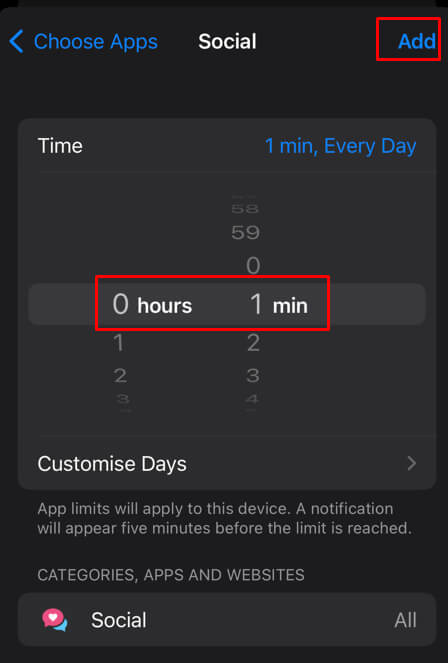
- Set the time limit to 1 minute, and tap Add.
That’s it! Your Messages app will ask for a Screen Time passcode after one minute of usage per day. You’ll have to memorize and enter this code to unlock Messages. You can use this technique to lock any other app on your iPhone.
3. Hide Messages Preview
iPhone shows a preview of all messages on its Lock Screen. That’s how other people might get a glimpse of your private texts and you may want to prevent this. Here’s how:
- Open the Settings app on your iPhone.
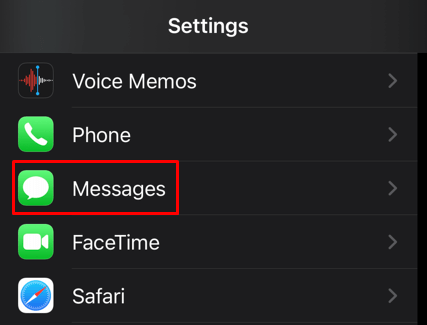
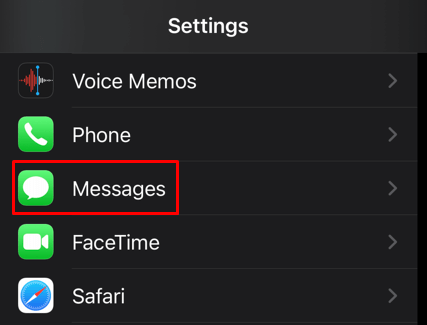
- Find and select Messages.
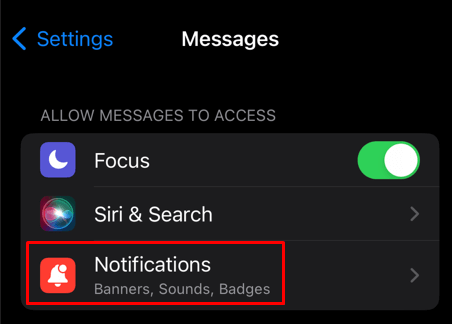
- Tap Notifications.
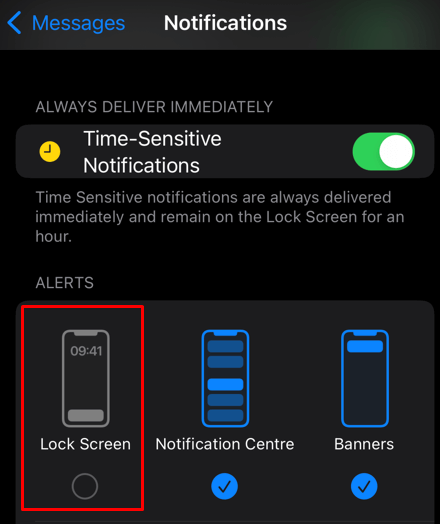
- Under the Alerts section, toggle off Lock Screen. This will hide message previews on the iOS lock screen.
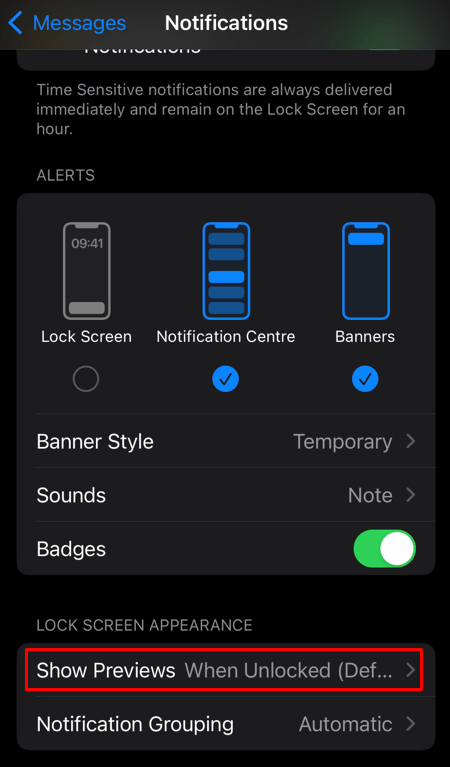
- Next, tap Show Previews.
- Select Never. This will turn the message preview off on iPhone.
If you want you can select When Unlocked instead of Never. This way you’ll be able to see the preview only when your iPhone is unlocked. But keep in mind this option is good only if you are sure you are the only one that can unlock your device.
4. Use 2FA to Protect Your Messages on iCloud
Unfortunately, if someone knows your Apple ID credentials, rest assured they can log in to your iCloud account and get access to all the messages you stored there. You can prevent this by enabling two-factor authentication. This way, whenever there’s an attempt to log into your iCloud account, you’ll get a verification code to enter in order to log in. If it’s someone else trying to log in, they won’t have this verification code and will be unable to access your iCloud.
Turn the 2FA on for your Apple ID:
- Go to Settings on your iPhone or iPad.
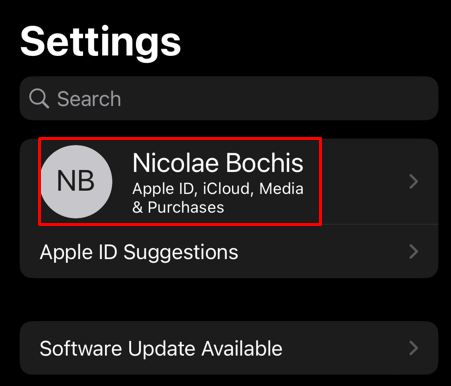
- Tap your Apple account name at the top of the screen.
- Select Password & Security.
- Tap Turn On Two-Factor Authentication.
- Follow the on-screen instructions to set it up.
5. Use Jailbreak Tweaks to Lock Messages App
You can use various jailbreak tweaks to lock individual text messages in the Messages app on your iPhone. Tweaks such as ChatLock, or ComvoProtect let you enable the lock feature in any chatting app on your device.
Once you lock a conversation with this method, you’ll be unable to read it again until you use a password, FaceID, or TouchID to unlock it. This is a good method of locking messages if you already have a jailbroken iPhone. The tweaks are filled with privacy and security options. But if you want to jailbreak your phone to be able to use these tweaks, know that you’ll lose any warranty you might have on your device.
6. Auto-Delete Messages
To prevent others from reading your text messages, you can simply set them to auto-delete after a specific period of time:
- Go to your iPhone’s Settings app.
- Tap Messages.
- Select Keep Messages.
- Choose the time period in which to auto-delete messages. You have options for 30 days, 1 year, or Forever.
7. Turn Off iMessage Sync
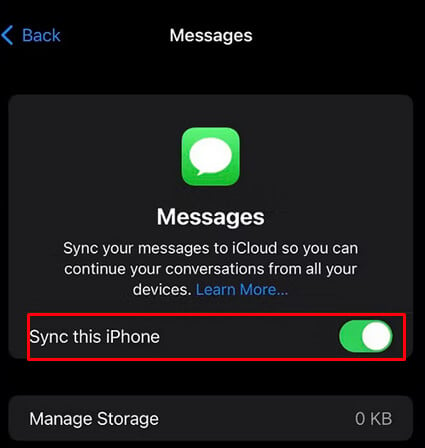
If you have iMessage Sync enabled, know that your messages are synchronized across all Apple devices you might be using. That means if someone gets hold of, let’s say, your iPad, they can read the messages you received on your iPhone. This is a serious privacy issue if you have some data you don’t want to share with others.
Here’s how to turn off iMessage Sync:
- Go to Settings on your iPhone.
- Tap your Apple account name.
- Select iCloud.
- Tap Show All. You’ll be able to see the list of all apps that are currently using iCloud.
- Find and tap Messages.
- Turn off the toggle next to Sync this iPhone.
And that’s it, you turned the iMessage Sync off. Now nobody can read your messages from other Apple devices you own.
8. Use Invisible Ink to Send Messages
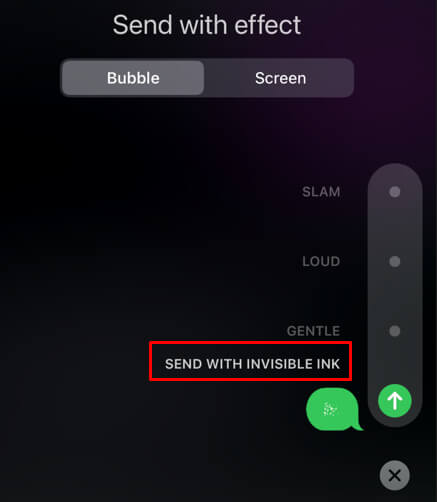
Protect your messages by sending them with the invisible ink feature. This is a perfect way to hide any text that contains sensitive data, images, or videos. When you use invisible ink, the content of your message won’t be displayed until the recipient taps it to reveal it. Here’s how to use the invisible ink feature through Messages:
- Open the Message app and proceed to type the text you want to send.
- Tap and hold the Send button. This will open the Send With Effect menu.
- Select Invisible Ink.
- Tap the message to send it with the invisible ink feature.
Messaging apps on an iPhone have come a long way, enabling users to keep their conversations secure and private with the ability to lock messages. With the right settings, you can make sure your private conversations remain private. So now that you know the steps to take in order to keep your information locked, go ahead and keep those important conversations secure!
