If you’re facing issues getting rid of all the files in the Trash on your Mac, you’ll want to force empty Trash on those Mac files. It’ll force the files to be deleted letting you have an empty Trash app on your Mac machine.
There are various factors that may cause your Trash not to get emptied on a Mac. Maybe your files are locked and this is preventing you from what you’re doing. Or maybe there are other issues with the files in the Trash that prevent the entire task of emptying the Trash from being executed.
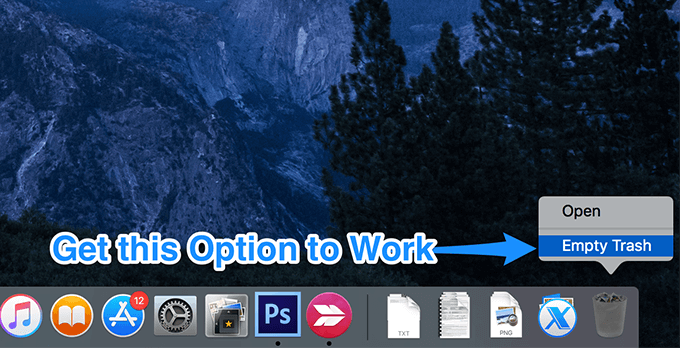
Regardless, you have several ways to get around the issue on your machine. You can start from the simplest and then work your way up with more complex ones until you find the method that works for you.
Quit The App That Was Using The File
One of the reasons why you can’t empty the Trash on your Mac is because one of the files in there is being used by an app on your machine. You’ll need to first close the app that uses the file and you’ll then be able to clean up the Trash.
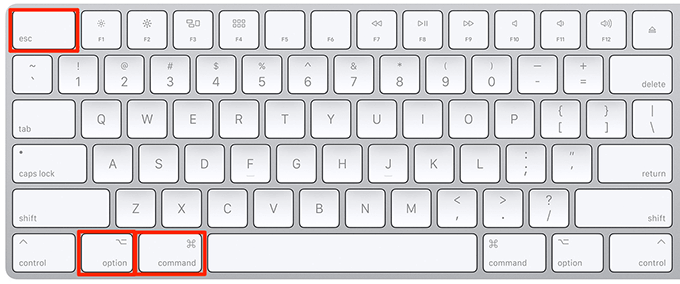
- While on any screen, press the Command + Option + Esc keyboard shortcut.
- A box will appear listing the currently open apps on your Mac. Click on the one you think is using your Trash file and then hit the Force Quit button.
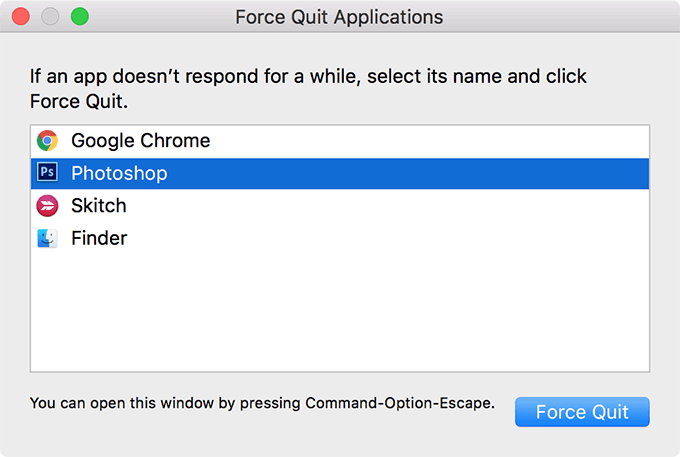
Once the app is closed, you’ll be able to empty the Trash.
Restart To Force Empty Trash on Mac
One of the simple solutions you can try to fix the issue is to reboot your Mac. The reason why you’re suggested to do it is that rebooting your machine closes all the apps and clears the contents of RAM.
If any of these elements were preventing the Trash from being emptied, rebooting your Mac should fix the issue for you. Also, it’s easy and quick to do and does no harm to your machine.
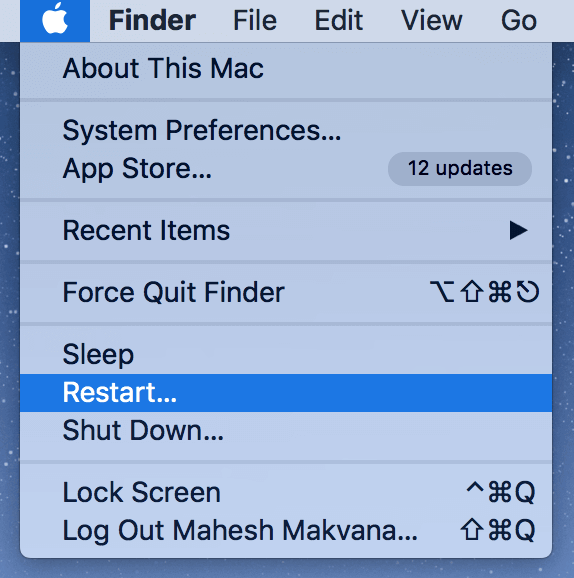
- Click on the Apple logo at the top-left corner and select Restart.
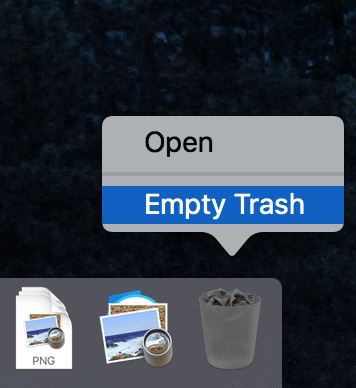
- When the Mac restarts, right-click on the Trash and select Empty Trash.
Force Empty Trash on Mac Using The Safe Mode
If you still can’t get your Mac OS X Trash icon to empty, it may be that there’s a startup app preventing the Trash from being cleaned up. The app launches at each reboot and so rebooting your Mac also doesn’t help in fixing the issue.
In this case, your best option is to use the Mac safe mode. It’ll only load the essential files for booting.
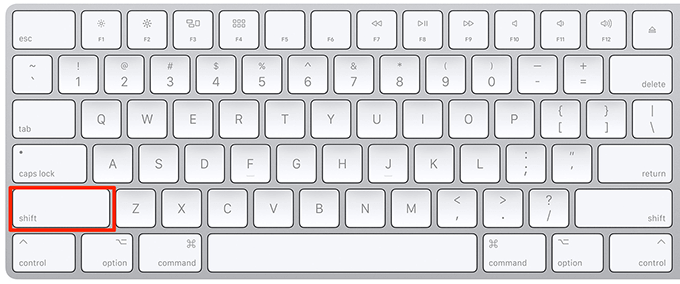
- Reboot your Mac and hold down Shift when it boots up.
- Empty the Trash as you would normally.
Unlock Files Before Emptying The Trash
Certain locked files may cause issues with the procedure to force empty Trash on your Mac. Since these files are locked, they need to be first unlocked before you can remove them when you empty the Trash.
Locking and unlocking files are actually pretty easy on a Mac and you can do it as the following.
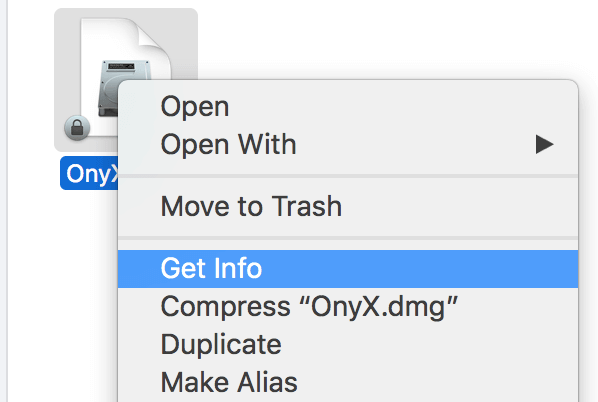
- Right-click on the locked file and select Get Info.
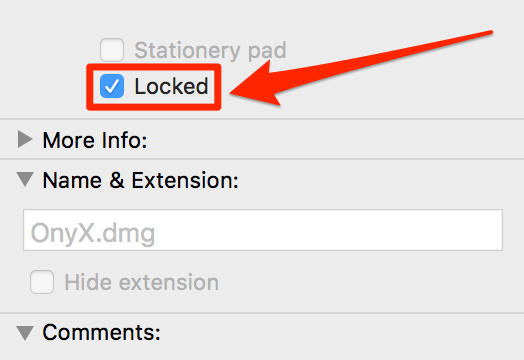
- Untick the box that says Locked and the file will be unlocked.
- Empty the Trash as you would normally and it’ll work without any issues.
Delete The Problematic Files Individually In The Trash
A single or a few files may cause your entire Trash not to go empty. If this is the case with you, you might want to find the files that you think are problematic and first remove them individually.
Once that’s done, you can go ahead and empty the entire Trash at once.
- Click on the Trash icon to open it.
- Find the file you think is problematic, right-click on it, and select Delete Immediately.
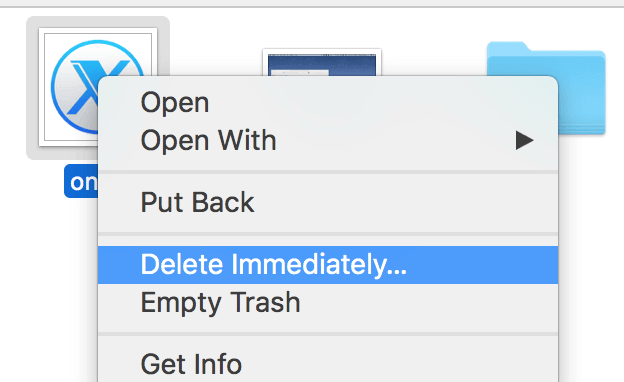
- Do it until your issue is resolved.
Force Empty Trash on Mac Using Terminal
Where graphical user interfaces often fail, Terminal works and gets the job done for you. You can use this command line app to empty the Trash as well. There’s a command you can use in the tool that cleans up all the files currently residing in the Trash on your Mac.
- Launch Terminal from the Launchpad on your Mac.
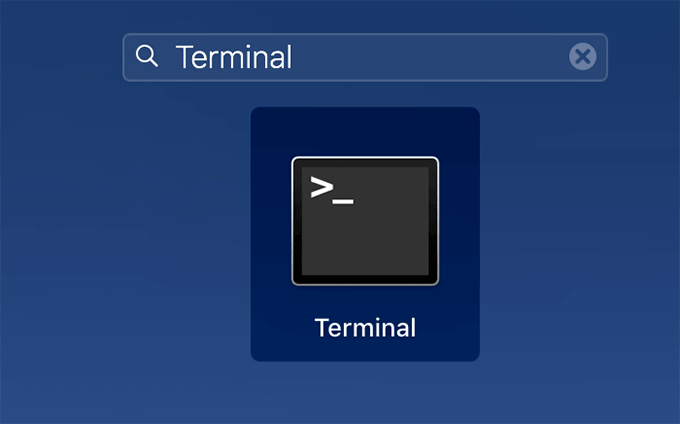
- Type in the following command and hit Enter.
sudo rm -rf ~/.Trash

- Since it’s a sudo command, you’ll be asked to enter your password. Do so and continue.
When the command is executed, your Trash will be empty.
Securely Empty Trash on Mac
When it comes to emptying the Trash on Mac, you actually have two ways to do it. Other than the normal right-click and empty option, you have one more option that’s visible when you’ve opened the Trash on your Mac.
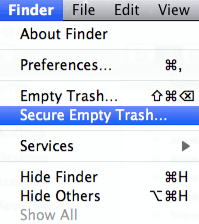
You can use the option to securely erase all the files in the Trash. It should fix the issue that prevents you from emptying your Trash.
- Open the Trash on your Mac.
- Click on the Finder menu at the top and select Secure Empty Trash.
Use a Third-Party App To Force Empty Trash on Mac
In most cases, the default methods should get the issue fixed for you and you should have no issues emptying the Trash. However, if you haven’t been able to get any of those methods to work, you might want to look into third-party apps to see if something’s available.
There’s actually a free app available called Trash It! that lets you empty the Trash on your Mac with a single-click. It can also be used to delete individual files from your Mac if emptying the Trash is not what you want to do straightaway.
- Download the Trash It! app on your Mac.
- Open the app and it’ll empty your Trash.
That’s all there is to it.