If you’re an iPhone or iPad user, you’ve probably noticed that there are quite a few so-called “Albums” in your camera app. If you don’t use them or no longer want them cluttering up your app, can you delete them?
Yes! We will:
- Show you how to delete albums on an iPhone or iPad.
- Help you understand what will happen to your photos if you do.
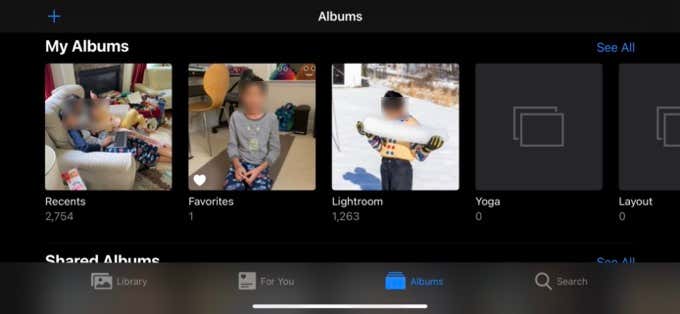
What Is an Album?
On an iOS device, an Album is a collection of photos grouped for a purpose. For example, you may create an album only featuring pictures of your children. Albums make it easy to find the photos you want since most people are likely to take thousands of pictures over the years, which easily get lost in your camera roll.
Why Am I Seeing Albums I Didn’t Create?
You aren’t the only one who can create albums on your device. When you give an app permission to access your camera roll, it can also create albums. This is usually a good thing since it makes it easy to see which images were generated by that particular app.
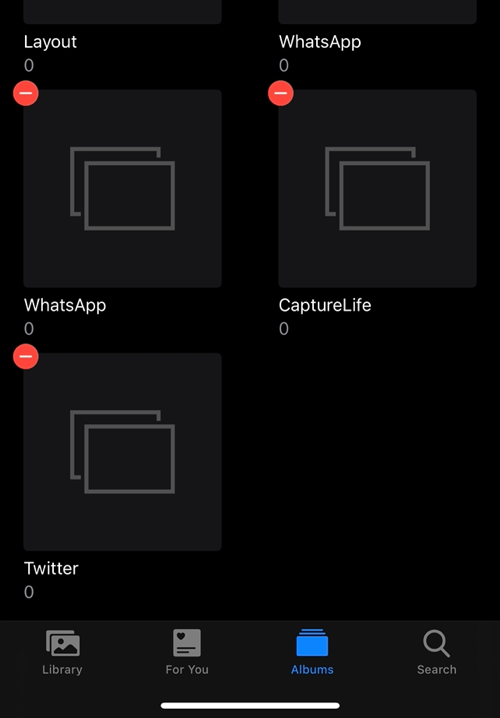
Many different types of applications may have a reason to create an album. Photo editors and social media apps are two obvious examples. If you don’t want an app to mess with your camera roll and don’t think it has any reason to need that permission, then remove or deny it.
Does Deleting an Album Delete Photos?
Deleting an album doesn’t delete the photos inside it since an album is just a way to organize photos. It’s not like a folder on a hard drive, instead, it’s more like a hashtag on Twitter. You can have the same photos in multiple albums.
Albums don’t take up space on your device, so removing an album won’t do anything to free up storage. We address the storage issue further along in this article and provide better solutions.
Albums that Can’t Be Deleted
Before we go through the exact steps to delete an album on an iPhone or iPad, you should know that some albums are impossible to delete.
In a nutshell, the only albums that you are allowed to delete are those listed under “My Albums” and “Shared Albums”. The rest are system-reserved and essential for the proper functioning of the Photos app.
How to Delete an Album on iPhone or iPad
With the basic facts out of the way, let’s get down to the actual process of deleting an album, we’ll start with the iPad:
- Open the Photos App.
- If necessary, select the sidebar button at the top left corner of the app to reveal the sidebar.

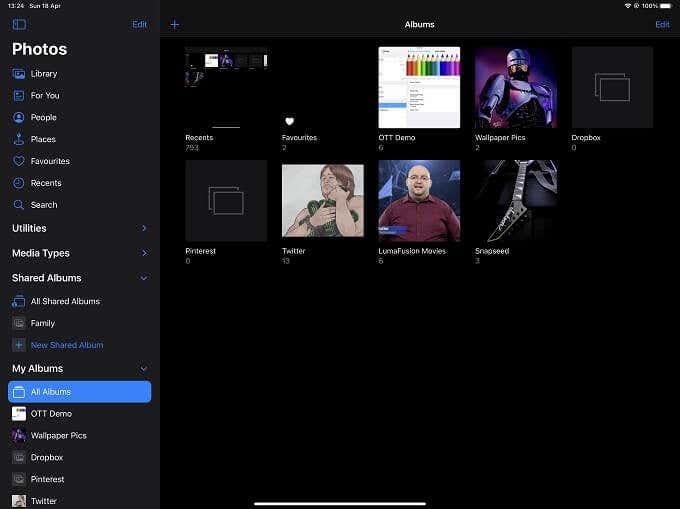
- Select the Edit button at the top-right of the sidebar.
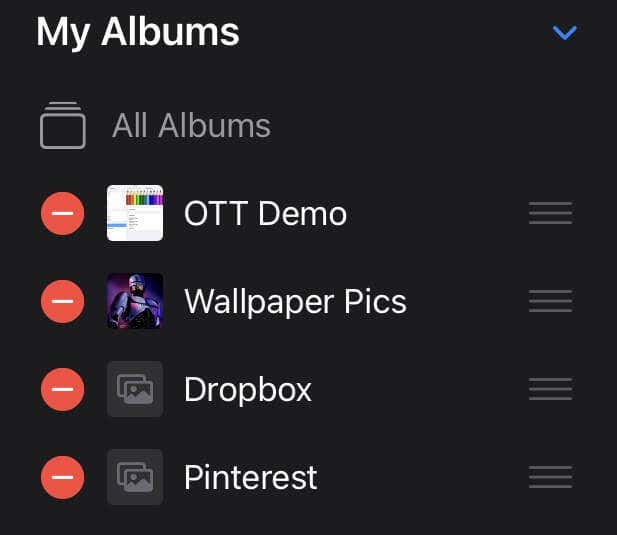
- Next to any album with the little red circle with a white dash in it. Select it.
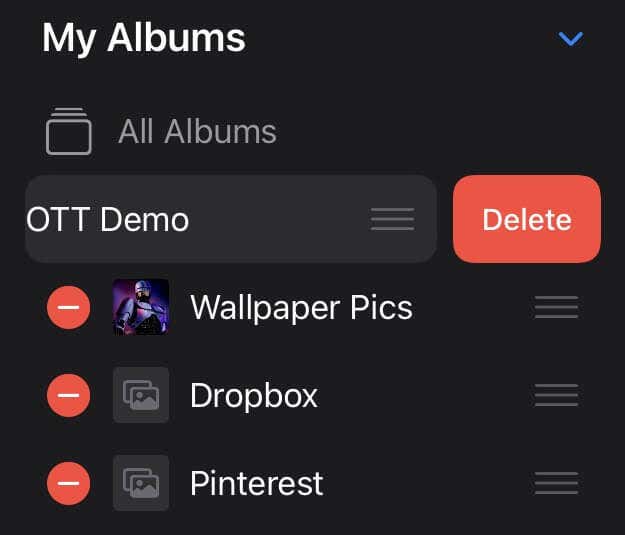
- This will reveal a delete button. Select it.
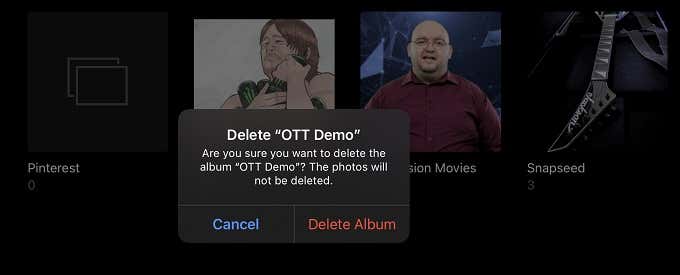
- If you’re sure you want to delete the album, select Delete Album.
The album should now be gone from the list.
Now let’s look at the process on iPhone:
- Open the Photos App.
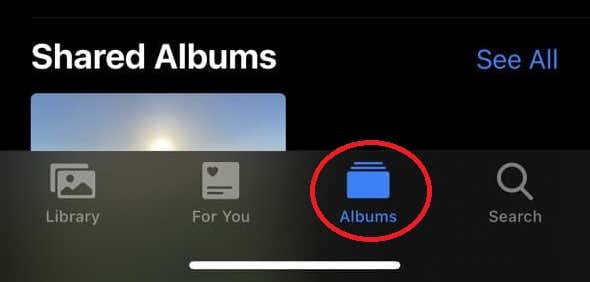
- Switch to the Albums tab.
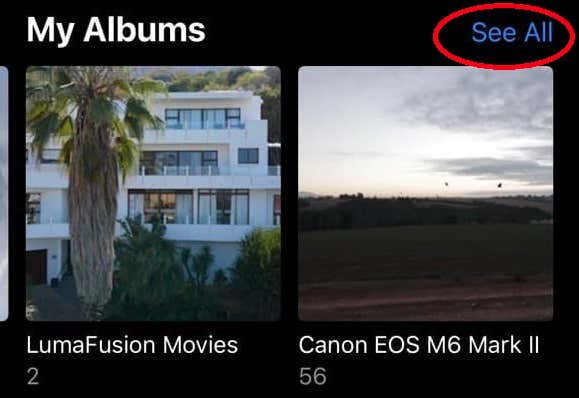
- Under My Albums, select See All.
- Select the Edit button at the top right of the screen.
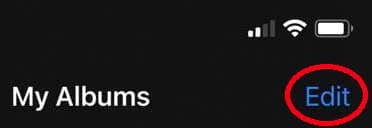
- Select the red delete icon at the top left corner of the album you want to delete.

- Select Delete Album to confirm the operation.
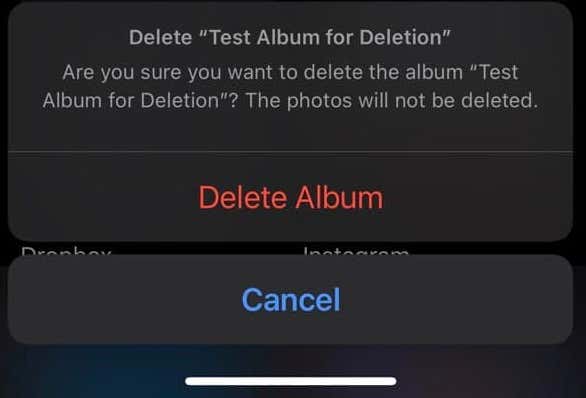
The album in question should now be gone.
How to Unsubscribe From a Shared Album
Think twice before deleting a shared album. Instead, you could choose to simply unsubscribe from that album:
- Select the shared album you want to unsubscribe from.
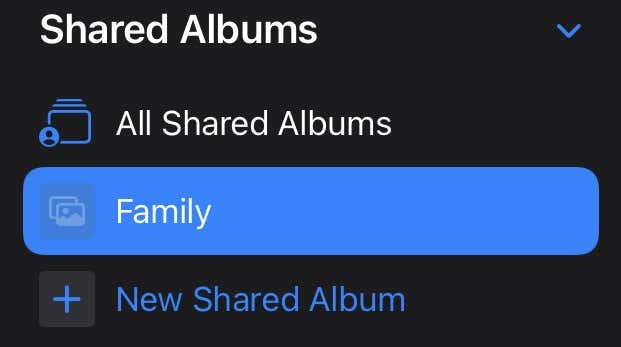
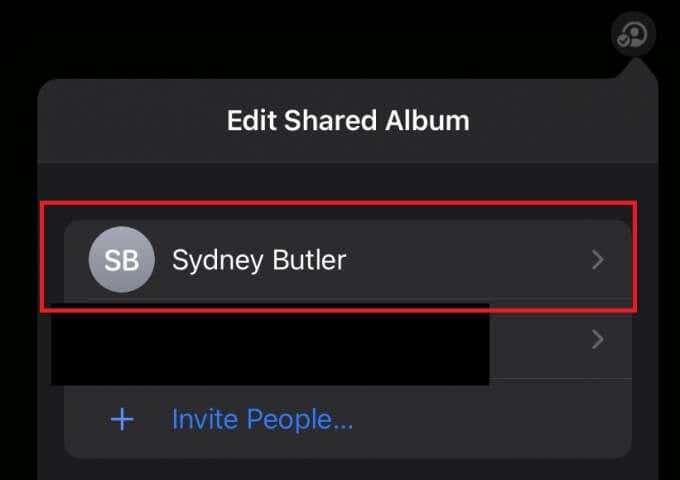
- Select the small family sharing icon at the top right corner of the app.
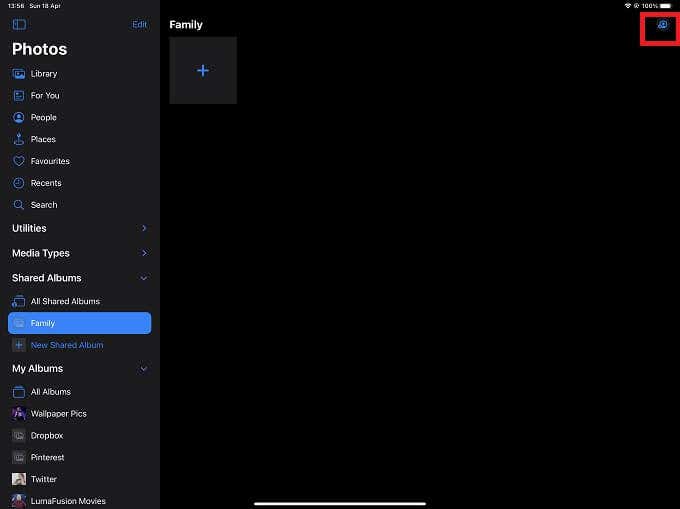
- Select your username.
- Select Remove Subscriber.
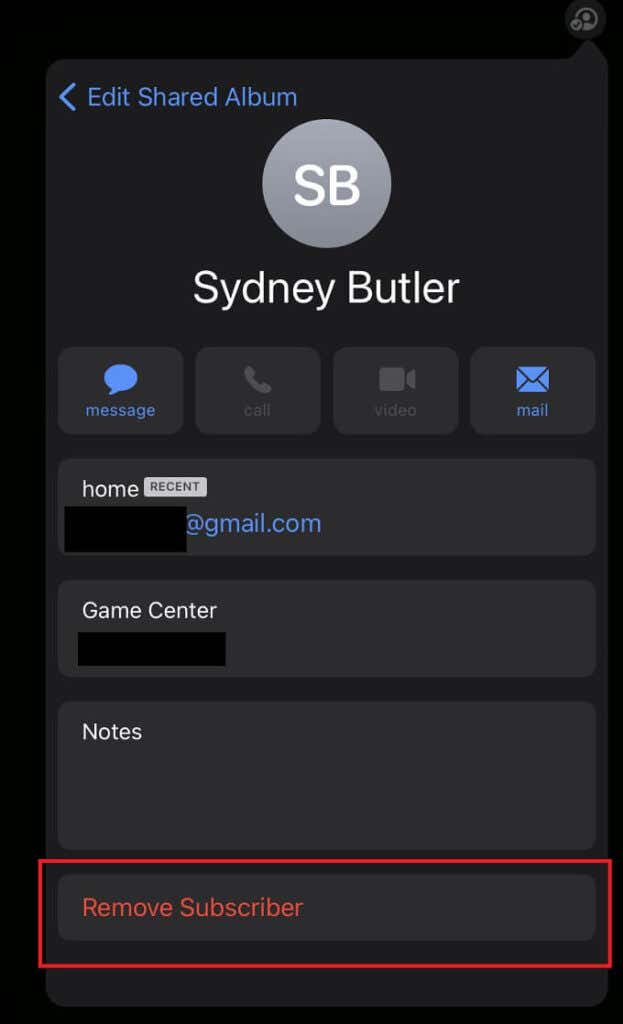
- Confirm the removal.
This will remove the album from all of your devices, but leave it unaffected for other users who are also subscribing.
Saving Space with iCloud or Permanent Deletion
As you now know, deleting an album won’t save you any space on your device. To reduce the amount of space used on your device, the only options you have are to delete photos permanently or to optimize your device storage with iCloud.
Deleting photos is a straightforward process:
- Open Photos.
- Navigate to the category of your choice where the photo can be found, you can also use an existing album.
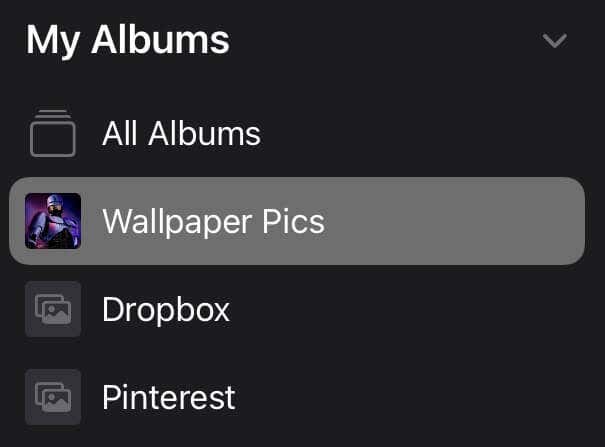
- Select, the Select button at the top-right of the app.

- Choose which images you’d like to delete, or select Select All to choose the entire contents of that category or album.
- Select the trash can icon at the bottom right of the app.
- Now, select Delete to remove the image.
If you’re deleting a photo from an album, you also have the choice of removing it from the album, but that doesn’t delete the image or free up any space.
If you don’t want to delete your images, you can offload them to iCloud. This keeps a small preview on your device and will download the full-quality original image from your iCloud drive when you view the image.
- Open Settings.
- Select your name > iCloud > Photos.
- Select Optimize iPad Storage.
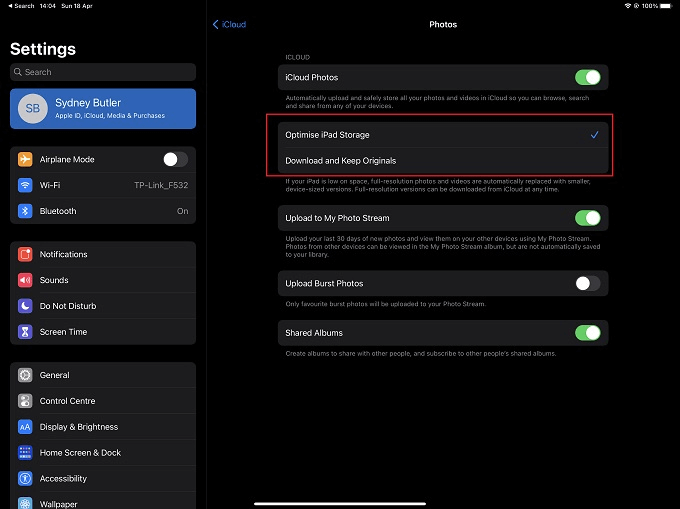
If your photos were taking up a lot of space, you should see that get freed up soon after choosing to optimize storage.
The Recently Deleted Album
That’s all you need to know about deleting albums on an iPhone or iPad, but what if you accidentally deleted a photo in the process that you wanted to keep? The good news is that there is a safety net built into the photos app.
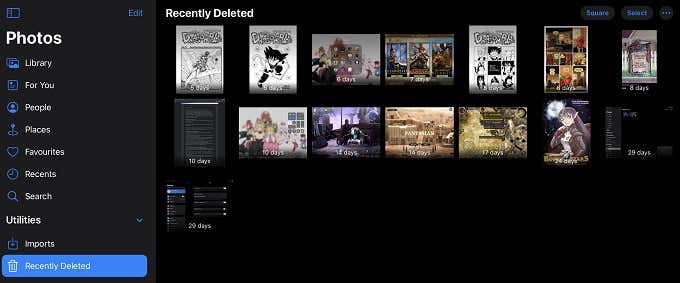
We’re referring to the Recently Deleted album, which you’ll find under the Utilities category. Here you can select any photos or videos that you deleted by accident and then recover them. Each item is labeled with the number of days left before it’s permanently deleted.
You may also want to check out this folder if you want to gain space back immediately. When you select any photo or video in this album, you can choose to either recover it or delete it permanently. Just remember that if you delete it from this album it is gone for good!
[related_posts_by_tax posts_per_page="5"]