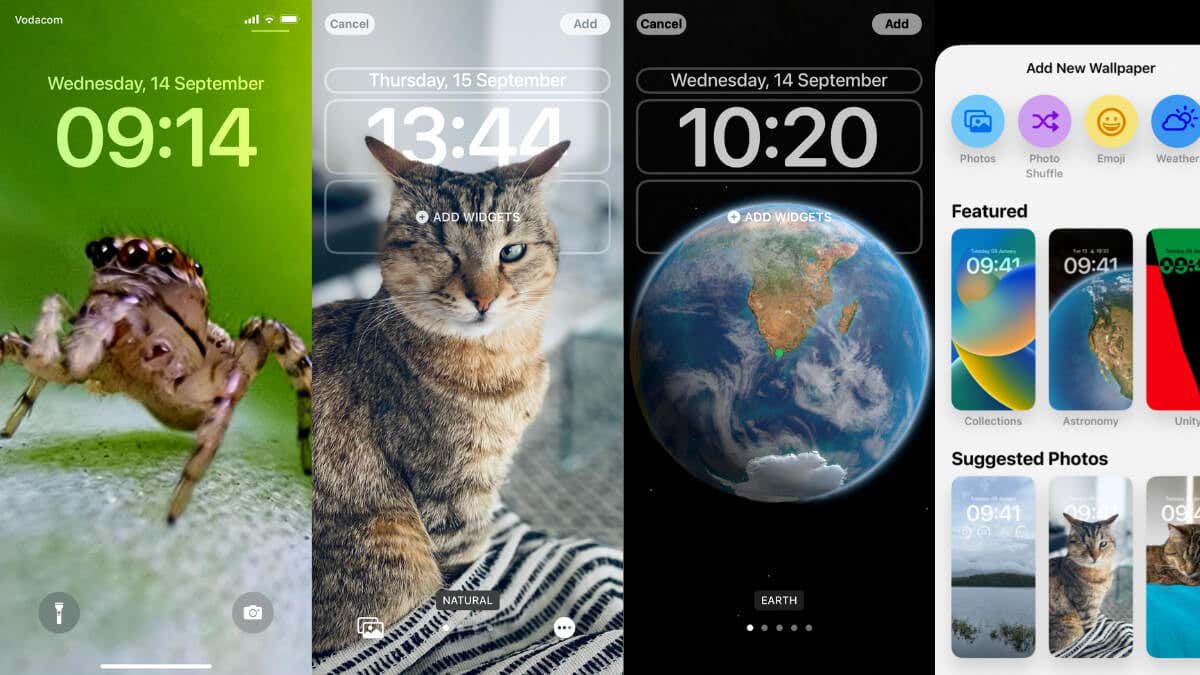
With the advent of iOS 16, iPhone users finally have a wealth of customization options for their lock screens. In fact, there are so many options that it’s almost overwhelming!
If you’re new to iOS 16 and want to take advantage of the new features, here’s how to customize your iPhone’s lock screen.
Note: At the time of writing, iPadOS 16 does not have a firm release date. While we believe the below instructions will also apply to iPads once iPadOS 16 is out, there may be differences. While iOS 16 debuted with the iPhone 14 Pro, Pro Max, and standard iPhone 14, the below steps and features work with any iPhone that supports iOS 16.
How to Activate Lock Screen Customization
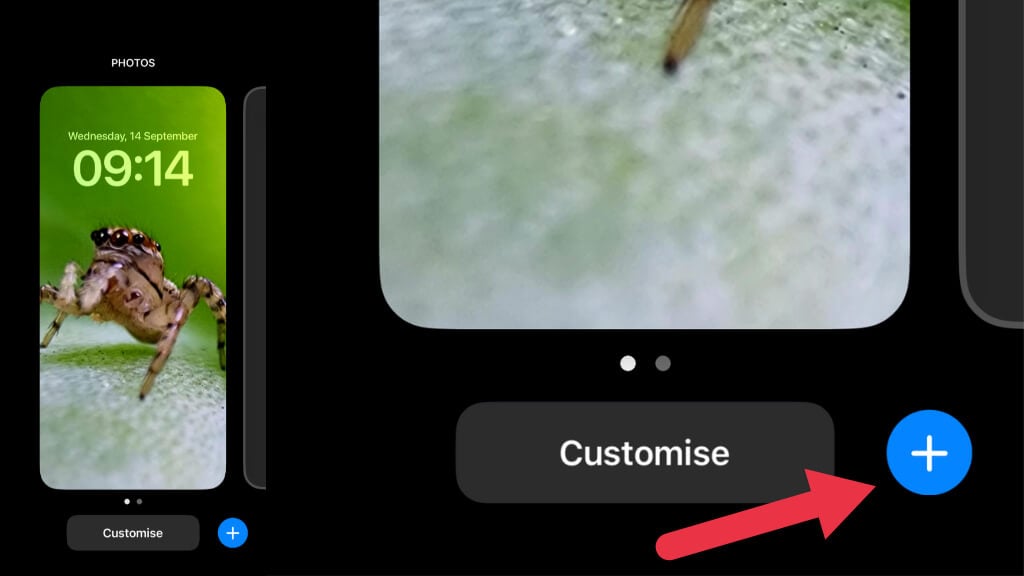
To get started with lock screen customization, you need to be at your lock screen! Ensure that you’ve unlocked the phone using FaceID, TouchID, or a passcode. Long press the lock screen, and your view will zoom out.
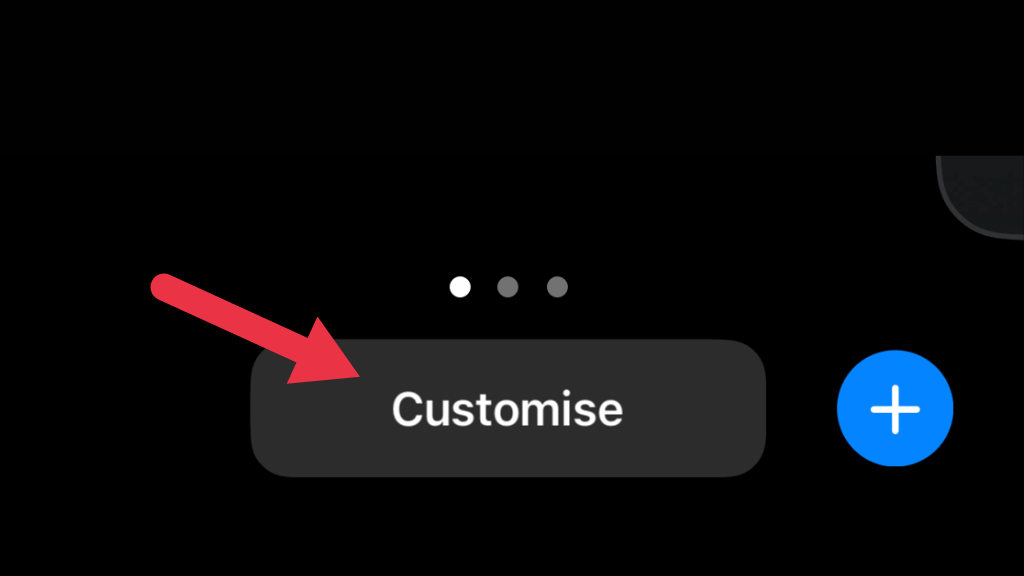
There are two buttons of interest: Customize and the blue “plus” button.
Since we’re starting out on our customization journey, select the “plus” button, and this will take you to the Add New Wallpaper screen.
Adding a New Wallpaper
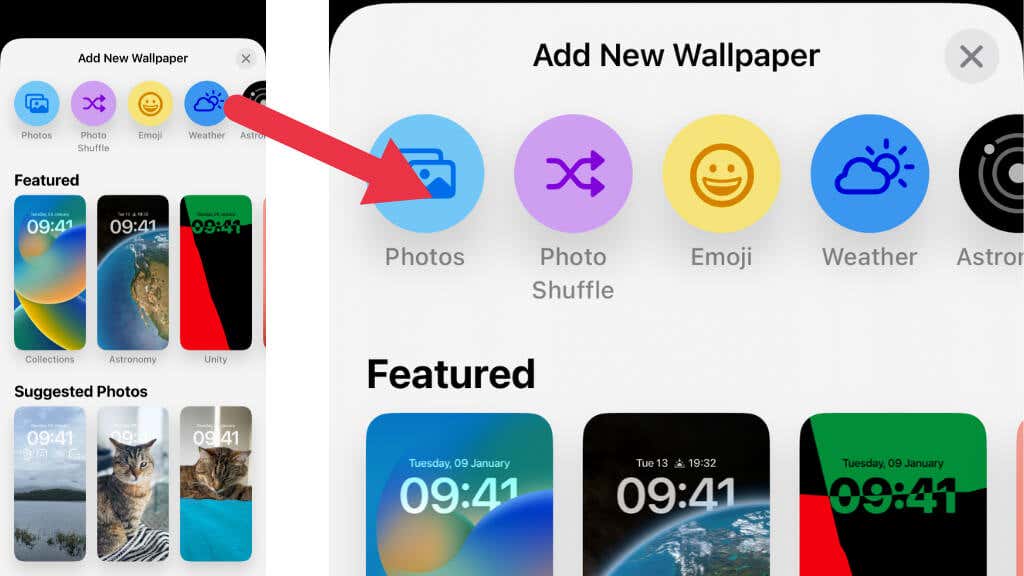
On the Add New Wallpaper Screen you have a wealth of choices. At the top of the screen, you’ll see shortcuts labeled “Photos”, “Photo Shuffle”, “Emoji”, “Weather”, “Astronomy”, and “Color”.
Those same categories are (more or less) replicated as you scroll up or down the screen, except for the “Featured” section.
Under each section heading, you’ll see several suggestions, and you can swipe left or right to see more options. Each wallpaper type has its special customization features.
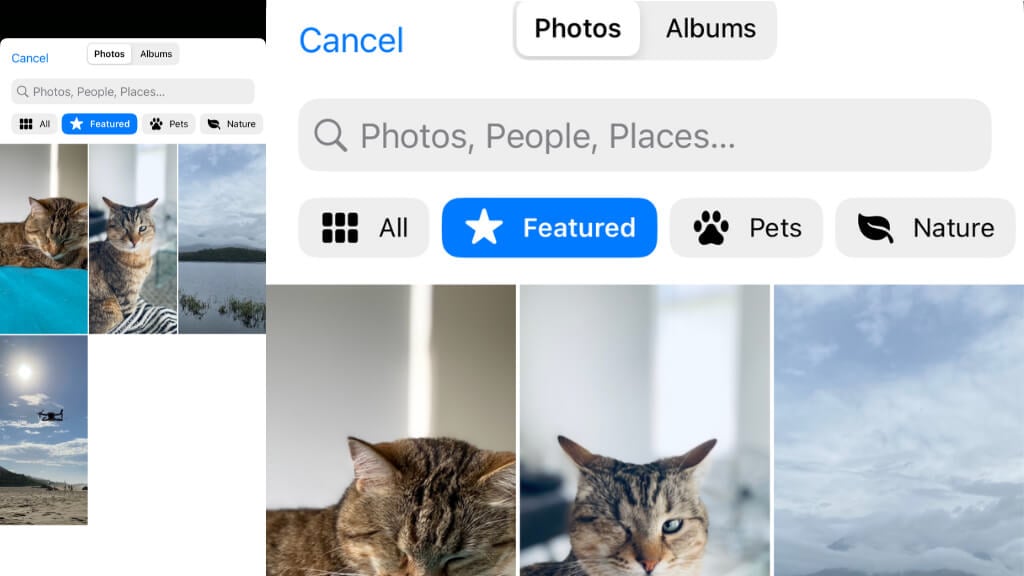
The Photos shortcut lets you choose any photo from your photo library, or you can choose to browse your albums. You can also choose from several automatically suggested photos from generated categories, such as “Pets” or “Nature.”
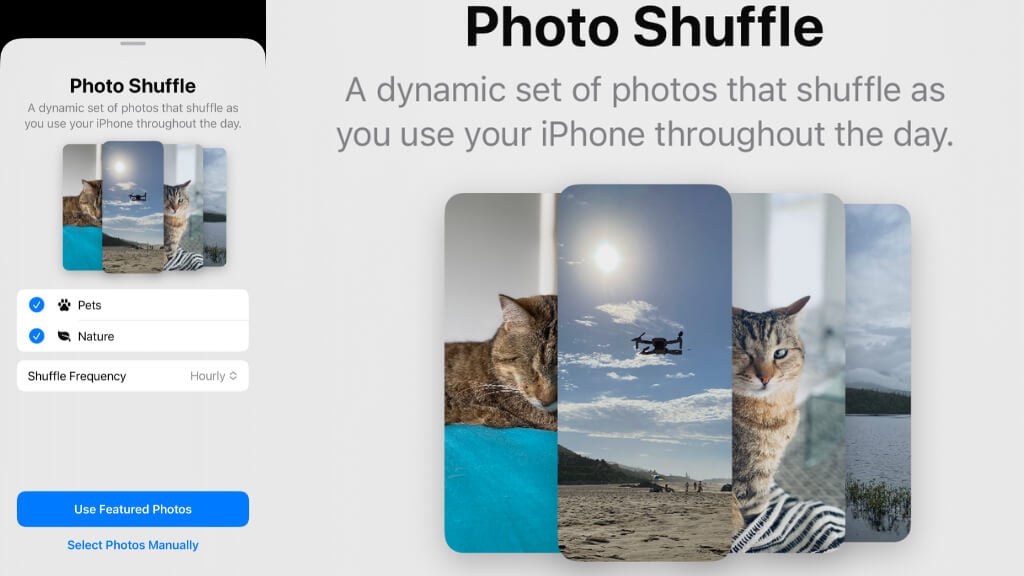
Photo Shuffle is the same thing, but here the photos are automatically rotated at intervals you specify. You can specify whether you want to use the automatically-selected featured photos, or you can make a manual selection.
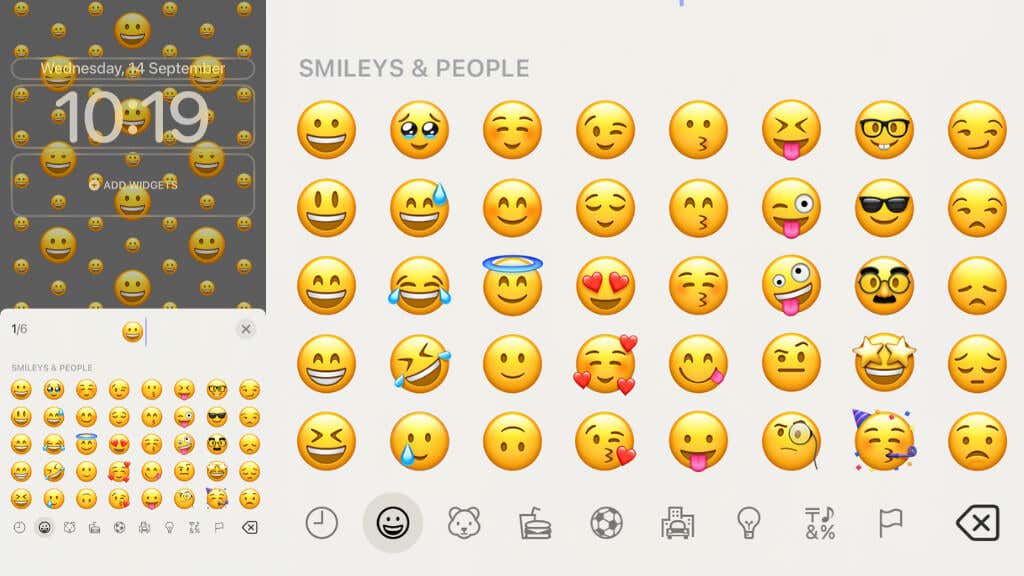
The Emoji option lets you choose a selection of emojis to use as a wallpaper. Which is certainly a choice some people will make, but you do you!
The Weather wallpaper is a useful feature where you can see what the weather outside is like at a glance. Perfect for those of us stuck in an office with no windows.
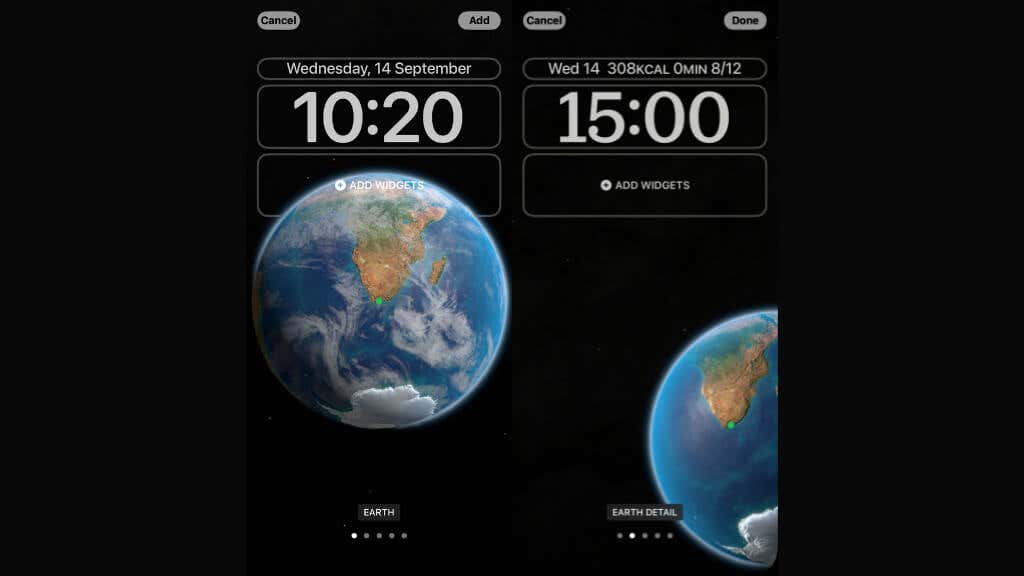
The Astronomy wallpaper lets you see a 3D model of the Earth or Moon, with a more detailed version of each if you swipe left. There’s also a solar system model showing the planets’ relative position, and on the detailed Earth view, you can even see your current location!
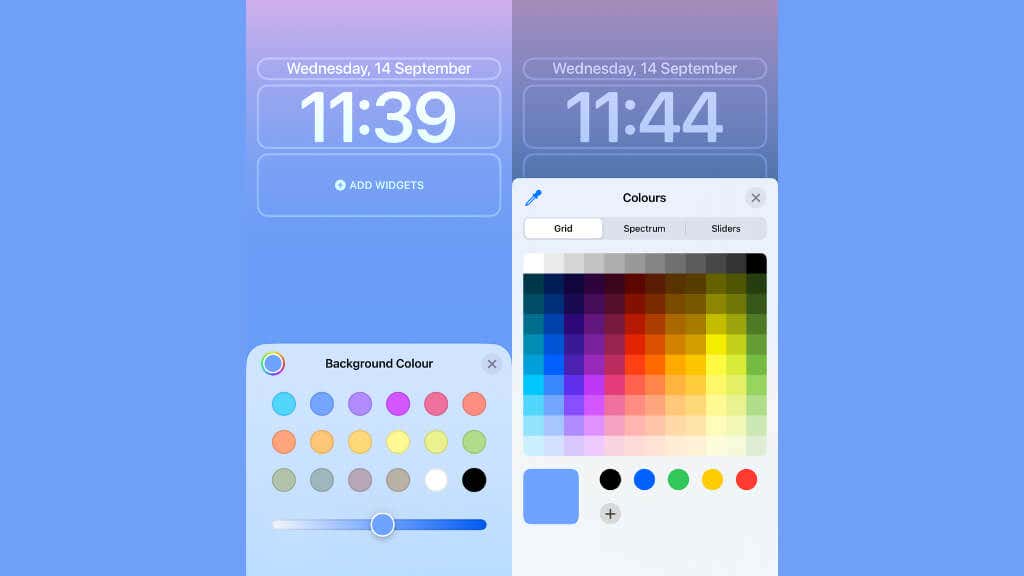
If having a picture or photo isn’t Zen enough for you, the final option is to simply have a color as your wallpaper. You can choose from a quick selection and then adjust the shade with a slider.
If you select the multi-colored dot at the top left of the background color options, you’ll get precision tools to get exactly the shade and color you want. You can even use an eye dropper or specify a color hex code.
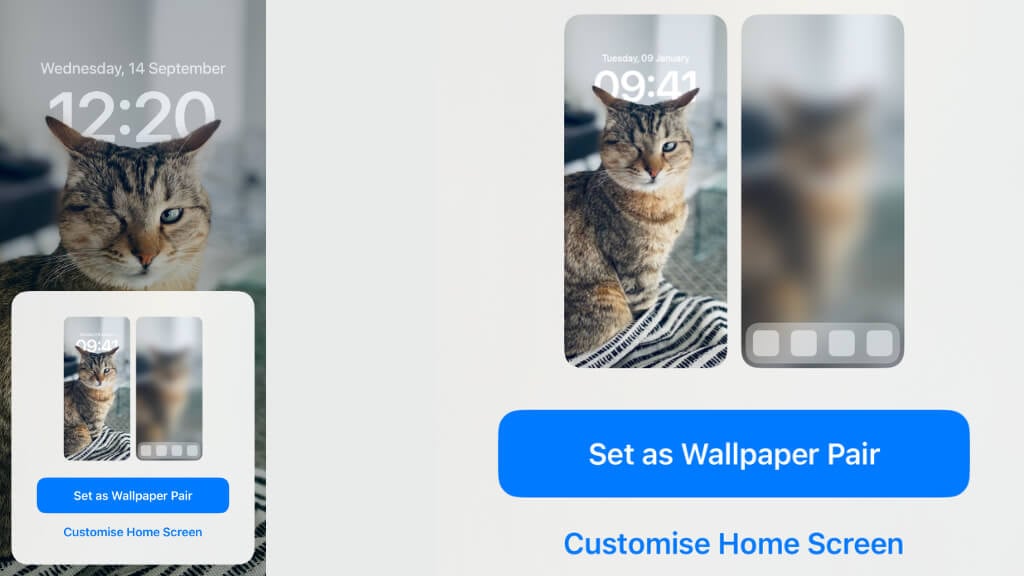
Once you’ve chosen your selected wallpaper style, select Add and decide whether you want to use a wallpaper pair or customize the Home Screen wallpaper.
If you set a wallpaper pair, your Home Screen background will vary from the lock screen wallpaper, depending on the type of wallpaper you choose. For example, with photos, it’s an (optionally) blurred version of your lock screen wallpaper. And with the Astronomy option, it offers a different view of the Earth or Moon.
The alternative is to customize the Home Screen, which we’ll walk through next.
Customizing the Home Screen
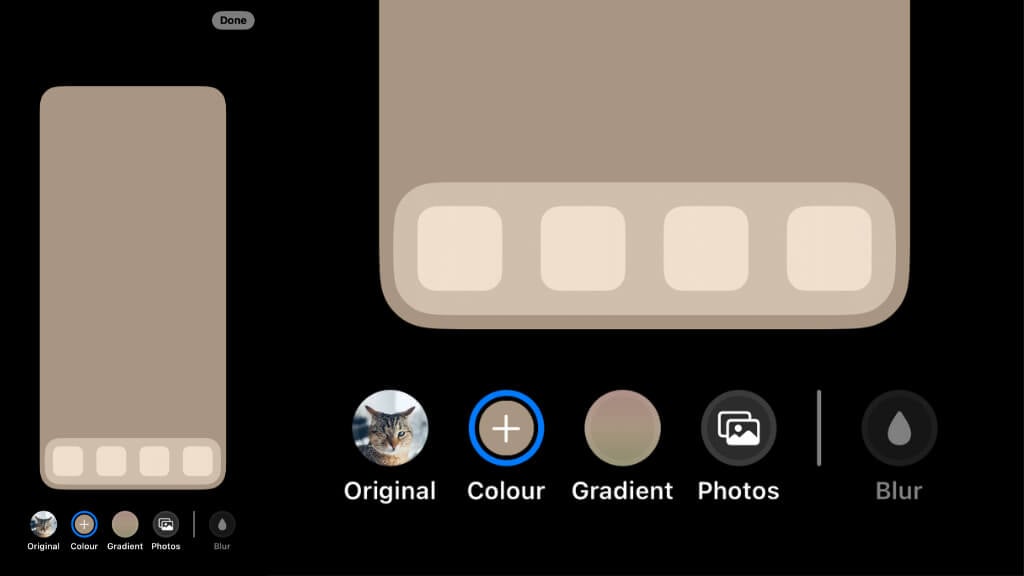
If you opt to customize the Home screen when choosing your Lock Screen, you’ll see several options that let you choose between the original paired wallpaper, a specific color, a gradient, or a photo of your choice. You can also choose to keep or disable the blur effect.
Once you’ve customized the Home screen to your preference, select Done, and it will be saved as a lock screen and Home screen set. When you switch between lock screens, the linked Home screens will also change.
Switching Between and Deleting Lock Screens
One of the best parts of the new lock screen feature in iOS 16 is switching between multiple options. This means you can have a lock screen and Home screen pair for work, weekends, evenings, going out on a hike, or any other occasion. When you create a new lock screen wallpaper, it will add to any existing wallpapers rather than replacing them. You can add lock screens repeatedly.
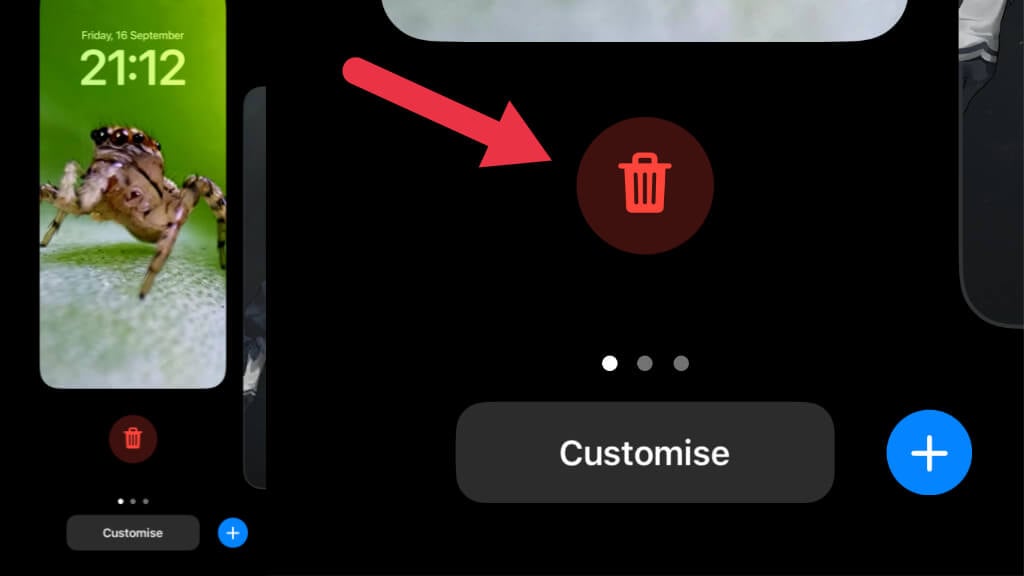
If you press and hold your lock screen, you can swipe left or right to switch between existing lock screens. This works just like switching between watch faces on an Apple Watch. If you want to delete a lock screen, swipe up to reveal the red trash can button, then press it to delete the lock screen.
Customizing an Existing Lock Screen
If you have a lock screen you like and don’t want to start from scratch, you can customize an existing one instead.
Press and hold your current lock screen, and then swipe left or right to highlight the one you want to customize. Alternatively, go to Settings App > Wallpaper.
Tap Customize, and you’ll be taken back to the same screen you see after selecting a new wallpaper.
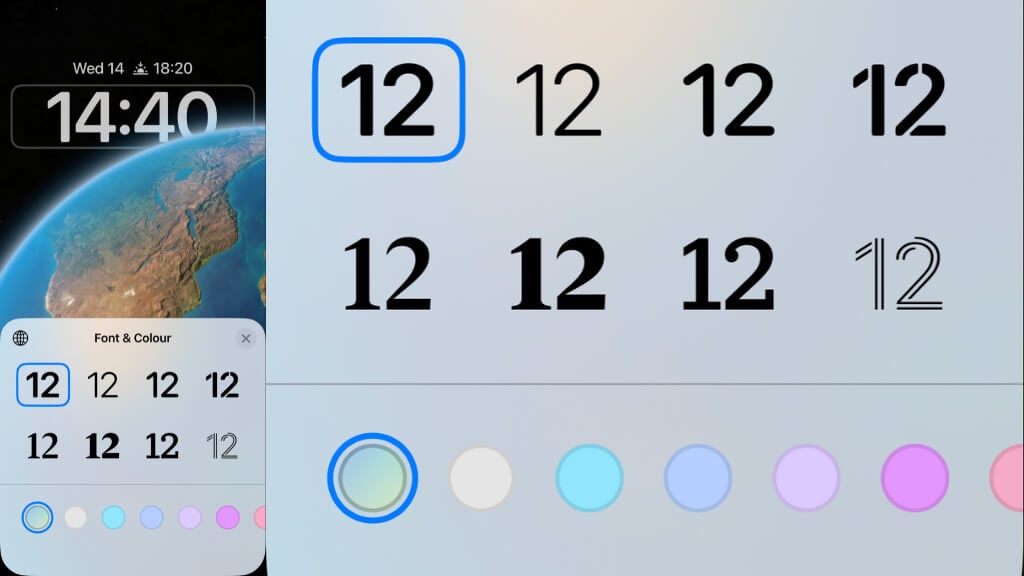
If you tap on the clock, you’ll see Font & Color options so you can make the clock look the way you want it to.
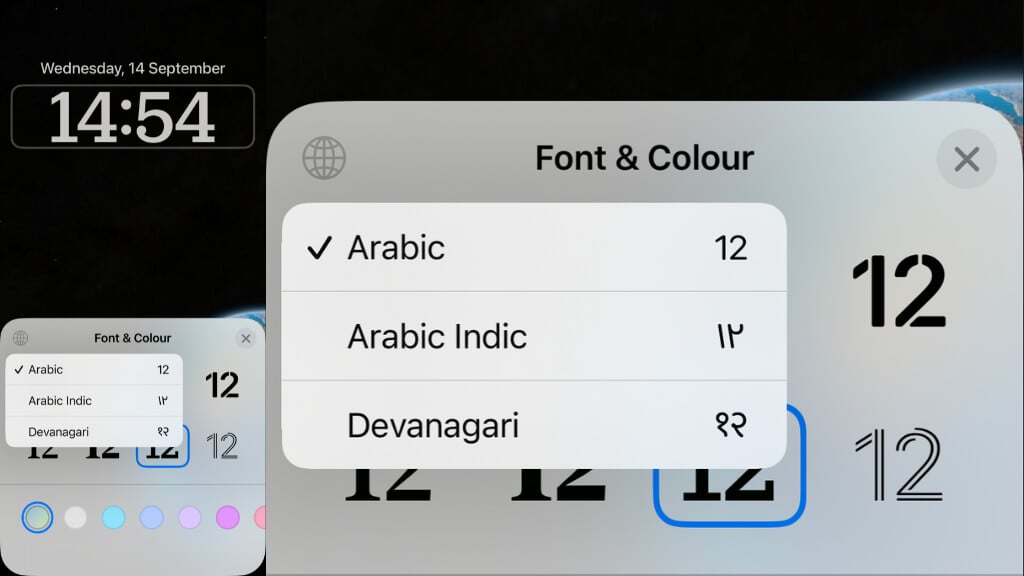
Take note of the small globe icon at the top left of the Font & Color window. Here you can choose between Arabic, Arabic Indic, and Devanagari numerals.
On the customization screen, you can also add or change your lock screen widgets. Widgets are applets that live on your lock screen or Home screen. These tiny apps persist on those screens and let you build a dashboard of information you’d like to keep an eye on. Widgets have been on iOS and Mac devices for a while now and Android has had them forever, but iOS 16 revamps how they work for the lock screen in significant ways.
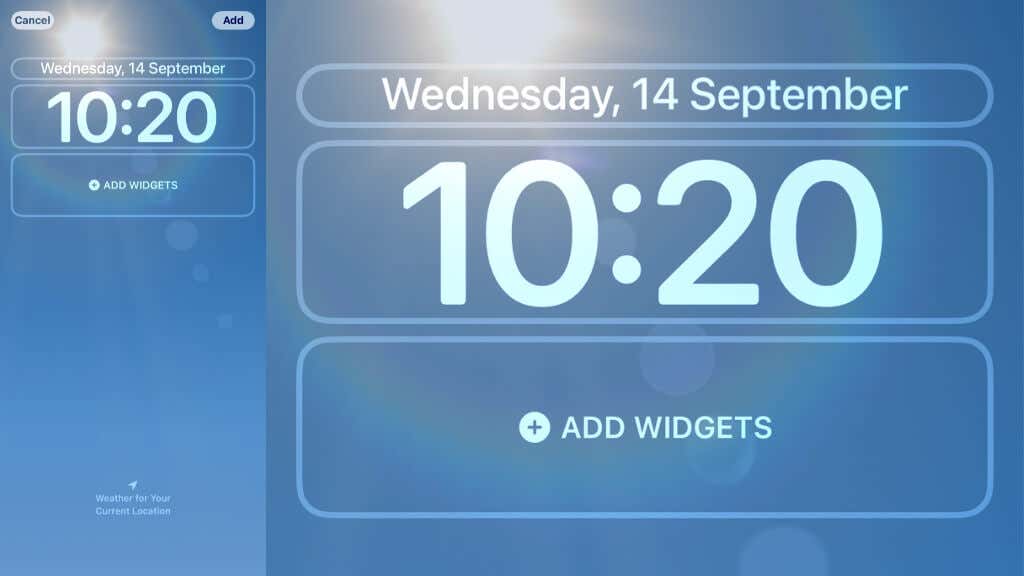
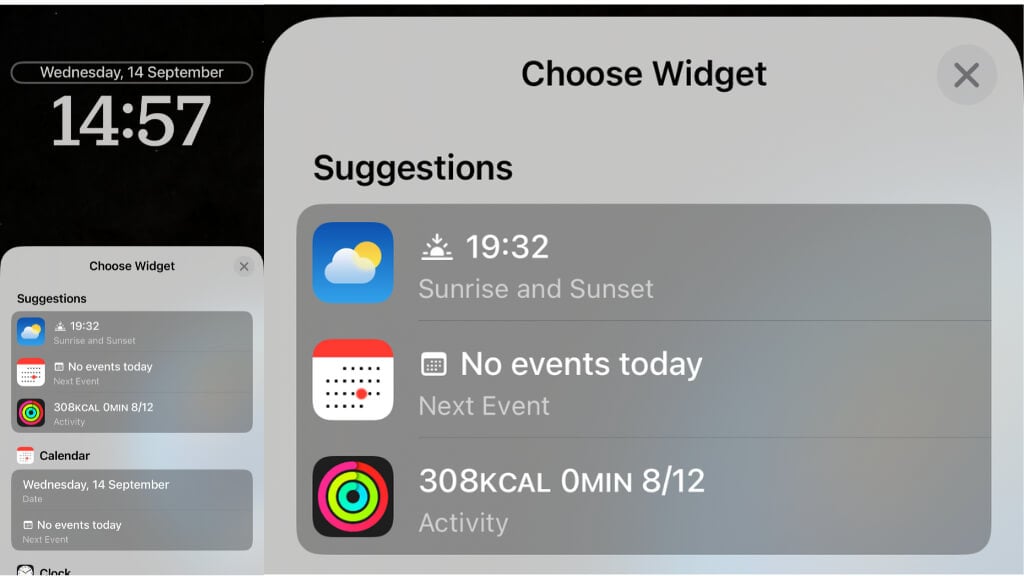
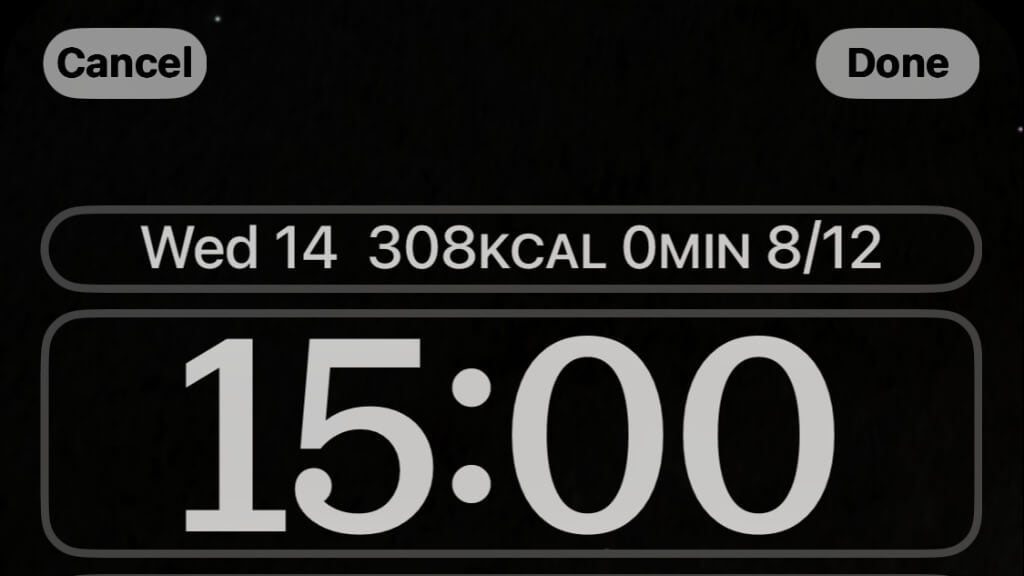
There are two widget areas on the lock screen; above and below the clock. Let’s start by tapping on the space above the clock, which displays the date by default.
Under Choose a Widget, select an alternative widget for that spot on the lock screen. If you’re an Apple Fitness user or have an Apple Watch, you may want to put that widget up to ensure you’re still on track for the day.
Once you’ve selected the widget you want, tap on the X at the top right of the Choose a Widget window to close it.
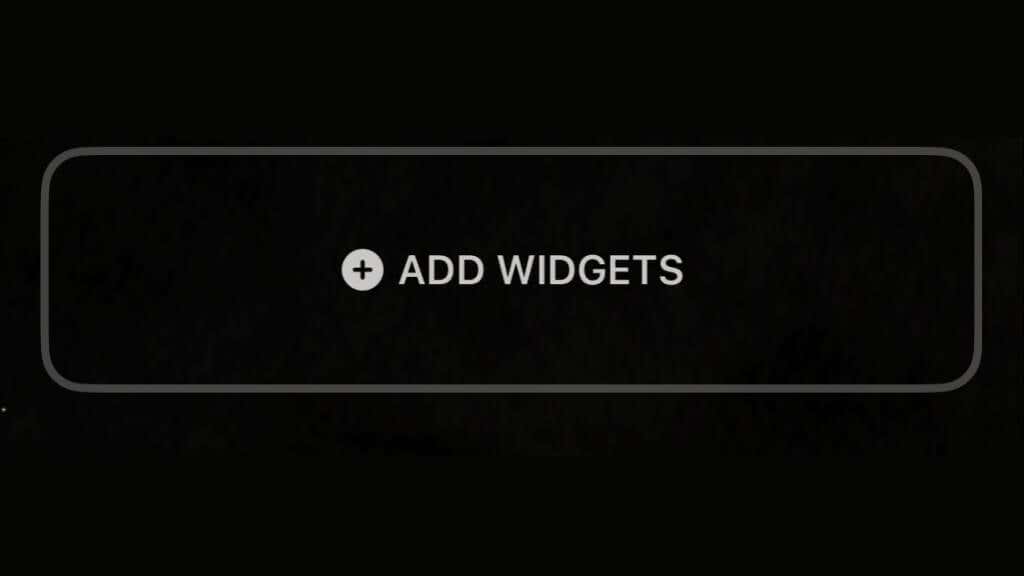
Now, select the space below the clock. If you haven’t yet put widgets there, it should say “Add Widgets”.
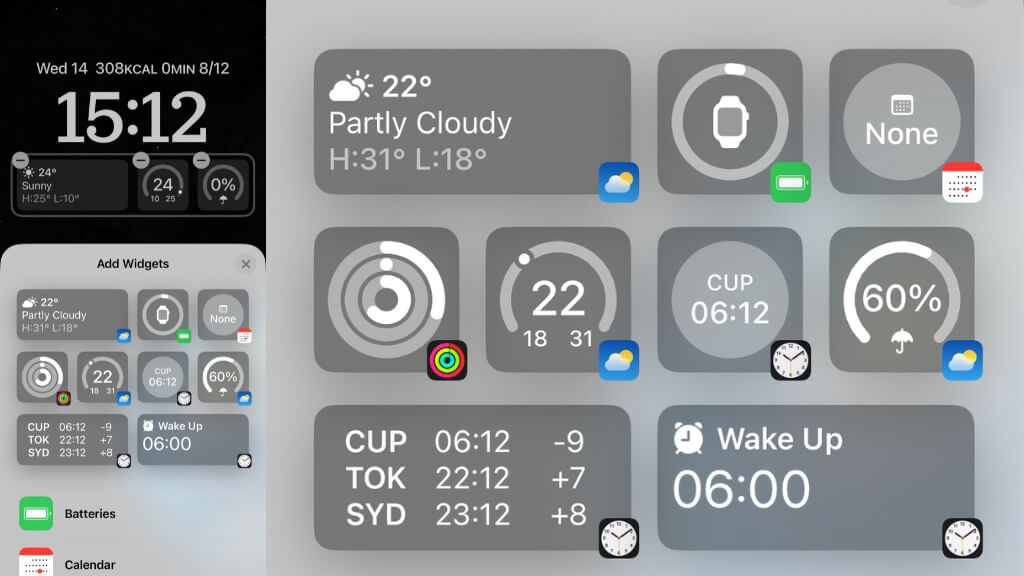
On the Add Widgets window that appears, choose the widgets you’d like to fit into that space. Unlike the upper widget, you can put a combination of widgets in this block. The space can accommodate four small widgets, two large widgets, or two small and one large widget.
You can remove a widget by using the small “minus” button on each widget and rearrange them by dragging the widgets left or right with your finger. You can’t place widgets on the lower part of the lock screen, since that’s reserved for notifications, which now come up from the bottom of the screen.
Once satisfied with the widgets you’ve selected, use the Done button to lock in your choices, or choose Cancel to undo your changes. Just like with adding a new wallpaper, you’ll have to choose between setting a wallpaper pair or customizing your Home screen next.
Activating or Disabling the Depth Effect
iOS 16 has an amazing feature where you can press and hold on the subject in a photo and extract it automatically using the magic of Artificial Intelligence.
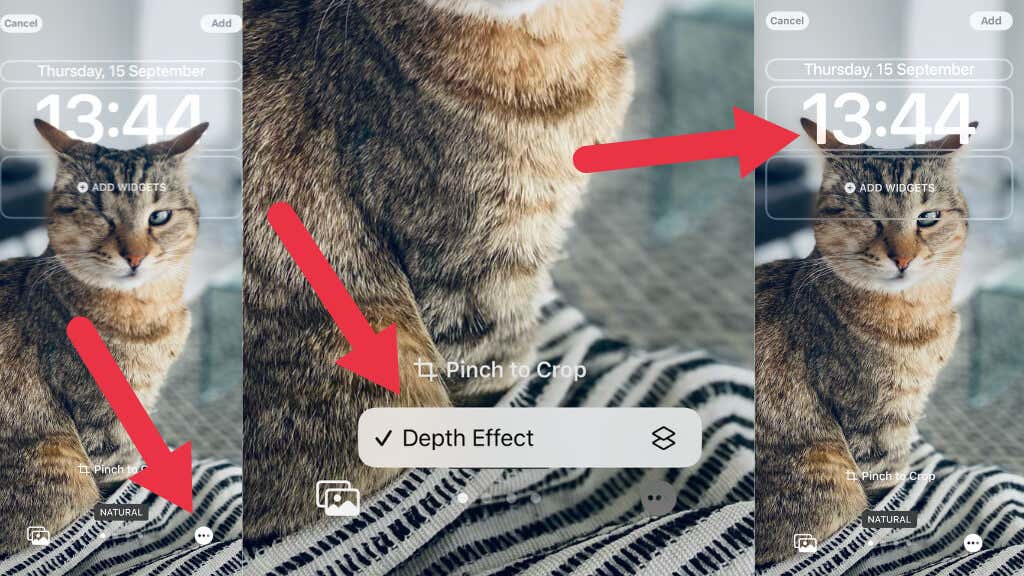
Some of that technology has also been integrated into the new lock screen features. If you choose a photo as a wallpaper, iOS 16 will analyze it and try to identify a subject in the image. If it does this successfully, you’ll see that subject in front of the clock.
This process is completely automatic, and in our testing there was no way to control if a given image would trigger the depth effect or not manually. However, some users seem to have had luck resizing the photo using the Pinch to crop function when customizing the lock screen.
If you don’t like the depth effect or it doesn’t look right for the image you’re using, select the three dots at the bottom right of the customization screen and then select Depth Effect to toggle it on or off.
Note: The Perspective Zoom feature is sometimes also present here next to Deph Effect depending on the background you’ve chosen.
Taking Your lock screen to the Next Level
Custom lock screens are great, but you can make them even more useful by linking them to a Focus Mode.
Focus Mode is a feature Apple introduced with iOS 15. It allows you to create modes for different activities, such as being at work, studying, being asleep, or whatever else you need it to be. Focus modes can be triggered manually or linked to specific triggers, such as the time of day. Best of all, Focus Mode syncs across your iOS, macOS, iPadOS, and Apple Watch devices.
If you want to know how to link your custom lock screens to different focus modes, check out How to Link Custom Lock Screens to Different iPhone Focus Modes.
[related_posts_by_tax posts_per_page="5"]