It will only take a few minutes
Do you want to create an interactive Word document or fillable form for others to complete? Using Microsoft Word on Mac, you can make a simple fill-in-the-blank form, without a template, in just minutes.
Enable the Developer Tab in Word
To add the fields you need to create the form in Word, you’ll use the Developer tab. If you don’t see this tab at the top of the Word window, follow these steps to insert it.
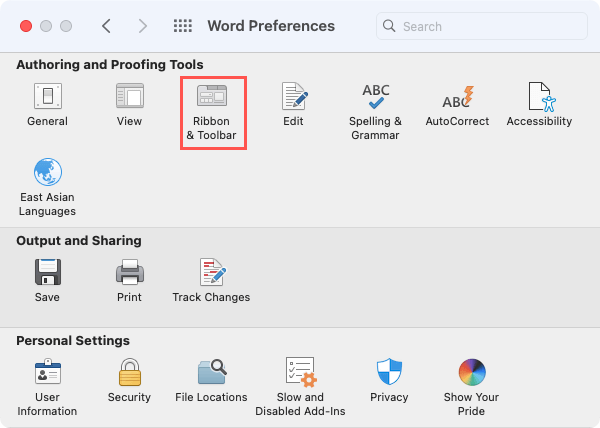
- Select Word > Preferences in the menu bar.
- Choose Ribbon & Toolbar.
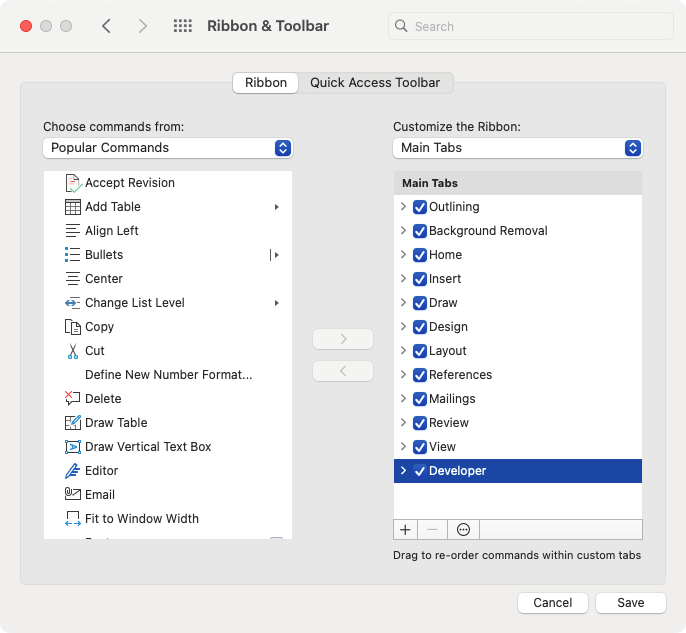
- Make sure you’re on the Ribbon tab and choose Main Tabs in the Customize the Ribbon drop-down list on the right.
- Check the box for Developer in the Main Tabs list.
- Select Save.
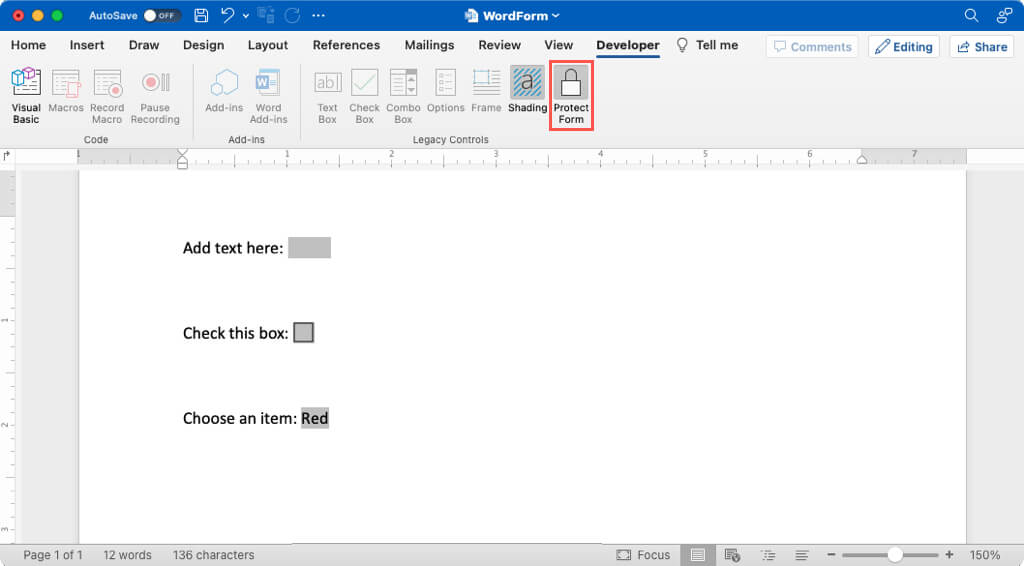
You should then see the Developer tab with the Legacy Controls you’ll use to create your fillable form.
Make a Fillable Form in Word
Word on Mac has a more limited set of form field controls that it does on Windows. However, you can still create a fillable form using text, check, and combo boxes.
Add a Text Box
You can use a text box for more than words in your form. You can configure it for a number, date, calculation, the current date, or the current time. You can also select the format for the field type.
- Place your cursor where you want the field, go to the Developer tab, and choose Text Box in the Legacy Controls group.
- You’ll see the box added as a shaded field. Either double-click the field or select it and choose Options in the ribbon.
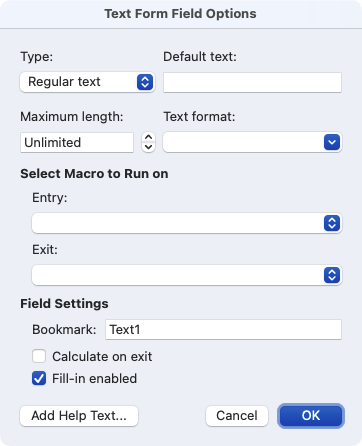
- Complete the following settings for the text box:
- Type: Choose regular text, a number, date, current date, current time, or calculation. The current date and current time types are automatically added to the form for you.
- Default: Optionally enter default text, a number, or a date. For the current date and time settings, the box is grayed out and for the calculation type, enter the Expression for what you want to calculate.
- Maximum length: Optionally limit the number of characters for the input.
- Format: Choose the format for the text, number, date, time, or calculation.
- Select Macro to Run on: If you want the field to trigger a macro on entry or exit, select the macro in the corresponding drop-down box.
- Field Settings: You’ll see a default Bookmark name that you can edit if needed. If you’re using the Calculation type, check the box to Calculate on exit. For all field types, be sure to check the box for Fill-in enabled so that users can fill in the form.
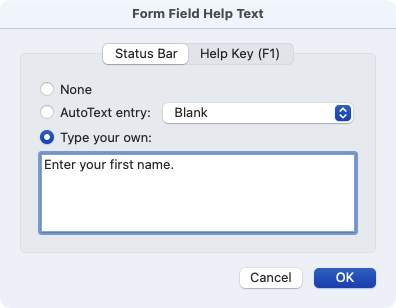
- Next, you can use the Add Help Text button to include help text for the form filler.
- When you finish configuring the field, choose OK to save the text box settings.
Add a Check Box
If you’d like to add a check box to your form, this is a handy way for others to answer a yes/no question, mark completed items, or acknowledge a statement.
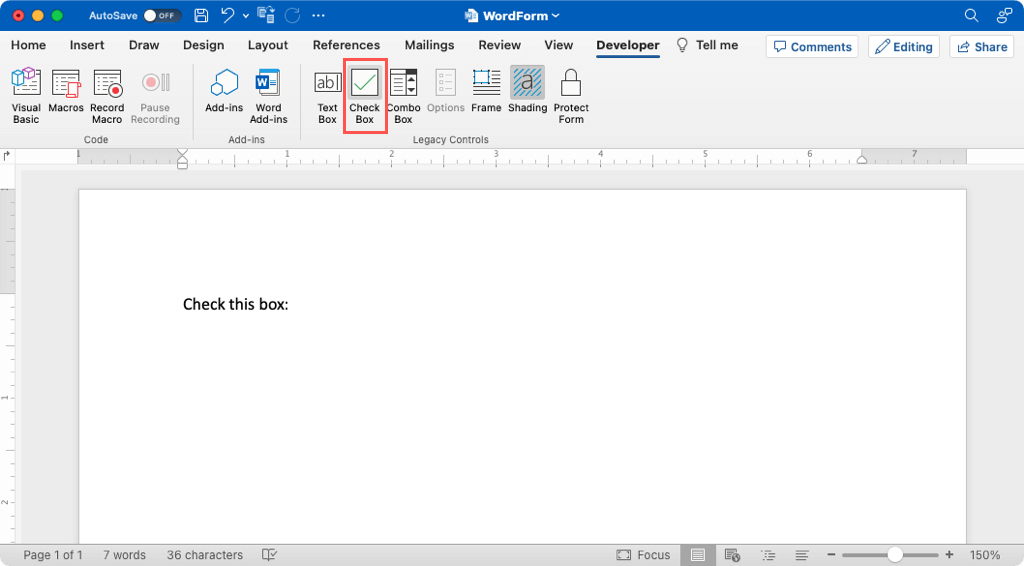
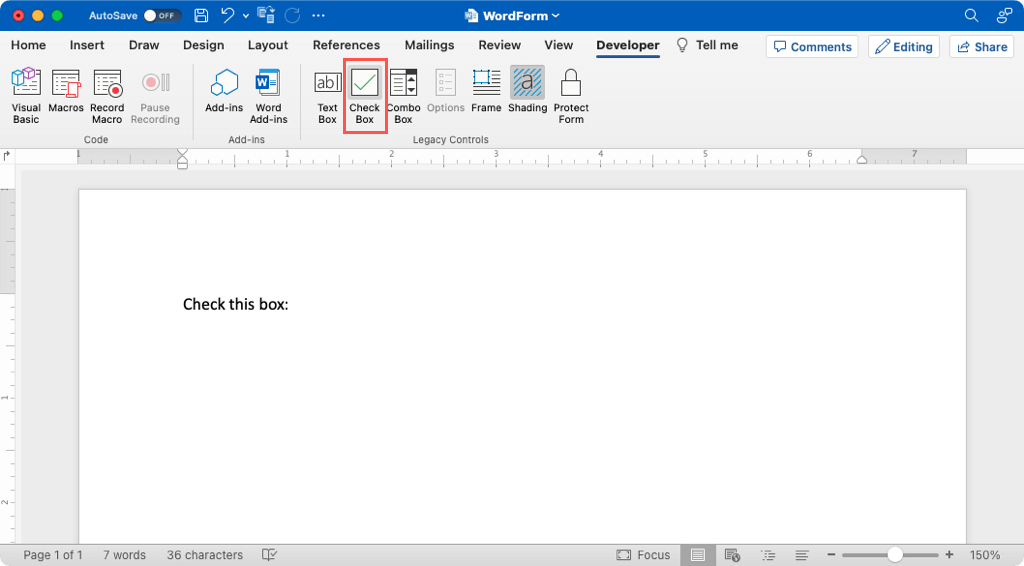
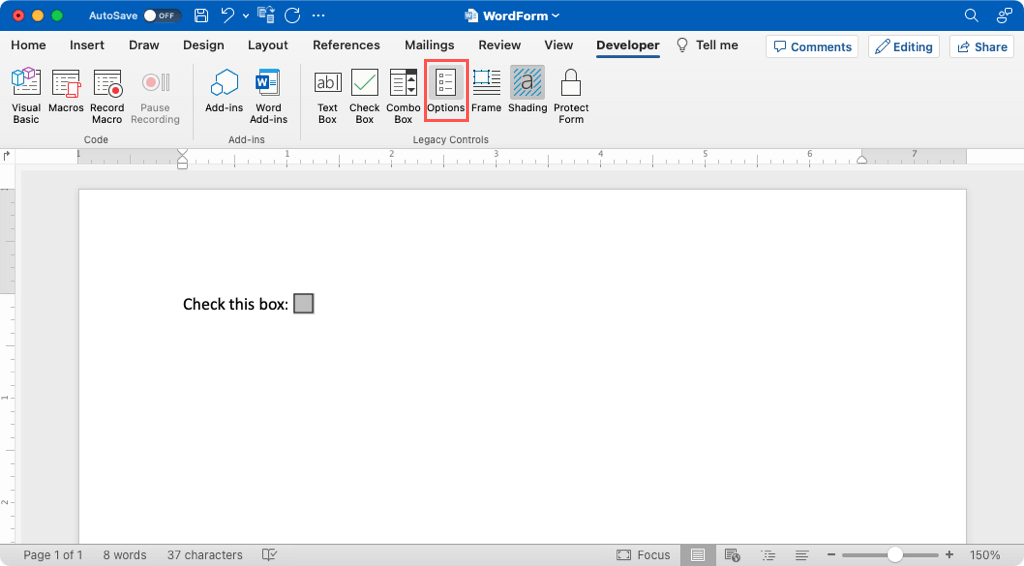
- Place your cursor where you want the check box, go to the Developer tab, and choose Check Box.
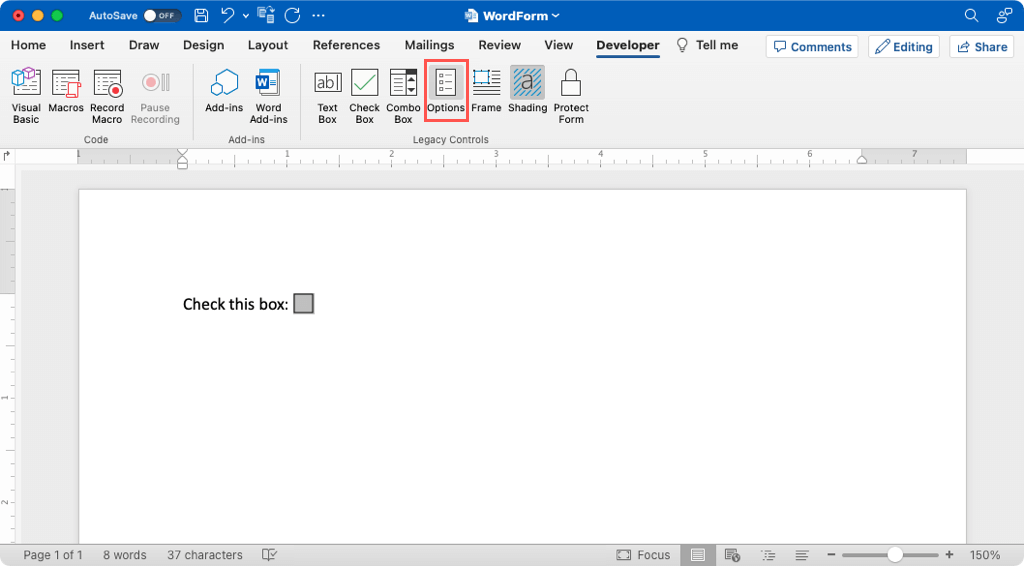
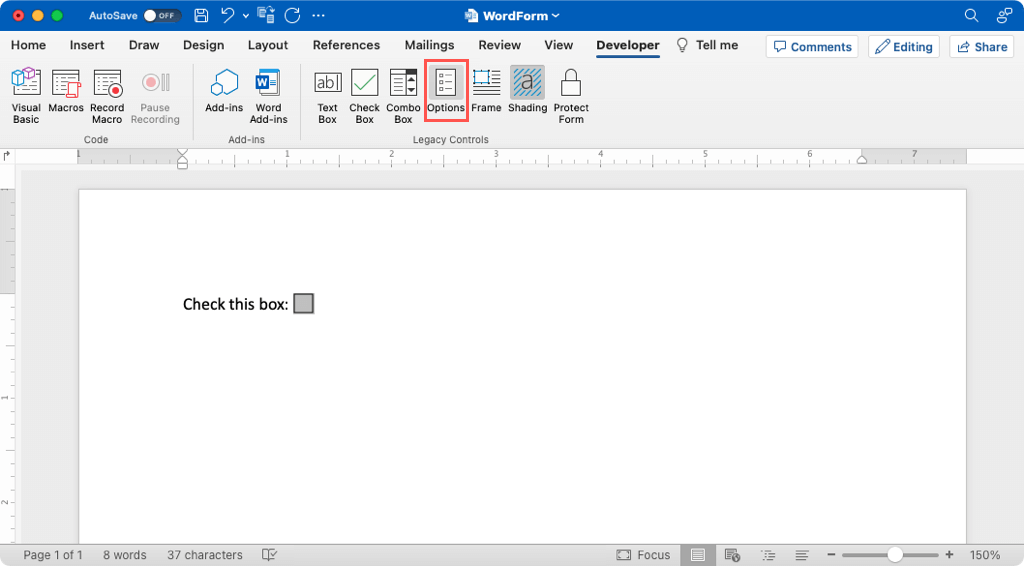
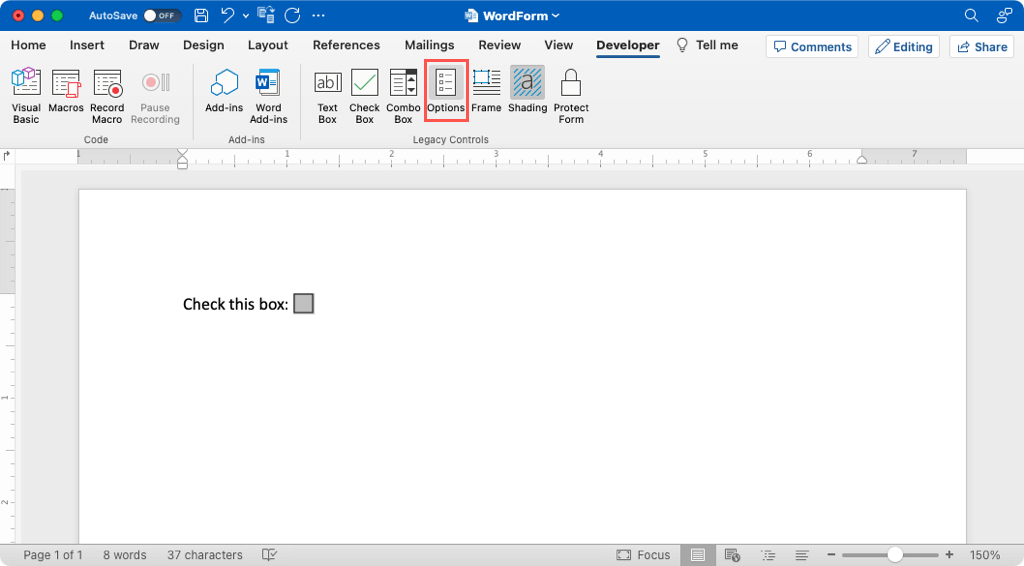
- When you see the check box added, either double-click or select it and choose Options in the ribbon.
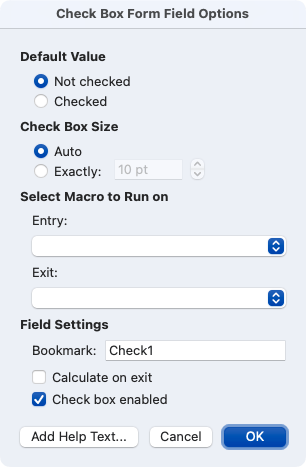
- Set the Default Value to either Not checked or Checked depending on how you want it to display before it’s filled out.
- Choose the Check Box Size as Auto for the default size or Exactly for a particular number of points.
- The other settings are the same as those for the Text Box above and are optional.
- Be sure to mark the option for Check box enabled and select OK to save the settings.
Add a Combo Box
Maybe you want to provide others with a drop-down list of items from which they can pick. This is the ideal time to use a combo box form field.
- Place your cursor where you want the combo box, go to the Developer tab, and choose Combo Box.
- When the combo box appears, either double-click or select it and choose Options in the ribbon.
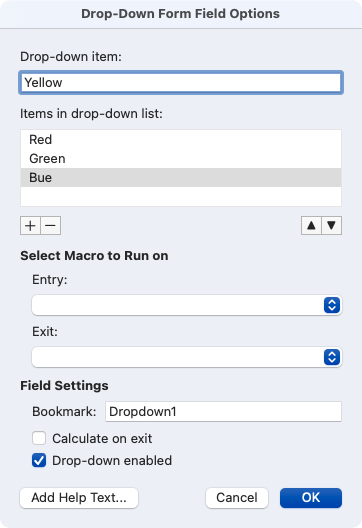
- Enter the first list item in the Drop-down item box. Then, use the plus sign button to add it to the list beneath. Continue this process to add all of your list items. Optionally use the arrows on the right side to rearrange their order.
- Again, the other optionally settings are the same as above for the Text Box. Complete them per your preference.
- Mark the option for Drop-down enabled and select OK to save the settings.
Tip: Use the Shading button to remove the background from the fields or the Frame button to create a border around sections.
Protect and Test the Form
Once you add the fields to the form, you’ll want to make sure they work and look as you expect.
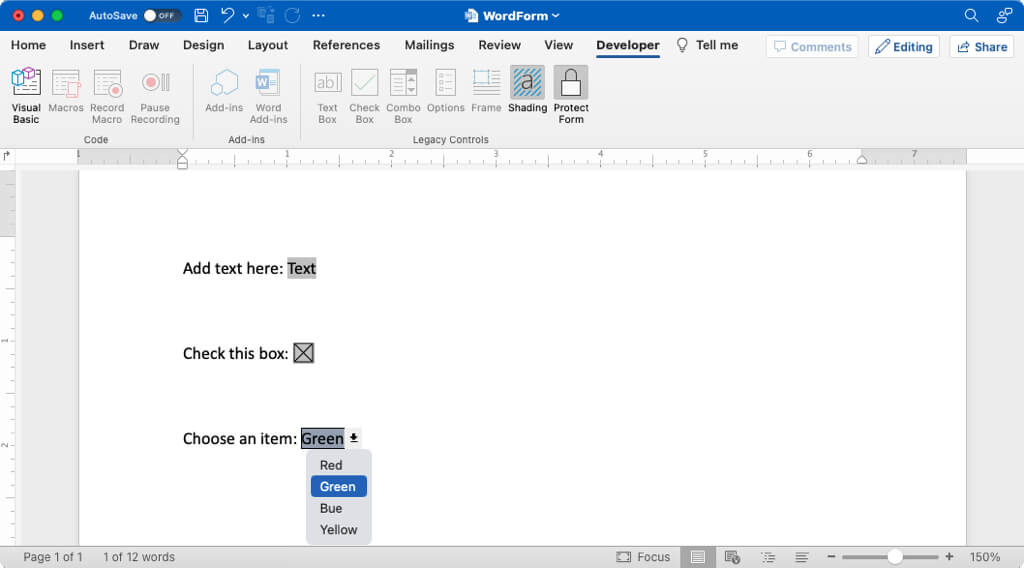
- On the Developer tab, select Protect Form in the ribbon. This takes the form out of editing mode so that you can fill in the fields.
- Enter a value in the text box, mark the check box, and choose a list item in the combo box. Each field should work as expected.
- If you run into an issue, deselect Protect Form in the ribbon to return to editing mode and make your corrections.
Tip: Use your Tab key to quickly move to each form field.
Creating a fill-in-the-blank Word document on Mac is easy enough that you can do it in only a few minutes. Plus, it can save time for your form fillers and help eliminate mistakes.
For similar tutorials, look at how to make fillable forms in Google Docs too.

