Easily watch your favorite shows and content
Your MacBook has a beautiful display, and it’s excellent for any kind of work on the laptop – but if you want to watch your favorite show or play content stored on your Mac, you may wish to connect it to a TV.
There are multiple ways to do this. Some require a physical cable, while others need nothing more than a steady Wi-Fi connection. Regardless of which method you choose, you’ll be able to watch your favorite content on the TV – and it’ll look pretty good, too.
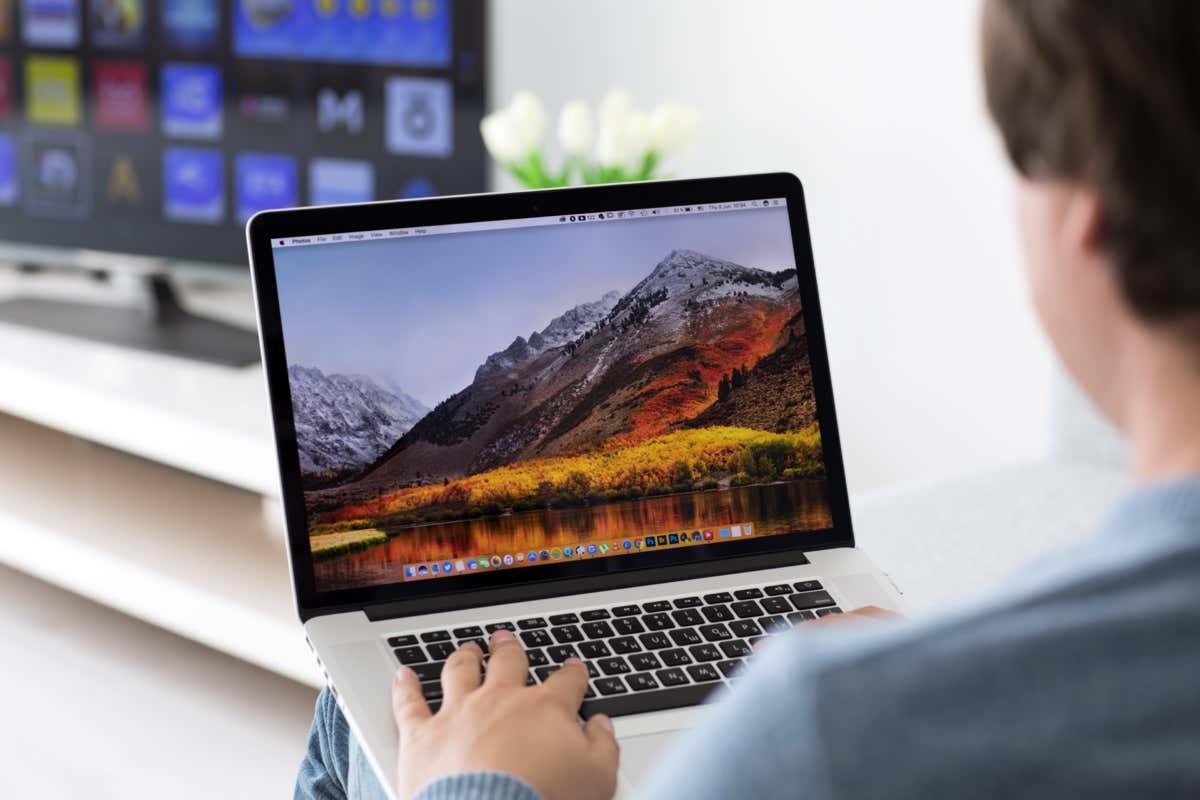
Connect Your Macbook With an HDMI Cable
The most basic and straightforward option is to connect an HDMI cable to your Macbook and the other end to your TV. Once you do this, just switch the input to the correct HDMI port and your Macbook screen will appear on your TV. Be aware that your computer will change resolution and appear scaled on the TV.
If you’re using an older Macbook Pro, it might have an HDMI port. If it’s a newer Macbook model, you might need a Thunderbolt to HDMI adapter. Some older-model Macbooks also support Mini DisplayPort, giving you even more connection options.
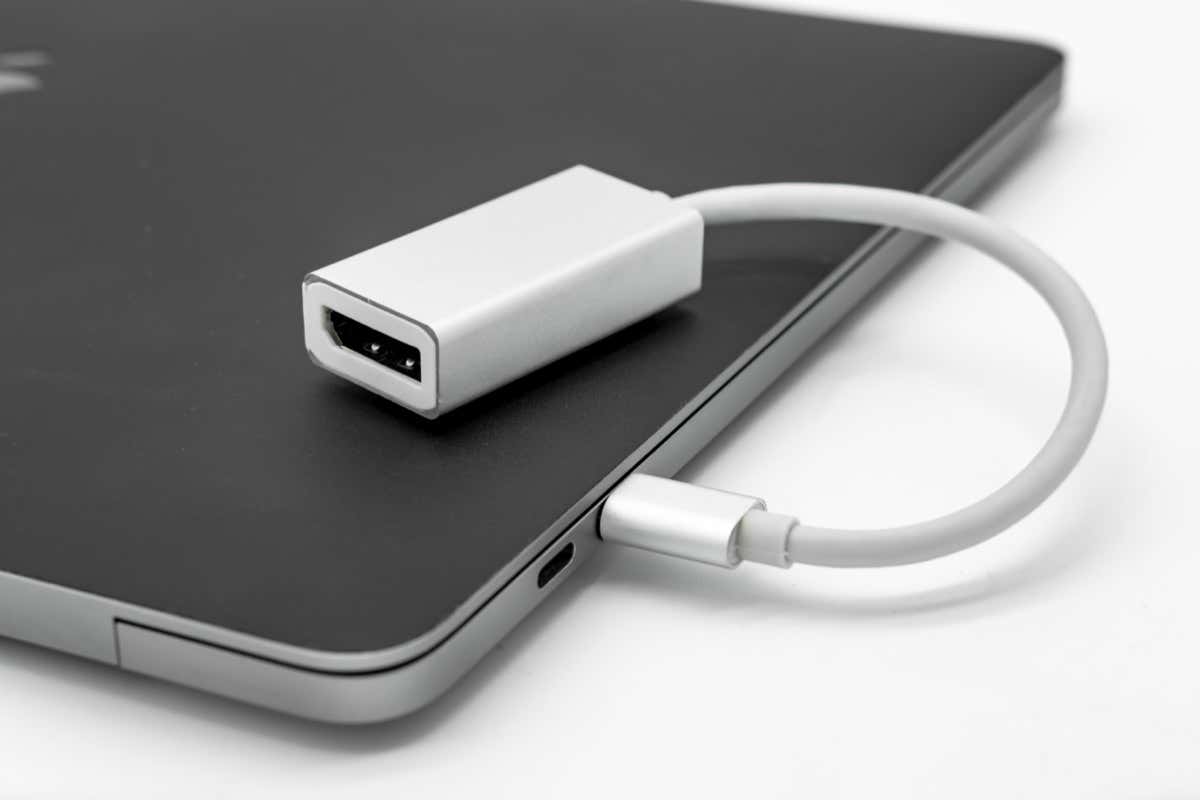
If you don’t have an HDMI port, you can also use a USB-C port to HDMI or DVI port adapter. Most newer models of MacBook Pros or MacBook Airs are equipped with Thunderbolt 2 or Thunderbolt ports, but other Apple devices like the Mac Mini have different types of ports.
Connect Your MacBook With Screen Mirroring
One of the easiest ways to share your MacBook screen with another device is through screen mirroring. A smart TV will work well for this, but if you don’t have a smart TV, you can connect a Roku, Google Chromecast, or Amazon Firestick to achieve the same result.
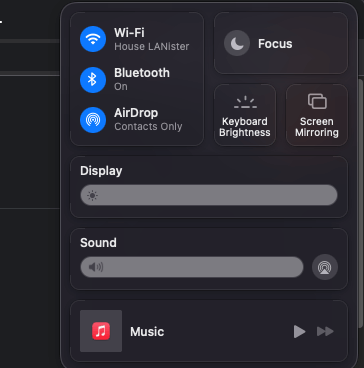
- Select the Control Center in the top right of your screen.
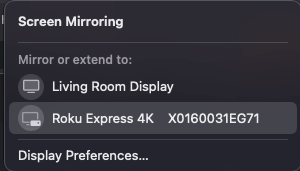
- Select the Screen Mirroring icon and then select which device you’d like to cast to. All compatible devices will appear; if none show up, ensure your MacBook and the streaming device are on the same Wi-Fi.
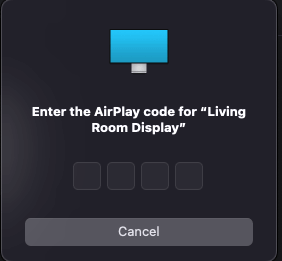
- If you haven’t connected to this device before, you’ll be prompted to enter a code on your MacBook. Once you enter it, you will automatically be connected to the device, and your Mac screen will appear on it.
- To stop mirroring your display, select the device within the Control Center again. Your MacBook screen will return to normal.
When mirrored, any content will appear the same on both. Even if you use something like Flux to reduce the brightness of your Mac, connecting an external monitor will disable it.
Connect Your MacBook With AirPlay
The majority of modern smart TVs are compatible with AirPlay. This allows you to stream video and audio over your Wi-Fi network straight to your TV. AirPlay is virtually the same as screen mirroring, but you can often choose to use AirPlay directly from the content.
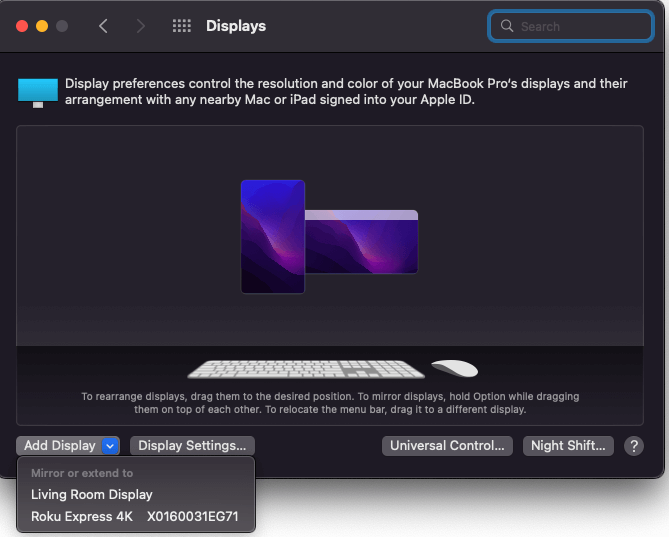
- Open Apple Menu > System Preferences > Settings > Displays.
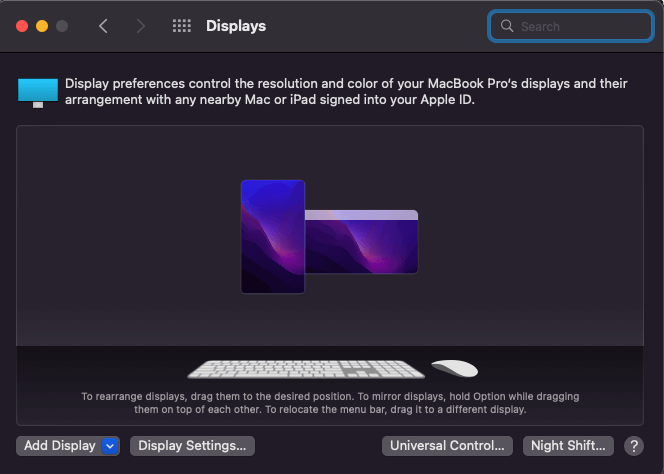
- Select Add Display.
Your Macbook will automatically add it as an external display. You’ll be able to adjust your settings. If your TV’s resolution is higher than your Macbook, the image can be pixelated. In situations like this, watch content in windowed mode.
AirPlay works with many streaming devices but is most effective when paired with an Apple TV. You can also use AirPlay to stream content from your iPhone or iPad, too.
Although it might not seem like it, video input choice matters. It affects the resolution and ultimate quality of the stream. For example, watching Netflix directly on your TV will look different than if you watch it on your Mac and stream it to the big screen. Streaming over Wi-Fi is more convenient, but a steady connection like an HDMI cable will have better output.
Of course, it also depends on your TV screen. If your TV isn’t an HDTV, then it doesn’t matter what you use – content will look noticeably worse than on a higher-end screen. If you plan to watch a lot of content, but don’t have a modern TV, consider looking into a smart TV option. Both Vizio and Samsung have affordable, budget-friendly picks that make upgrading a lot easier than you might think.

