Adding a watermark to your PDF and Pages documents ensures that whoever gets access to your files knows where the files come from. With today’s file-sharing activities, it’s easy to get the rights for your files lost unless you have a watermark on your files to claim them as yours.
As long as you use a Mac machine and the file you want to add a watermark to is a PDF or Pages document, it’s pretty easy to add your signature to your file. What’s more, you don’t even need to install a third-party app to do the task.

The built-in options on macOS are good enough to help you watermark your PDF and Pages files.
Add a Watermark To a PDF Using Automator On Mac
If it’s a PDF file that you’re looking to add a watermark to, you can do it with the click of a button once you’ve created an Automator service for it. Automator helps you automate many of your tasks on your machine and adding a watermark to PDF is one of them.
What you basically need to do is create a service in Automator that adds your chosen watermark to your PDF file. Once that’s created, you can just right-click on any of your PDF files to have them watermarked.
- Click on Launchpad in your Dock, search for Automator, and click on it when it appears.
- On the main screen of Automator, select the option that says Service and then click on the Choose button at the bottom. It’ll let you create a new service.
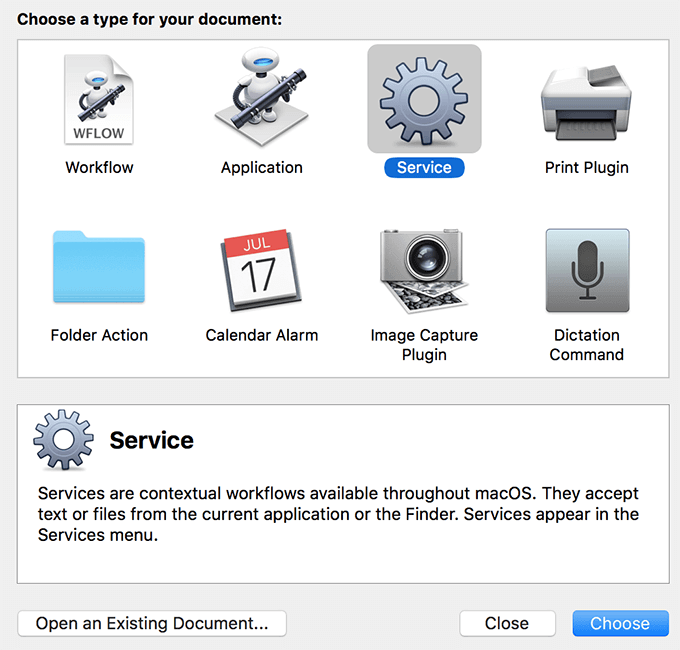
- On the following screen, you’ll need to first configure a few options before you start adding actions. Set the options at the top as the following:
Service receives selected – files or folders in – Finder

- Next up, put your cursor in the actions search box and type in Watermark PDF Documents. When the action shows up, drag and drop it onto the pane on the right-hand side.
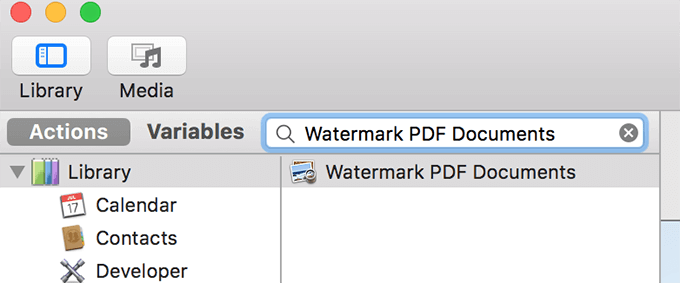
- You’re now ready to configure what your watermark will look like. Click on the Add button in the right-hand side pane to add a watermark that will be used on your PDF files.
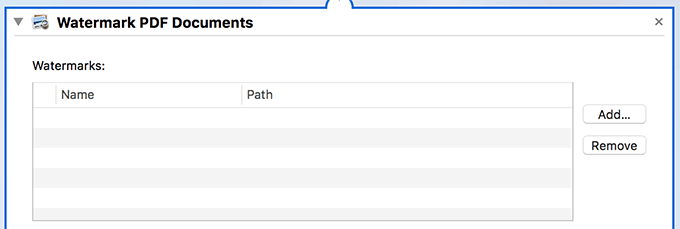
- Browse your Mac to find the watermark file and click on it and select it.
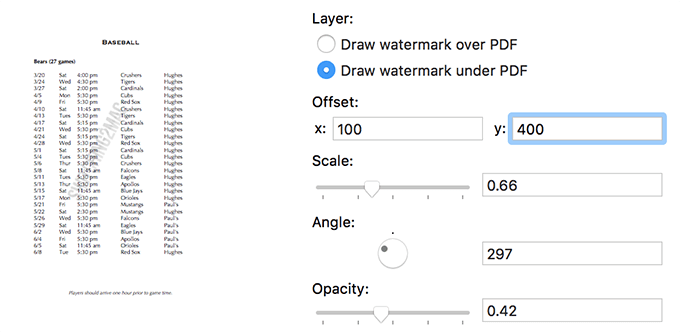
- You now have a few more options to configure for your watermark.
Draw watermark over PDF – this will add your watermark over the existing content of your PDF file
Draw watermark under PDF – this will add your watermark under the existing content of your PDF file
X – set the x position of the watermark for your document
Y – set the y position of the watermark for your document
Scale – this lets you increase and decrease the size of your watermark
Angle – choose an angle for your watermark
Opacity – this allows you to set the transparency level for your watermark file
Verify the watermark in the preview on your screen and make sure it looks the way you want.
- Get back to the actions search box and search for Move Finder Items. When it appears, drag it over to the right-hand side pane beneath your watermark action.

- Ensure Desktop is selected for the To field in your new action.

- It’s time to save your service. Click on the File menu at the top and select Save.
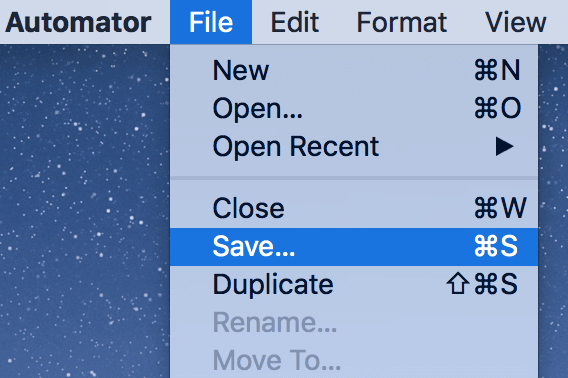
- Enter a meaningful name for your service and click on Save. You’ll want to use a name that you can easily recognize at a later time, as this name is what’s going to appear whenever you want to watermark a file.

- Now that the service is created, it’s time you use it. Locate the PDF file you want to watermark in the Finder, right-click on the file, select Services, and then choose the name of your newly created service.
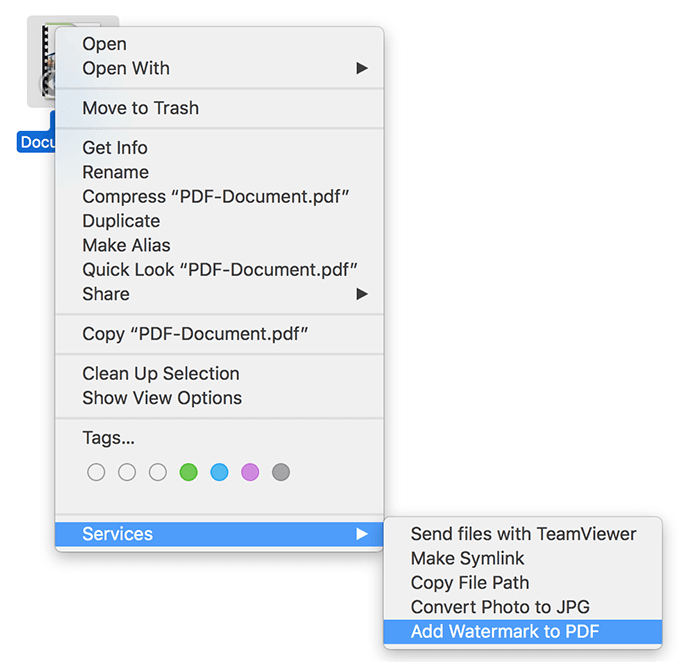
It’ll add your predefined watermark to your PDF and move the file to your Mac’s desktop. The file will have your watermark image placed exactly the way you specified in the service above.
Add a Watermark To a Pages Document On Mac
If you haven’t yet exported your Pages document to PDF or you don’t plan to do it, you can still add a watermark to your Pages file. There’s a built-in option in the app to help you do the task. This doesn’t require you to create an Automator service.
- Open your document in the Pages app on your Mac.
- When the document opens, you’ll find several icons at the top of the document. Find the one that says Text and click on it. It’ll add a textbox to your document.

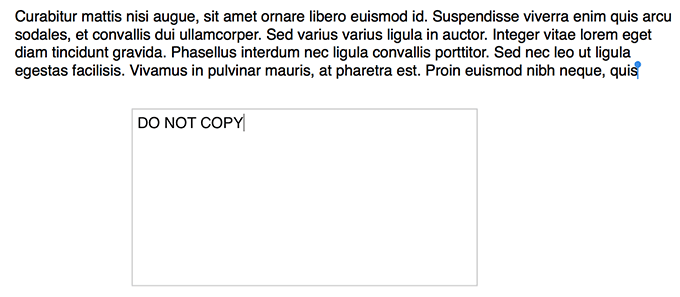
- In the newly created textbox, type in your watermark. This could be any text that you want to use as a watermark for your Pages document.
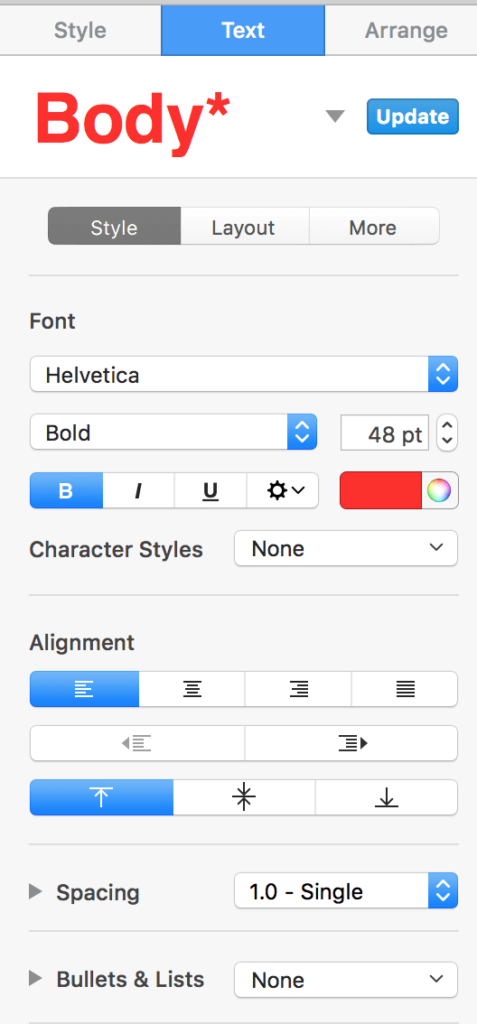
- Click on the Text section in the right-sidebar to format your text. You’ll probably want to increase the size of your text, maybe change its color, and even change the font style. Play around with it until you find your watermark to be a good fit.
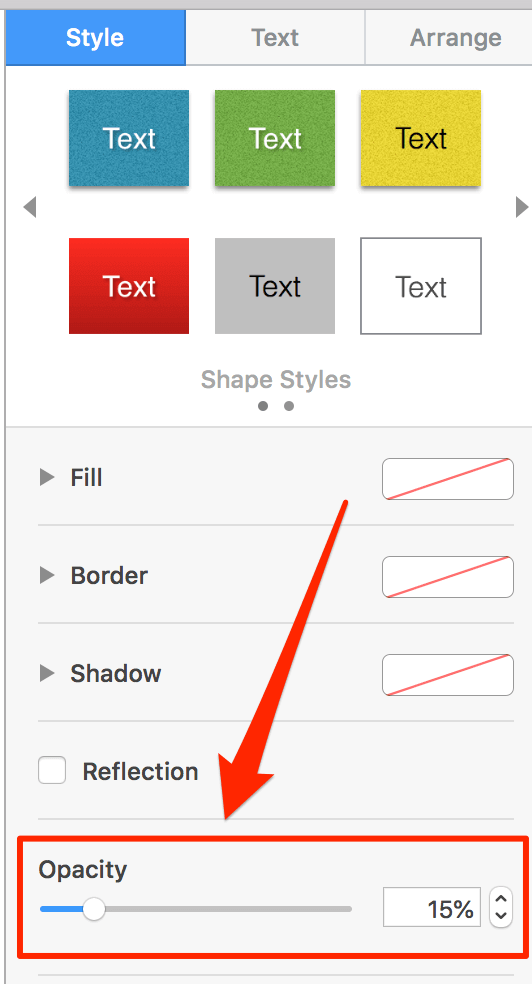
- You’ll want to decrease the opacity level of your text so the content on it is readable. Click on the Style section in the right sidebar and use the Opacity box to do so.
- Place the watermark where you want it to be on your document. Then click on the Arrange menu at the top and select Section Masters followed by Move Object to Section Master. It’ll send your watermark to the background of your document.

You have your perfect watermark added to your Pages document. Remember you don’t need to do it for each page in your document as the watermark will be copied and placed at the exact same location on all of the pages in your file.

If you ever need to edit your watermark, click on the Arrange menu, select Section Masters, and click on Make Master Objects Selectable.