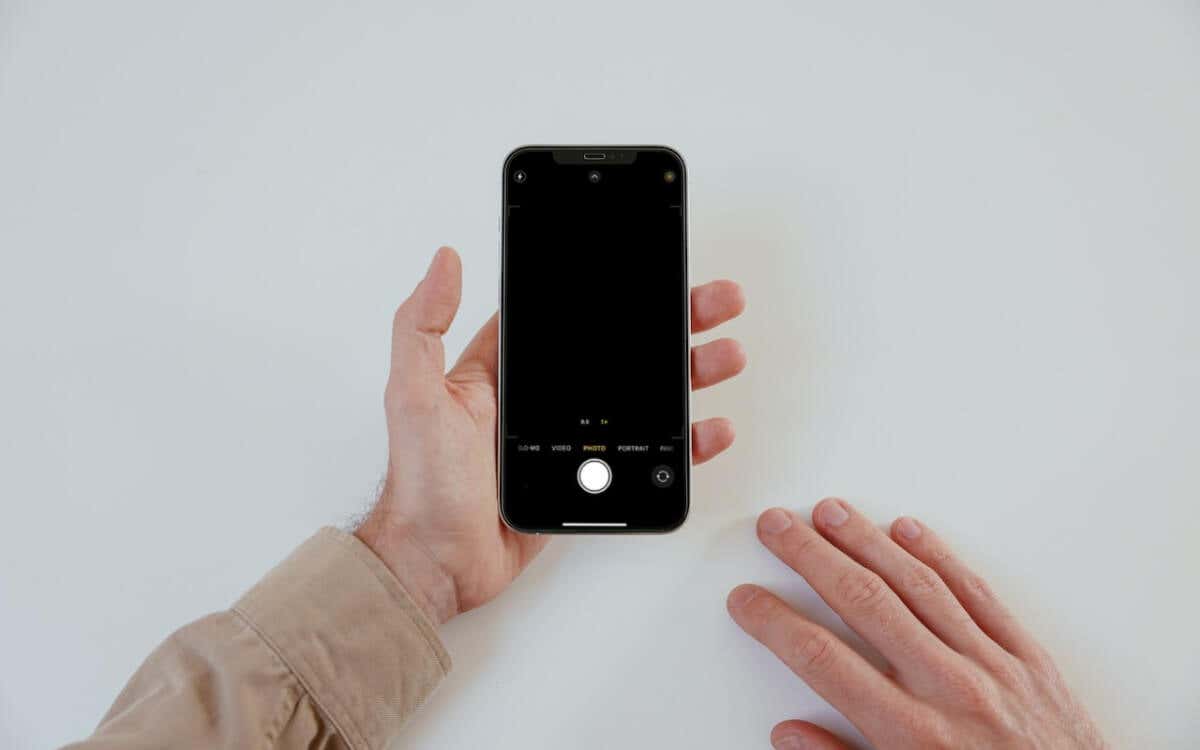
Is your iPhone’s front camera lagging or displaying a blank screen? There’s no need to panic. Most issues with the camera typically show up because of complications specific to an app or the system software.
So, in this troubleshooting guide, you’ll learn multiple methods to fix a malfunctioning front camera on an iPhone. Many of these solutions are simple, although some may require more effort.
1. Switch Cameras and Zoom Settings
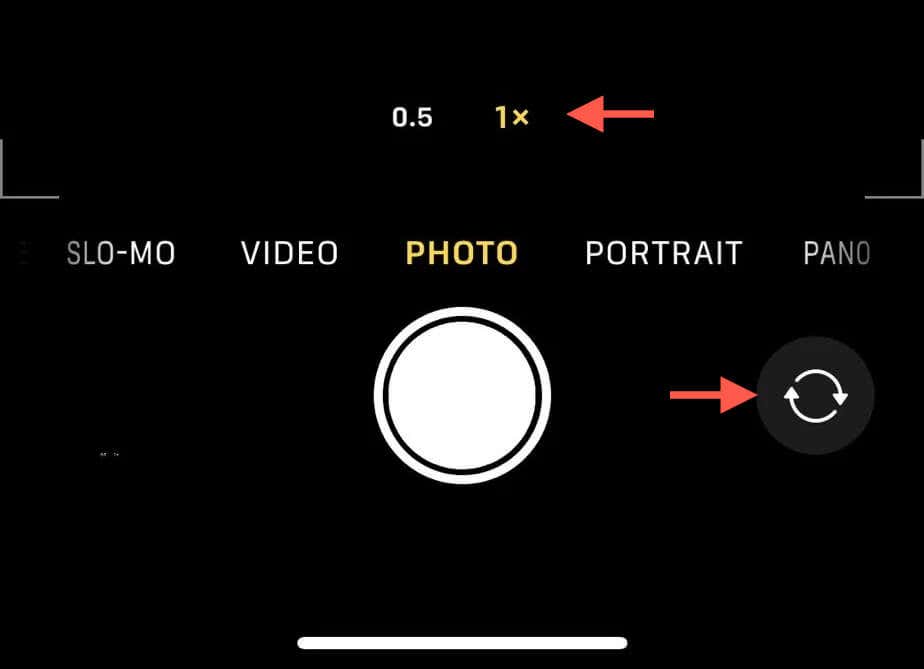
Quickly toggling to the iPhone’s back camera or zooming in and out can kick-start the front camera into functioning again. For example, in the native Camera app:
- Tap the Flip Camera icon several times to switch between the rear and front cameras.
- Pinch the screen or use on-screen options—0.5 – 1.0X—to change the camera’s zoom.
2. Force-Restart the Camera App
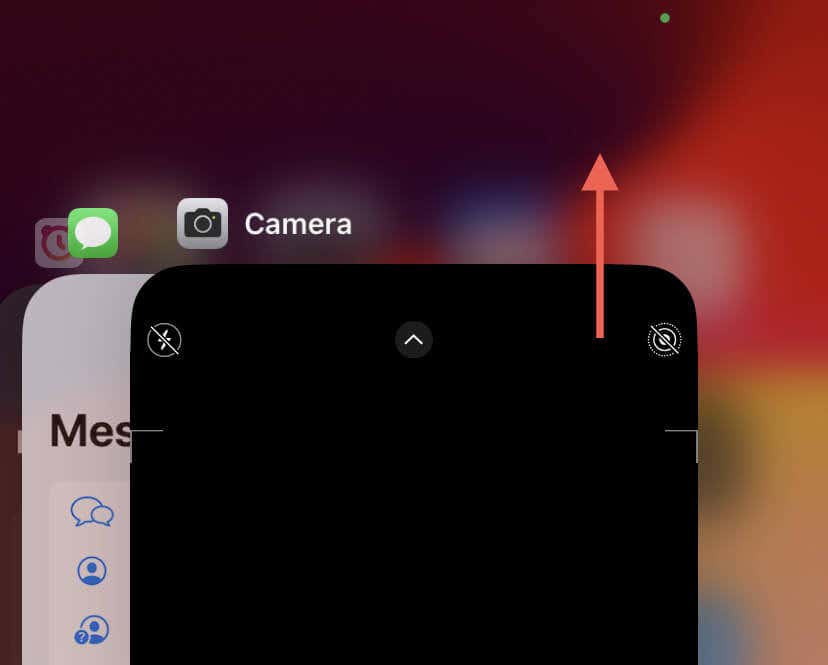
It’s not unusual for an app on the iPhone to run into random technical problems preventing it from working with the front camera, back camera, or both. Another quick solution to these issues is to force-close and reopen the app.
Swipe up from the bottom of the screen (or double-click the Home button on models with Touch ID) and push the card related to the problematic app off the screen. Then, open the app via the Home Screen or App Library.
3. Disable and Re-Enable Camera
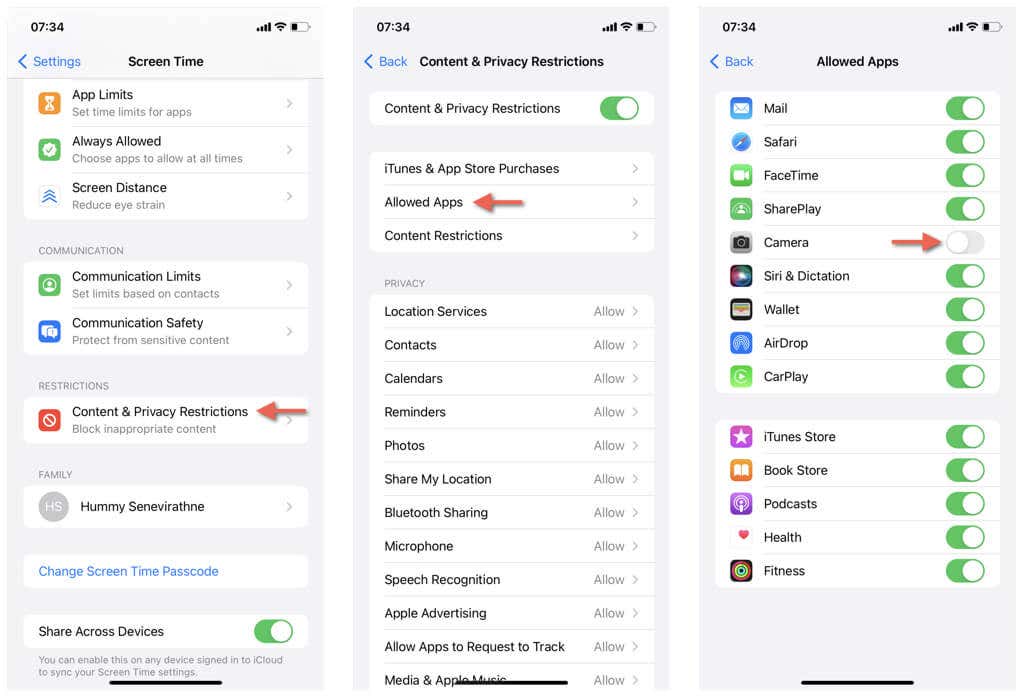
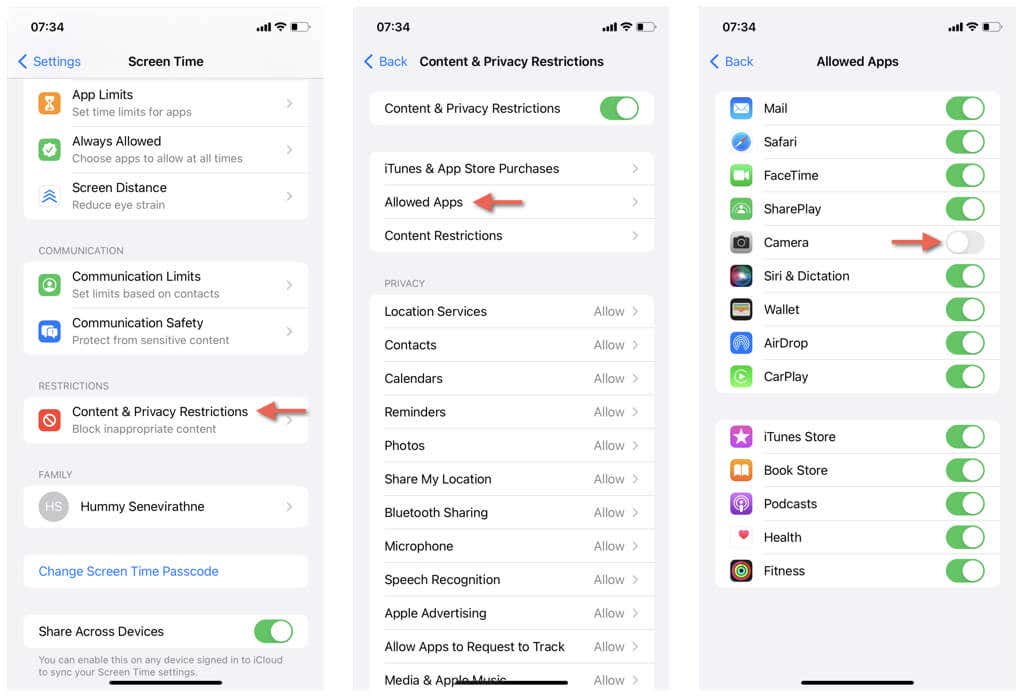
If you’ve set up Screen Time on your iPhone, using its built-in restrictions to deactivate and reactivate the camera can help address unexpected issues. To do that:
- Open the Settings app and tap Screen Time.
- Go to Content & Privacy Restrictions > Allowed Apps.
- Enter your Screen Time passcode if prompted.
- Disable the switch next to Camera.
- Wait 10 seconds and re-enable the camera.
Note: Can’t remember your iPhone’s four or six-digit Screen Time passcode? Learn how to reset a forgotten Screen Time passcode.
4. Restart Your iPhone
If the front camera continues to stutter, freezes constantly, or fails to activate altogether, it’s best to restart your iPhone before moving on to the rest of the fixes. Here’s how:
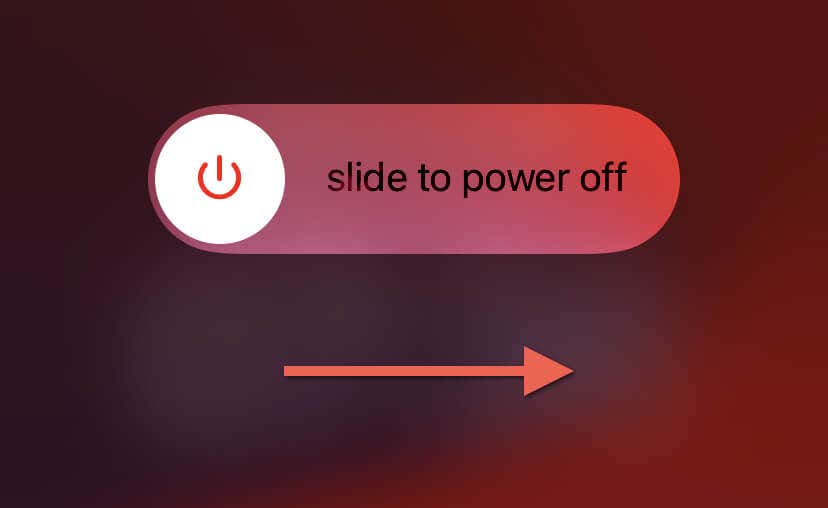
- Open the Settings app, tap General, and select Shut Down.
- Drag the Power icon to the right.
- Wait 30 seconds and hold the Side button until the Apple logo appears.
5. Force-Restart Your iPhone
Another approach to resolving issues with a malfunctioning front camera is to force-restart—or hard reset—your iPhone. It’s a process capable of addressing deep underlying problems because it reboots the device firmware—the programming that enables the hardware to operate—alongside the system software.
However, unlike a standard reboot, you must follow different steps depending on the device model.
- iPhone 8 and Later: Quickly press and release the Volume Up and Down buttons one after the other, and then hold the Side button until you see the Apple logo.
- iPhone 7 and 7 Plus: Hold the Side and the Volume Up buttons together until the Apple logo appears.
- iPhone 6, 6s, and Older: Hold the Side and Home buttons together until the Apple logo appears.
6. Free Up Storage
An iPhone running out of storage leads to uneven performance, crashes, and other anomalies with the cameras. Open the Settings app and go to General > iPhone Storage to check for a breakdown of used and free space.
If there’s little to no breathing room left, work through the recommendations for optimizing storage—offload apps, trash old messages, remove video files, etc.—or manually delete unused apps and media.
7. Update iOS
Persistent camera issues are often directly tied to the version of iOS on your iPhone. For example, early iterations of major version upgrades or beta releases are almost always full of bugs and glitches. You must install the latest updates because they contain fixes for known problems.
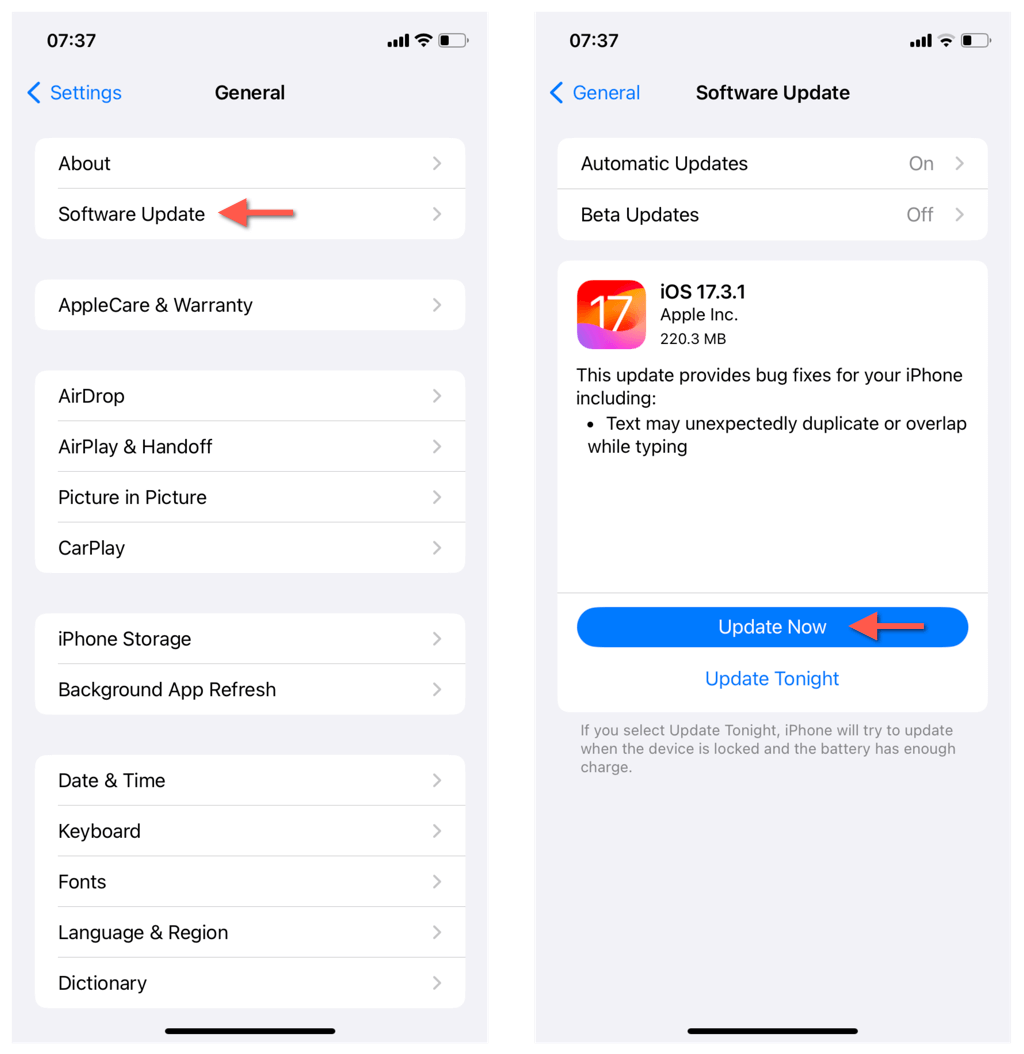
To update iOS:
- Open the Settings app and tap General.
- Choose the Software Update option.
- Tap Update Now if there’s a pending update.
If your iPhone is enrolled in the Public Beta, consider downgrading to the stable iOS channel.
8. Reset All iPhone Settings
If issues with the iPhone’s front-facing camera persist, a corrupt settings configuration could be the reason. To rule that out, you must restore all settings on your iPhone to their default values.
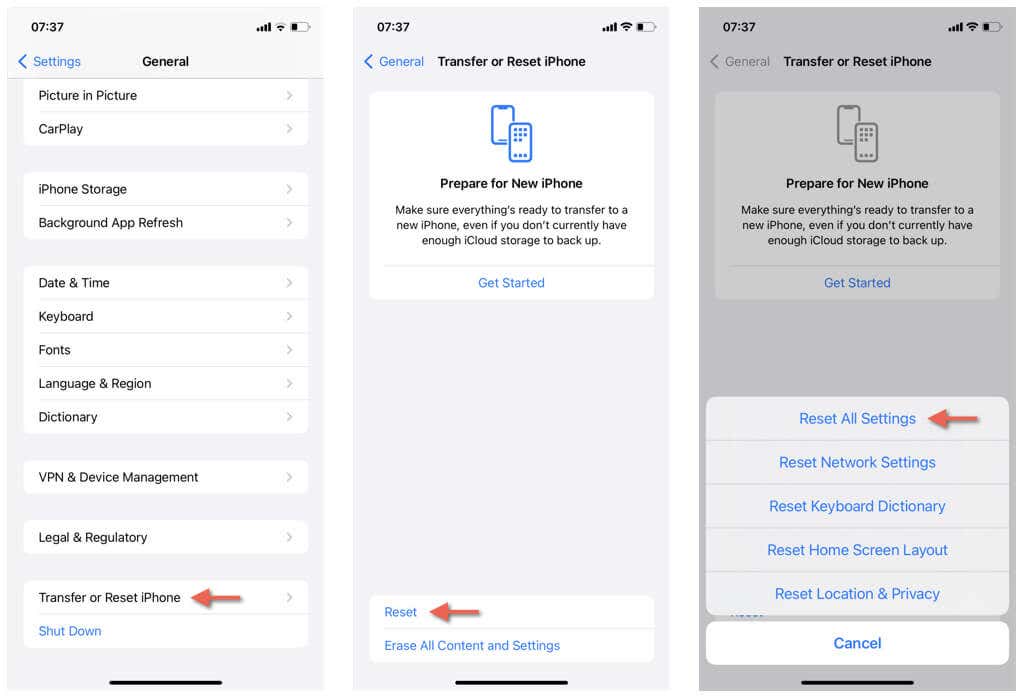
An all-settings reset doesn’t result in data loss, so if you’re ready to proceed:
- Open the Settings app.
- Go to General > Transfer or Reset iPhone > Reset.
- Tap Reset All Settings.
- Enter your device and Screen Time passcodes.
- Tap Reset All Settings again to confirm.
Your iPhone will auto-restart as part of the reset procedure. Once you’re back on the Home Screen, test the camera. If it works, open the Settings app and re-configure your accessibility, privacy, and networking preferences the way you want.
9. Factory-Reset Your iPhone
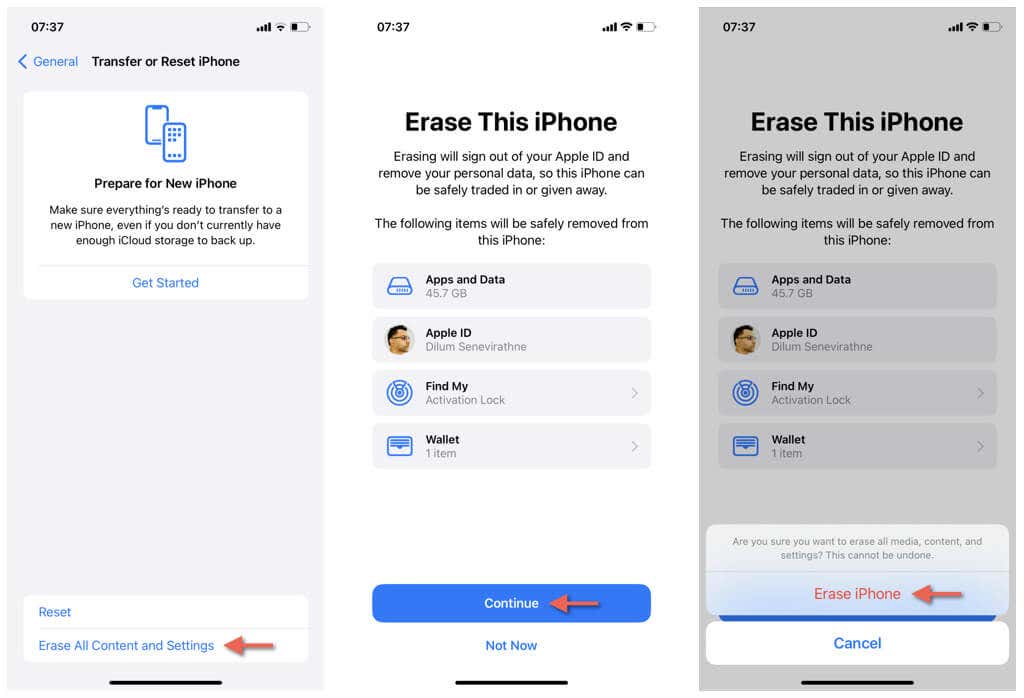
If an all-settings reset fails to fix the front camera, the next step is to erase all data and settings from your iPhone. Make sure to back up your iOS device to iCloud or a Mac/PC to give yourself the option to restore everything afterward. Then:
- Open Settings and go to General > Transfer or Reset iPhone.
- Tap Erase All Content and Settings.
- Tap Continue.
- Tap Erase iPhone.
- Wait until your iPhone factory resets itself.
- Work through the Setup Assistant to set up your iPhone from scratch.
- Use your iCloud or computer backup once you get to the Apps & Data screen to get your apps, documents, and data back.
10. Contact Apple
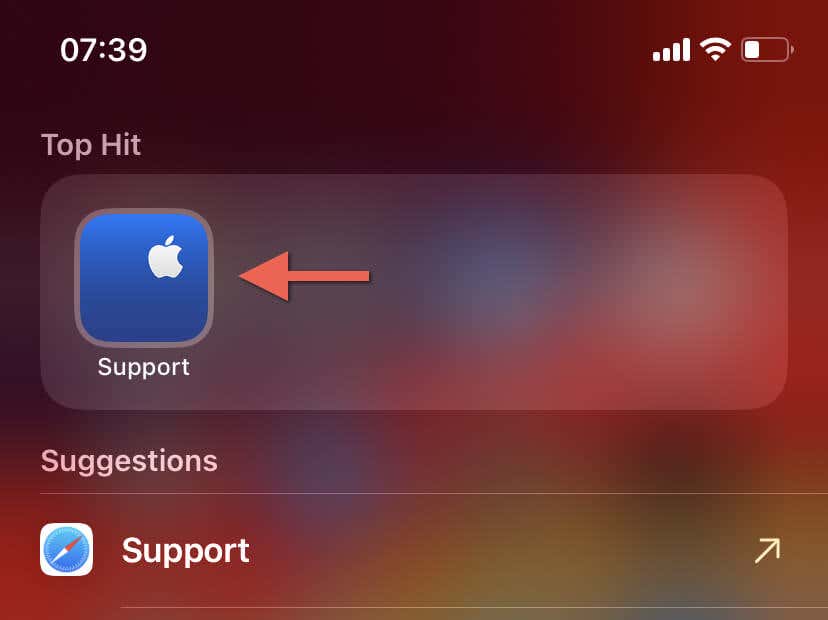
If your iPhone’s front camera continues to give you trouble, you may be dealing with a hardware problem that requires professional help. In this case, your best bet is to contact Apple Support or visit an Apple Store.
Before contacting Apple, you can always factory reset the iPhone in Recovery Mode or DFU (Device Firmware Update) Mode. However, these are advanced fixes you may not be comfortable performing yourself.
Get the Front Camera on Your iPhone Working Again
A malfunctioning front camera on an iPhone can be frustrating and alarming, but you should be able to fix it and return to taking selfies and making video calls reasonably quickly—at least in most cases.
Related: Check out our guide on what to do if your iPhone camera keeps freezing if you’re still having trouble.
Begin with the most straightforward solutions and gradually work your way down to the more drastic measures if needed. However, if all else fails, your best option is to contact Apple for assistance.

