FaceTime Live Photos let you save moments from FaceTime chats so you can relive them later. Live Photo is a cool feature on Apple iPhones and Macs that saves a few photos in a sequence, allowing you to see a few moments of motion.
Live Photos are useful for capturing things while they are going on without worrying that you didn’t get the perfect shot. You can choose the best still later. Unfortunately, there seems to be a glitch experienced by some users where these live photos aren’t saving to the device as they should or they don’t show up in iCloud photos either. But you can fix these FaceTime live photos issues that bug you.
1. Restart Your Apple Device
The simplest trick is often the one that fixes the most problems. Restart your iOS device or Mac and try to take Live Photos again. If this fixes the issue, it doesn’t help explain what went wrong, but most of the time, small bugs are temporary.
2. Meet the Version Requirements
For FaceTime live photos to work, there are several requirements. One of the tricky things is that everyone in the conversation has to meet those requirements, or you can’t take Live Photos. This is why the feature may sometimes work for you and not at other times.
Devices must be on iOS 13. The feature was originally in iOS 11, but Apple’s support site no longer lists instructions for iOS 11 and iOS 12. Likewise, you need at least macOS Mojave if you’re using a Mac.
The option won’t be available if the other person is using a Mac, iPad, or iPhone that’s too old to run these versions.
3. FaceTime Live Photos Must Be Enabled on Both Devices
All participants must have FaceTime Live Photos enabled, or it won’t work for anyone. You may have to ask other participants to check that they have it enabled in their FaceTime settings.
On an iPhone:
- Open Settings.
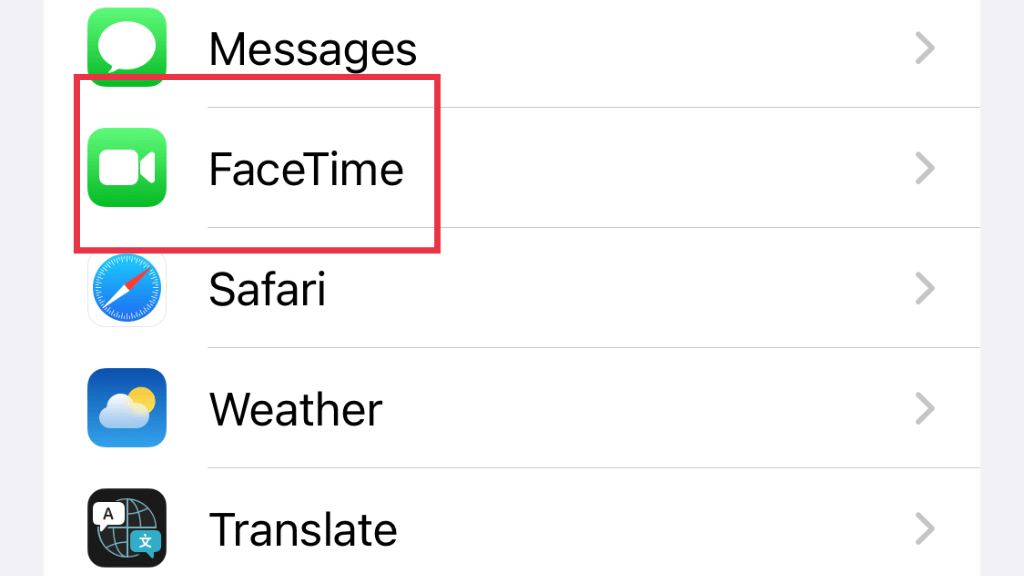
- Select FaceTime.
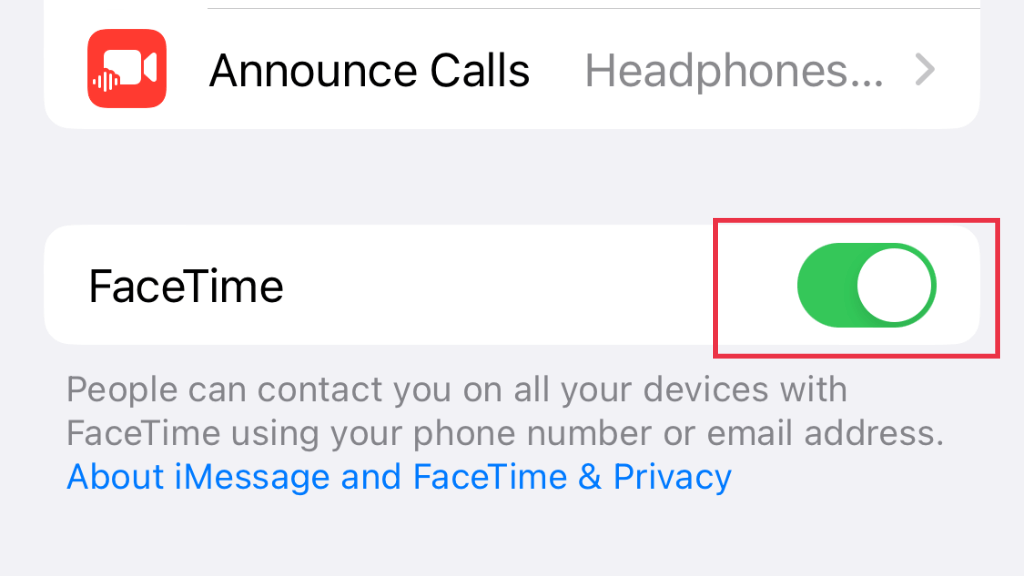
- Toggle FaceTime Live Photos on.
On a Mac:
- Open FaceTime.
- On the Menu Bar, select FaceTime > Preferences.
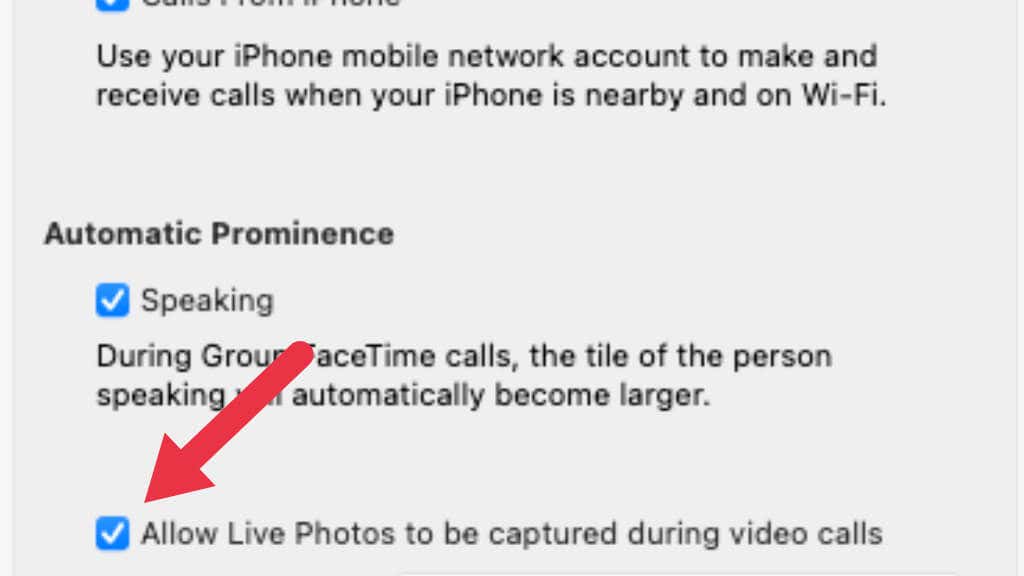
- Under Settings, Check Allow Live Photos to be Captured During Video Calls.
Remember to give these instructions to the other people you want to FaceTime with!
4. Are You Taking FaceTime Live Photos the Right Way?
Before we look at more troubleshooting tips, let’s briefly review how to take FaceTime Live Photos in the first place. Feel free to skip this section, but it’s a good idea to ensure that you’re performing the operation correctly before assuming something is wrong.
On an iPhone:
- Start the FaceTime call.
- In a one-on-one call, select the Shutter button.
- In a group FaceTime call, first select the tile of the person you want to photograph, then tap the Full-screen button. Once their tile fills the screen, tap the Shutter button.
On a Mac:
- During a FaceTime call, select the FaceTime window or, in a group call, select the tile of the person you want to capture.
- Select the Take Picture button. If you have a Mac with a Touch Bar, you can also use the Take Picture button that appears there while FaceTime is the active application.
You should get a notification that a Live Photo has been saved. Whether you’re on a Mac or iOS device, the photo should be saved to Photos.
5. Is Everyone in the Right Region?
For several reasons, Apple doesn’t offer the FaceTime Live Photo feature in all regions worldwide. This is according to their official support pages, but we could not find a list of specific places where Live Photos aren’t allowed.
If the people in the call aren’t all in the same region, that may explain why you can’t take a Live Photo. Using a VPN to circumvent this restriction may be possible, but we couldn’t test it.
6. Do You Have Enough Storage Space?
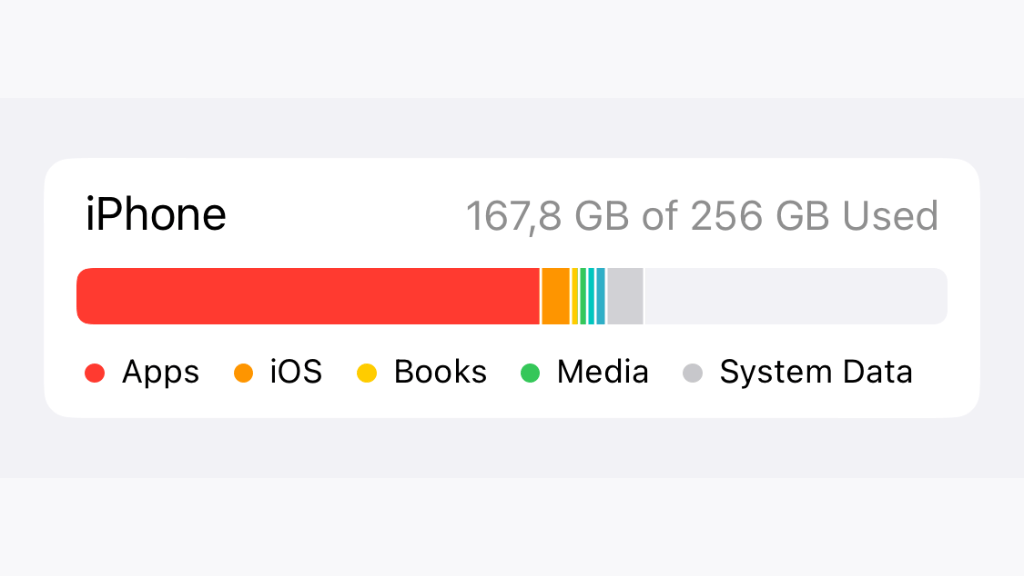
If you can’t find your Live Photos in Photos, it may be that your device has run out of storage space. Check whether your iOS or macOS device has available room to save new photos.
On an iPhone or iPad:
- Open Settings.
- Select General.
- Select iPhone/iPad Storage.
On a Mac:
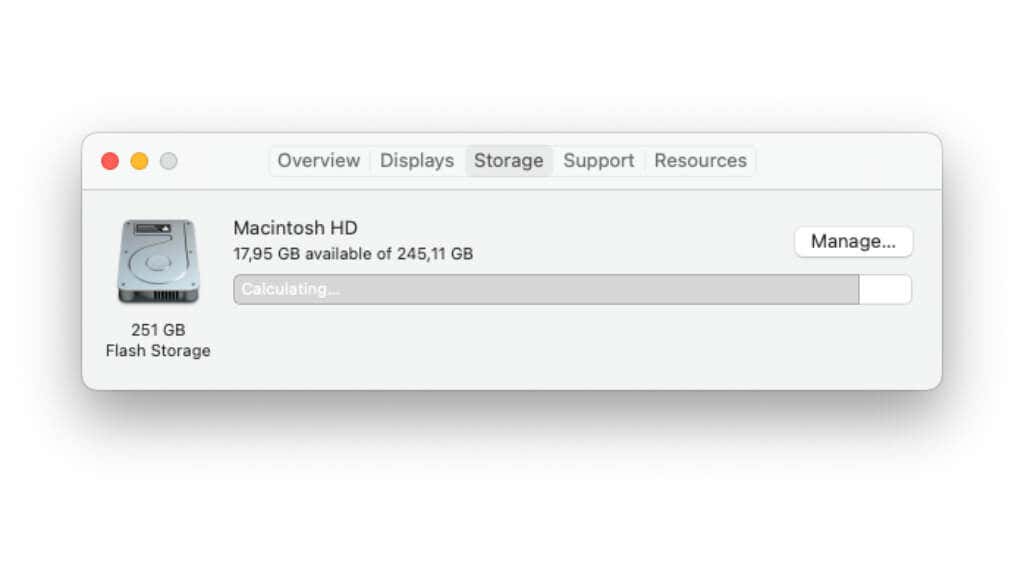
- Select the Apple Button.
- Choose About This Mac.
- Choose Storage.
Here you’ll see how much free space is still available. If your device is full, move or delete data to make some extra room, then try to take a Live Photo Again.
7. Update to the Latest iOS or macOS Version
Live photos were first introduced in iOS 11, but with time Apple has support for older versions of iOS. Going by the Apple Support documents, there are no longer instructions for iOS 11 and 12 regarding Live Photos. So if you’re using a device that supports a newer version of iOS, you’ll have to update to the latest supported version.
Simply go to the Settings app > General > Software Update and check if there’s anything new to install. On macOS the path is Apple Button > About This Mac > Software Update.
8. Double Check the Live Photos Album Folder
Live Photos are saved to your Camera Roll, but we’ve read about some users who don’t see them there immediately. Most people check their camera roll by recency, and while it should show up there, you can also check the Live Photos album.
On an iOS device:
- Open Photos.
- Select Albums.
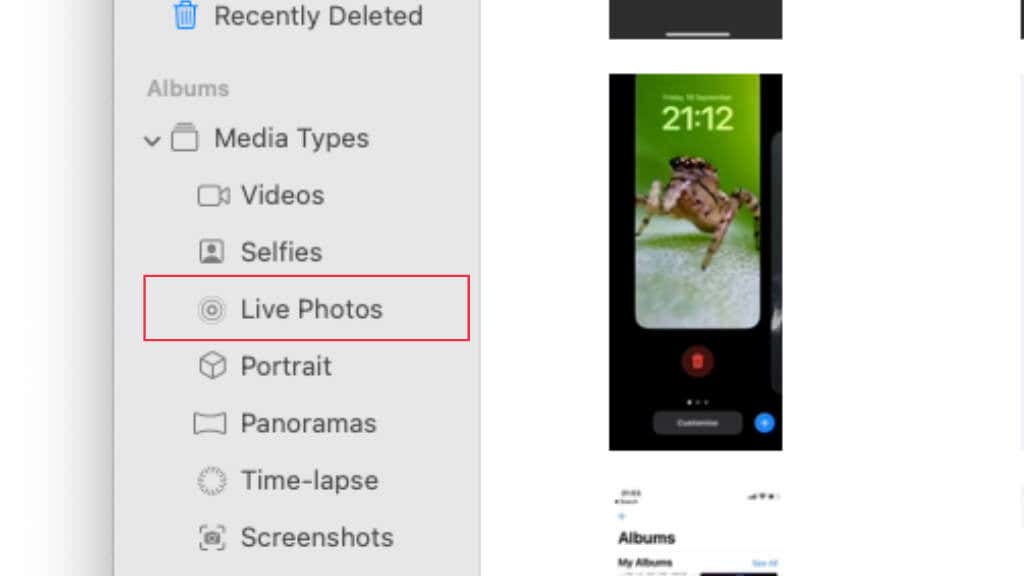
- Under Media Types select Live Photos.
On a Mac:
- Open Photos.
- In the left-hand sidebar, look for Albums.
- Under Albums, expand Media Types.
- Select Live Photos.
If your photos aren’t here either, then they definitely haven’t been saved.
9. Toggle iCloud Off and On Again
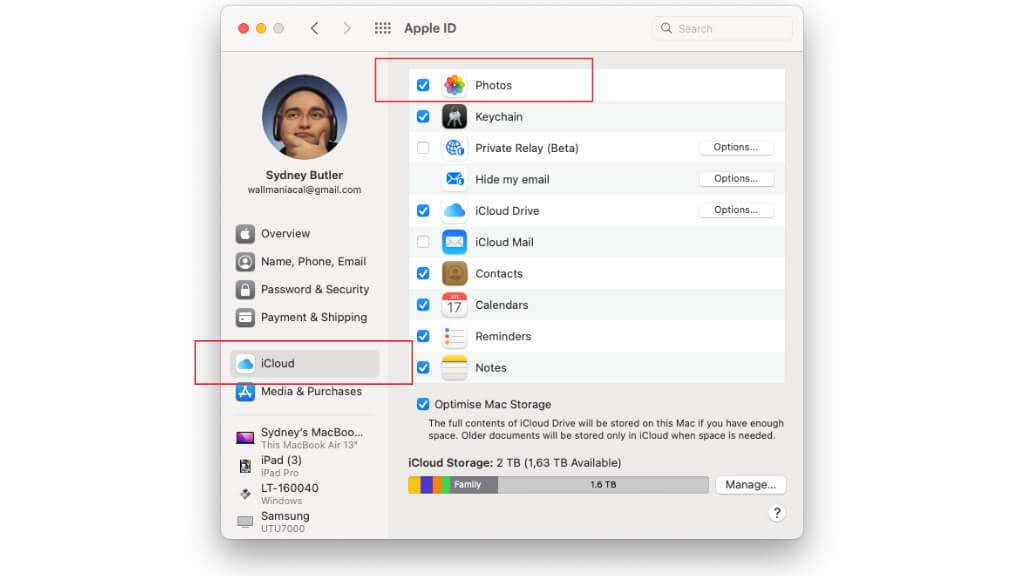
Sometimes the problem is with iCloud, rather than anything going on with your local device. Try toggling iCloud for Photos on your device and logging back in again.
On a Mac:
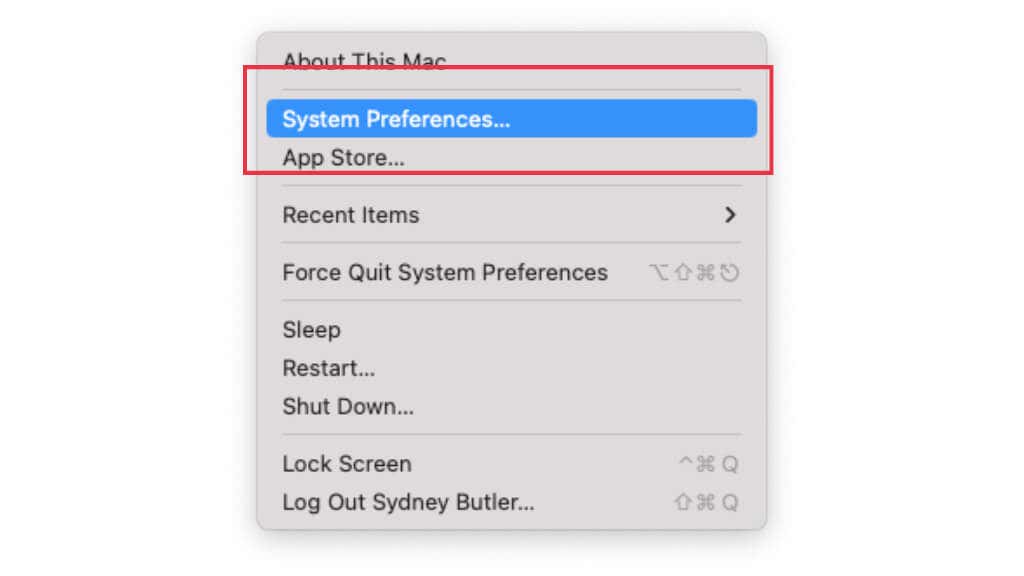
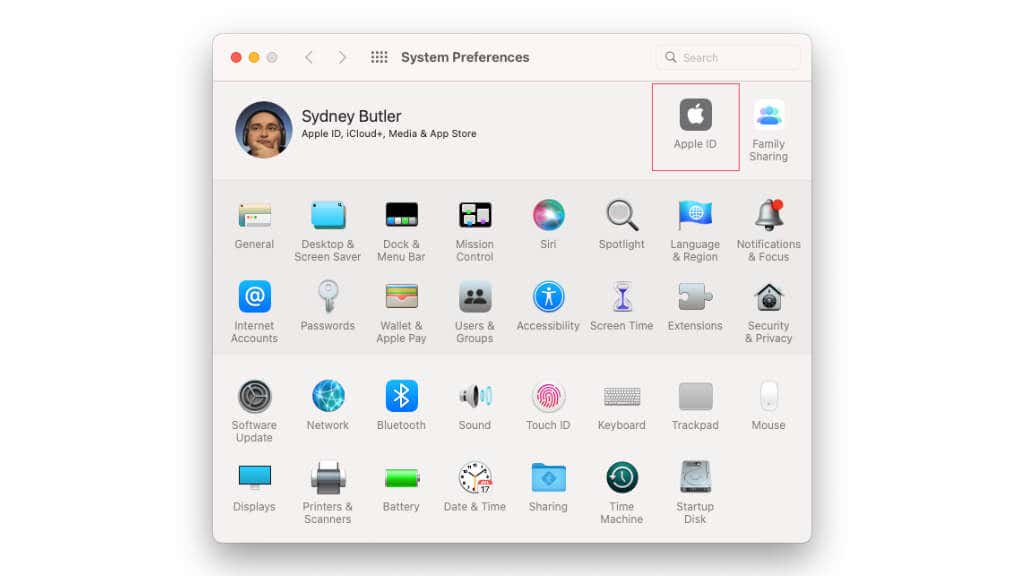
- Go to Apple Menu > System Preferences > Apple ID.
- Select iCloud from the left-hand sidebar.
- Next to Photos, remove the checkmark.
- Now, put the checkmark back.
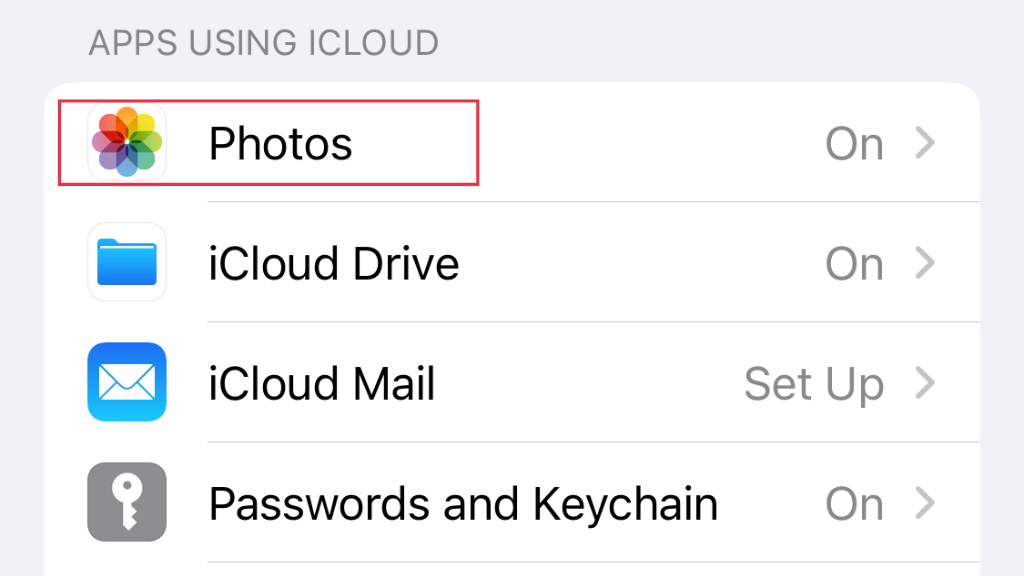
On an iPad or iPhone:
- Open Settings.
- Select your name.
- Choose iCloud
- Select Photos.
- Toggle Sync to this iPhone off, then on again.
If simply toggling the option off and on doesn’t work, you can also try toggling the option off and restarting your device before turning the option on again.
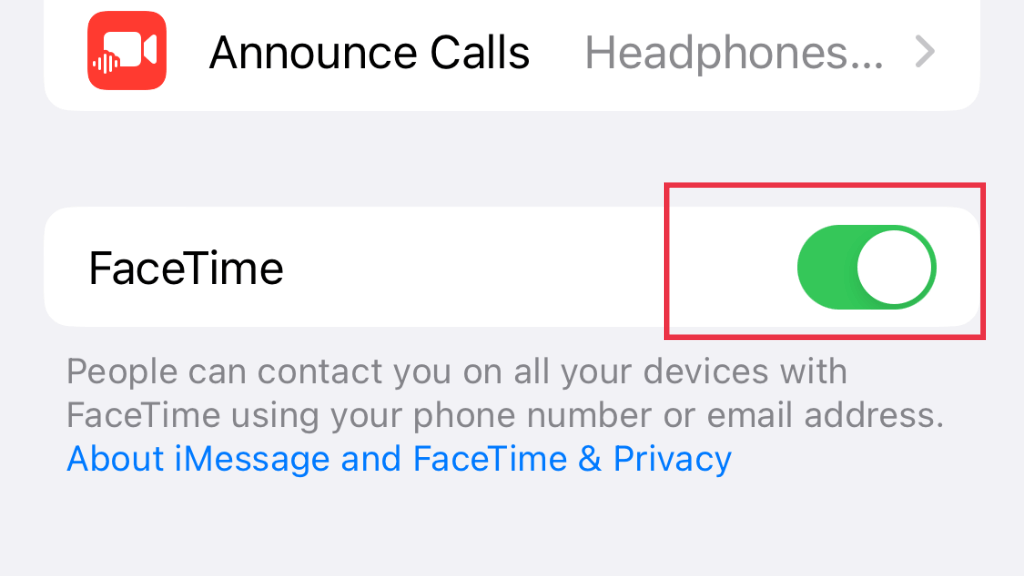
10. Toggle FaceTime Off and On Again
The last culprit might be FaceTime itself, and some users have luck turning FaceTime off and then on again.
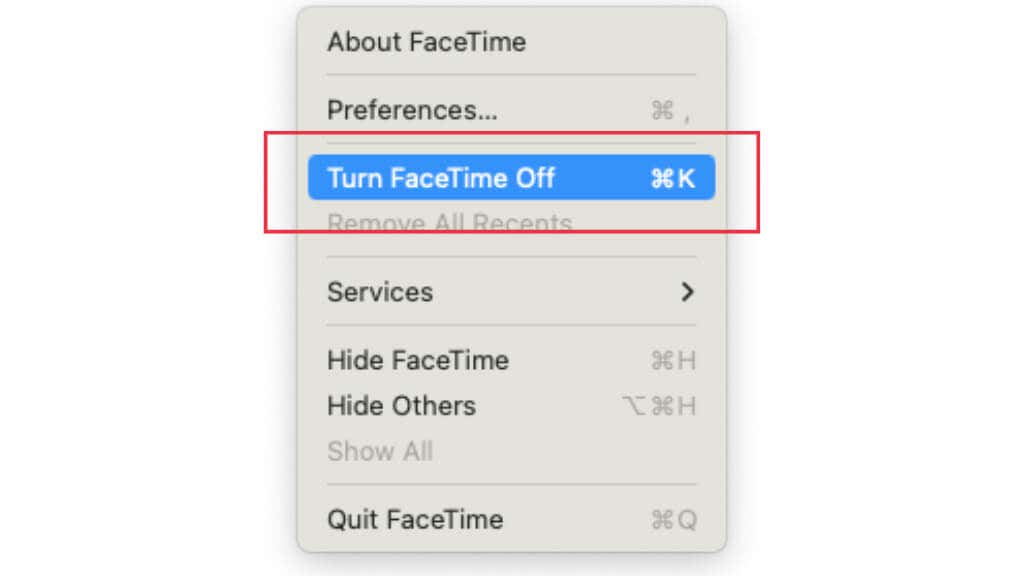
On a Mac:
- Open FaceTime.
- In the menu bar, select FaceTime.
- Select Turn FaceTime Off.
- Repeat the process and select Turn FaceTime On
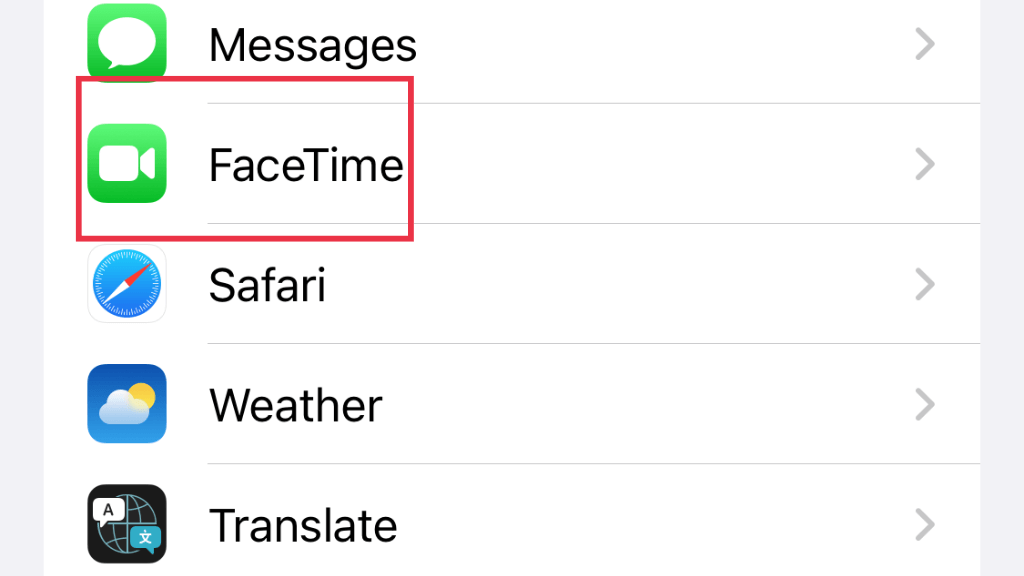
On an iOS Device:
- Open Settings.
- Scroll down to FaceTime and select it.
- Toggle FaceTime off and then on again.
As with the iCloud toggling tip above, you may want to restart your Mac or iOS device before turning FaceTime on again.
Alternative Way to Capture FaceTime Calls
Live Photos are convenient when the feature works, but it’s not the only way to grab a FaceTime call.
On a Mac, if all you want is a static photo, use Shift + Command + 3 to take a screenshot. You can also press Shift + Command + 5 and choose to record your screen. Then later, edit out the segment you want to keep. The main advantage of this alternative method is that it doesn’t rely on other people in the call to do anything special. On a Mac, both screenshots and screen recordings are saved to the desktop by default.
On an iPhone, you can take a screenshot by pressing the side and volume up button at the same time. You can record the screen by swiping down from the top right corner of the screen, and selecting the screen recording button in the Control Center. Both photos and recordings are saved to the camera roll. Just remember that you need to manually end screen recordings the same way you start them.


