Enjoy automated backups and easy restores
Unlike Windows, OS X has a great built-in tool for backing up your entire operating system to a backup drive. Windows has an option to create a system image, but it’s a relic of Windows 7 and it’s not terribly easy to use, especially when you have to do a full restore.
The best way to backup and restore a Windows system is to use a third-party cloning utility. Luckily, on a Mac, you can simply use Time Machine and enjoy the convenience of automated backups and easy restores.
Also, you can use it to restore individual files and folders in addition to restoring your entire operating system, which is very convenient.
Backup Mac to Time Machine
It’s best to backup your Mac to a completely separate hard drive either internally or externally. You can connect a drive using USB, FireWire, or Thunderbolt. In addition, you can use a network drive as long as it supports Apple File Protocol. Basically, if you can see the disk in OS X, you can use it as a Time Machine backup.
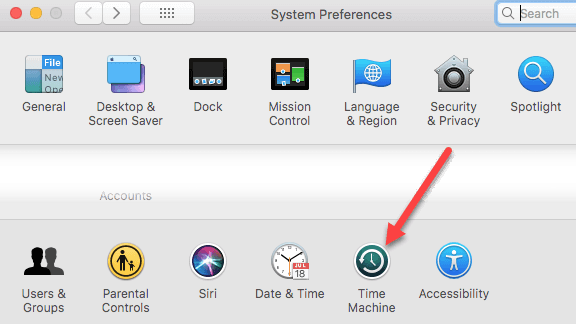
To start, go to System Preferences and select Time Machine.
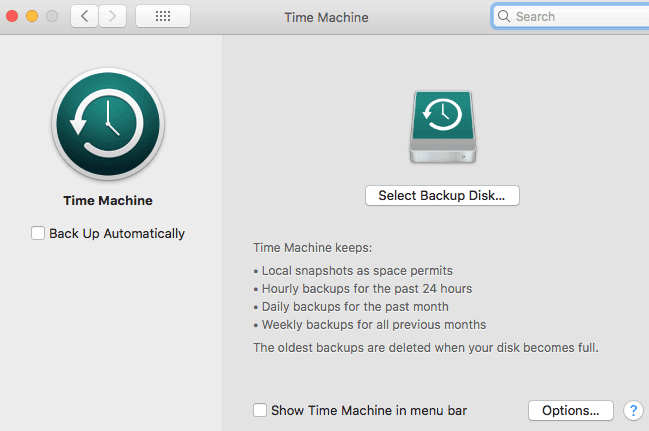
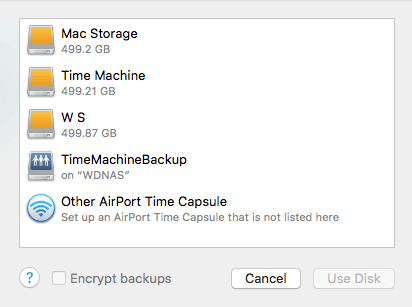
Click on Select Backup Disk, and then choose the drive or partition for your Mac OS Time Machine backup.
When you have selected the drive you want to use for the backups, click on Use Disk. You can also encrypt your backup based on your preferences by checking the box next to it, but the backup will take longer.
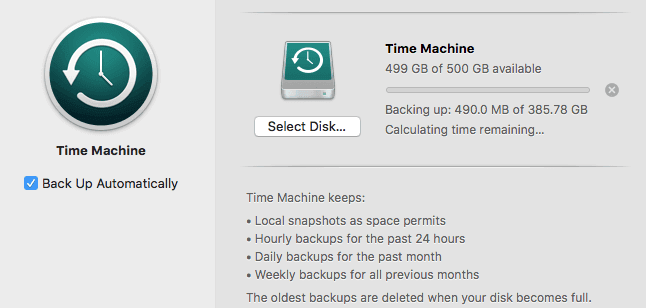
If you have Back Up Automatically checked, it should start performing a backup automatically after a couple of minutes.
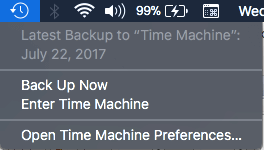
You can also check the Show Time Machine in menu bar, then go back to the notification bar at the top of the Mac screen and select the Time Machine icon (clock logo with counterclockwise arrow), and select Back Up Now.
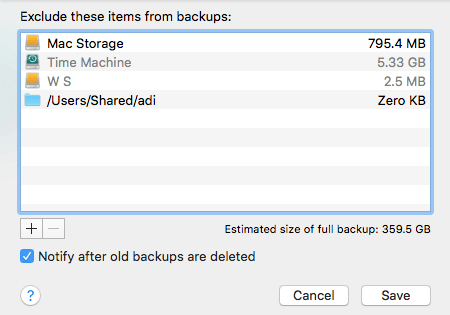
Finally, you can click the Options button on the Time Machine screen and exclude any files or folders that you do not want to backup.
That’s about it. Depending on how much data you have, the backup will take time to complete. For me, backing up about 400GB of data to an external USB drive took about 10 hours. So be prepared to wait. Luckily, you can carry as using your computer as normal while the backup is taking place in the background.
In a future post, I’ll write about how to restore individual files and folders using Time Machine and how to restore your entire Mac in case of a system-wide failure. Enjoy!

