So I just got my shiny new Apple TV 4K and I rushed to set it up as quickly as possible so I could watch those new 4K HDR movies on my 4K TV! It’s also way faster and better than the 2nd generation Apple TV that I refused to upgrade until Apple moved to support 4K.
In this article, I’m going to go over all the steps to set up your new Apple TV 4K so that you can start enjoying the new super high-definition content. The first step is to plug it in, connect it to your TV using an HDMI cable and connect it to the Internet using an Ethernet cable. You’ll definitely want to use a wired cable over wireless since streaming 4K content will require more bandwidth.
Setup Apple TV 4K
When you turn on your TV and change the input source to the HDMI connection for the Apple TV 4K, you should see a message on how to pair your remote with the Apple TV 4K.
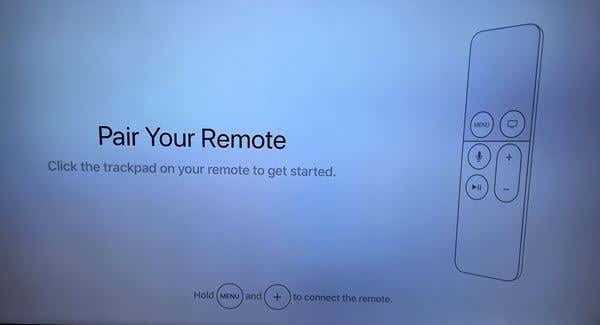
According to the instructions, you’re supposed to press and hold the Menu and + buttons at the same time, but all I did was click the big button at the top a couple of times and it connected.
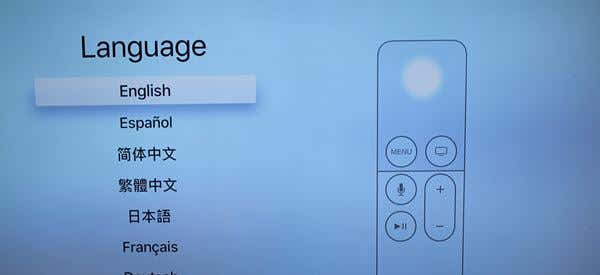
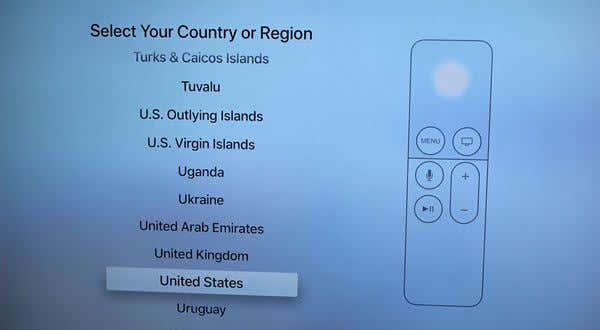
Next, you’ll need to choose the language you want to use for the device. After that, you’ll need to choose the region. It should automatically select the country you are in based on your IP address.
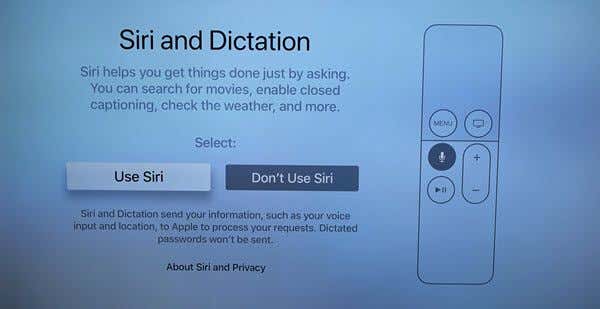
On the following screen, you can choose whether or not to use Siri and Dictation. This is one of the defining features of the devices, so if you don’t enable this, you will not be getting the full benefit of the Apple TV 4K.
Next, you’ll be asked if you want to set up the device manually or via an iPhone or iPad. It’s much simpler to use a device if you already have one, so select Setup with Device. The manual method will require you to type or dictate your Apple ID and password.
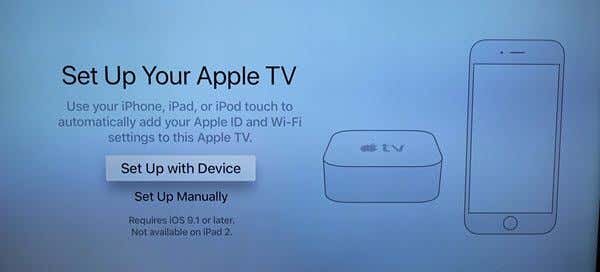
On the next screen, it will tell you how to connect your iPhone or iPad to the Apple TV 4K so that it can be set up automatically. You’ll have to unlock your phone, connect it to WiFi, enable Bluetooth, and then bring it close to the Apple TV 4K.
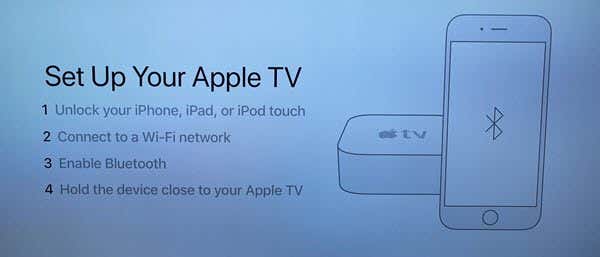
When you do that, a popup dialog will automatically show up on your device with a big Set Up button. Tap on that and it will set up the Apple TV automatically with your Apple ID account or accounts.
On the TV, you’ll see a message stating that the device is being set up. This step took a few minutes for me, so you’ll have to be patient.
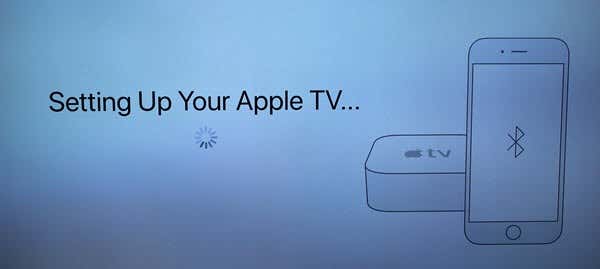
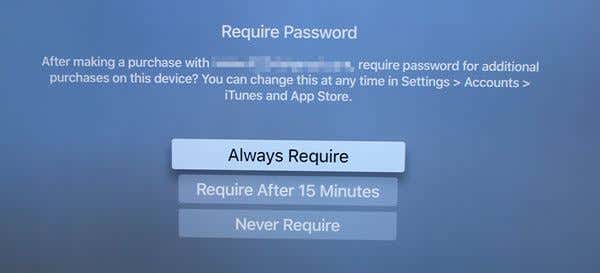
Once the setup procedure has been completed, you’ll be asked if you want to require a password for additional purchases after making an initial purchase.
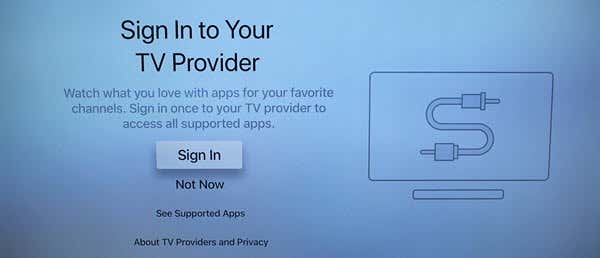
Next, you’ll want to sign in to your TV provider if you have a cable subscription. If not, you can just skip this step for now.
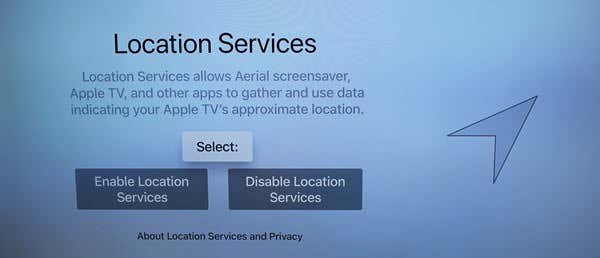
After this, you’ll be asked to enable or disable location services on your Apple TV. I’m not sure how useful this is on a device like the Apple TV, but I just went ahead and enabled it.
Next, you can choose whether or not you want to download some 4K HD video screensavers for your Apple TV. I bought the 64 GB version, so I enabled this since it looks gorgeous on the 4K TV.

Finally, you’ll be asked if you want to enable analytics on the device or not. This is mostly so that Apple can see how the device is being used and to get information about errors and crashes.

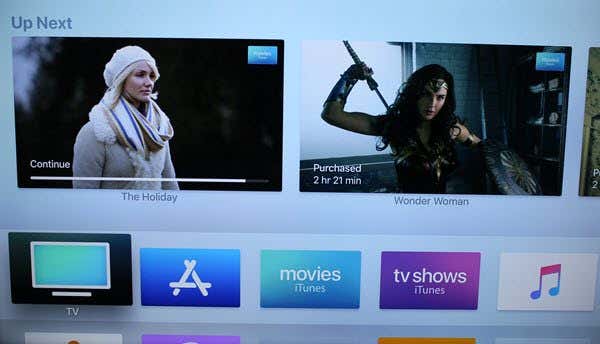
That’s about it! Now you should see the main Apple TV OS interface with the App Store, TV app, music app, etc.
I’ll be writing more articles on how to use the Apple TV 4K soon, but for now, sit back, relax and enjoy a 4K movie on your new Apple TV!
[related_posts_by_tax posts_per_page="5"]