With the iPhone’s amount of simplicity in its interface, taking a photo or video with the camera is pretty straightforward. There are, however, many additional options and iPhone camera settings you can use to enhance your pictures.
The iPhone’s camera is pretty sophisticated, and you may have noticed all the settings within the camera app that are available. Once you get an idea of everything you can do, it’s very possible to take high-quality photos. Many people prefer the iPhone to do photography over a traditional digital camera, because of its ease of use and the number of settings available.

You’re also able to do basic photo correction right from your iPhone. If you don’t have the money for expensive cameras or photo editing software, yet still want to take quality photos, getting to know the ins and outs of the iPhone camera and photo settings will allow you to.
The iPhone Camera’s Photo & Video-Taking Settings
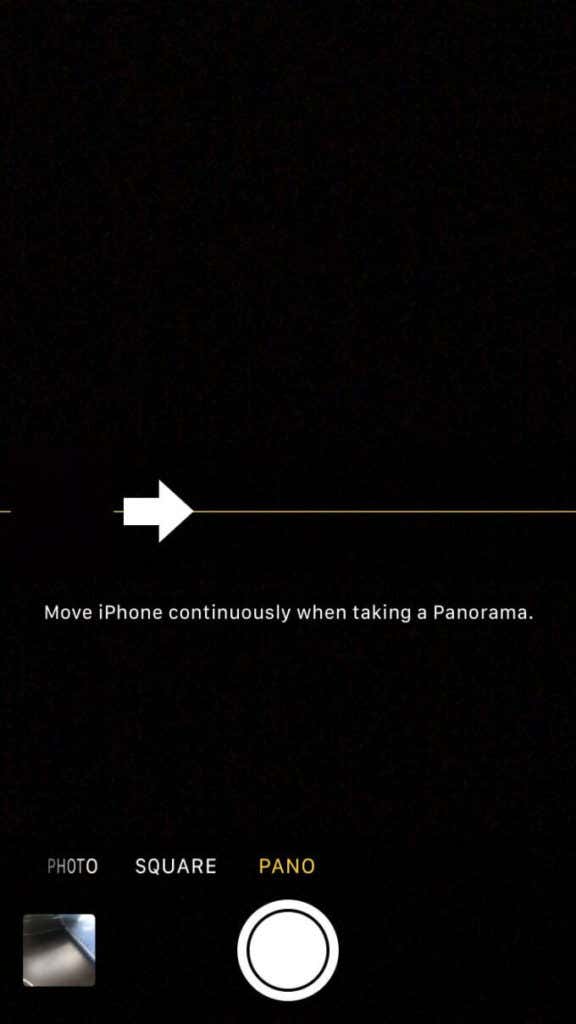
When you open up the Camera app, you’re brought directly to the photo option. Other than this, there are five more ways you can take photos or videos: Time-lapse, Slo-mo, Video, Square, and Pano. You can select which you’d like to shoot in by tapping on it at the bottom of your screen.

The Time-lapse setting allows you to take a video, and afterward, it will automatically be sped up. Slo-mo, of course, does the exact opposite. Then there is the regular video option, to take real-time video.
Next, after the regular photo option, there is Square, which allows you to take square-shaped photos ideal for posting on social media platforms. Finally, there is Pano, short for Panorama. This lets you take photos of a larger area, such as a landscape.

You can also flip to the front or back camera by tapping the icon in the bottom right corner showing arrows inside a camera.
Within these camera options, you also have further iPhone camera settings for how you’d like the photo to be taken. These are options such as flash, HDR, or timer.
How To Change iPhone Camera Settings
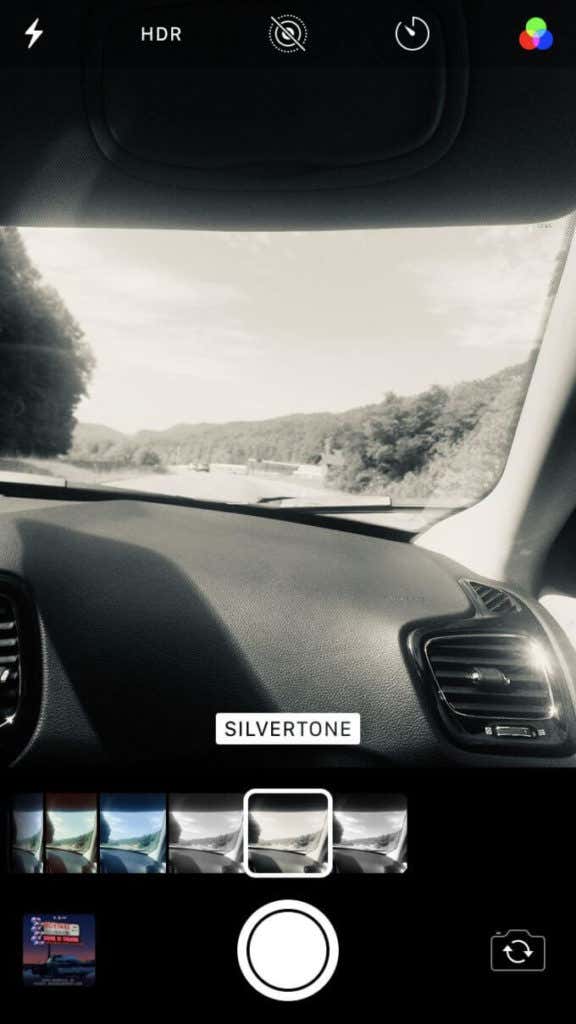
When taking a photo, you’ll see at the top of the screen there are multiple different icons. These are settings that you can change and can help you get the picture you want.
The first setting, from the left, is the flash. There are three ways you can set the flash: Auto, On, or Off. The on and off are self-explanatory, but the Auto setting will allow the iPhone to determine when to turn the flash on or off depending on how dark it is.

Next to that is HDR, which optimizes the contrast of your photos. This is useful if your photo is being taken in an especially bright environment. The options here are the same as with Flash, so you can choose whether your iPhone automatically detects situations to use HDR, or you can just turn it on or off.
The middle icon is for the camera’s Live Mode option. When this is turned on, the camera will not only capture your picture but also 1.5 seconds before and after the picture was taken, so you essentially get a short moving picture.
Then there is the Timer. You have the option for a countdown to occur before a picture is taken, either 3 seconds or 10 seconds.
Finally, there are the filters. You can choose from multiple different ones to change the color and lighting effects of the photo you take to create something more stylized.

You can also play with the focus and lighting of the camera a bit. By tapping inside the view of the camera itself, you can get it to focus on a specific object. However, at some distances, you may not be able to focus on something if it is too far or too close.
When you do this, an orange square will pop up where you have tapped. Besides it, it is a sun icon, and you can slide this icon up or down to change the amount of light the camera lets in.
Basic Photo & Video Editing Settings
Besides just your iPhone camera’s video and photo settings, you also can edit your photos. Once you’ve taken a photo, you can find it in your Photos app. You should see the Edit option in the top right corner, and tapping it will bring you to the editing screen.
There is a wand icon in the top right corner here that will quickly enhance your photo if you don’t want to manually edit things yourself. Yet if you do, you’ll see your editing options at the bottom of the screen.

First there is the Crop/Rotate option. With this, you can choose to rotate your photo, or crop it either manually or by choosing a size ratio with the icon to the right. The second icon after Crop/Rotate is the filters, allowing you to set your photo to a pre-created filter.
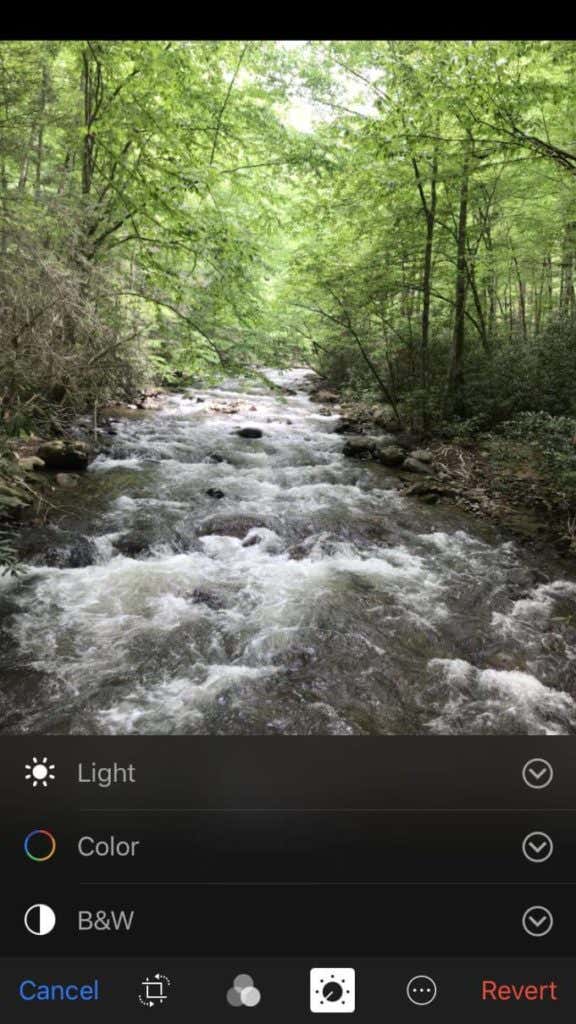
After the filters, the third icon provides you with many options to edit your photo in more detail. It gives you Light, Color, and Black & White settings to change until you’re happy with how your photo looks. Each of these iPhone camera settings has a dropdown list of effects you can play with.

If you’re ever unhappy with how your edited photo has come out, you can always tap the Revert button to remove all edits you have made to your picture.
As far as videos go, you can tap the same edit button to trim your clips by dragging the sidebars until you only have the portion of the clip you want. Once you save it, you can also choose to save it as a new clip so you don’t lose the full video.
[related_posts_by_tax posts_per_page="5"]