Plus we explain exactly what it is
Face ID is a convenient and fast way to unlock your phone, authorize transactions, or log into various services. So it can be annoying when you get a message that “Face ID Has Been Disabled” on your iPhone or iPad.
This isn’t a serious issue in most cases, but if you want to use Face ID, we’ll walk you through some common troubleshooting steps.
What Is Face ID Exactly?
Face ID is a cool feature Apple developed for iPhone and iPad devices. It’s a biometric authentication system that uses your face to unlock your phone, authenticate purchases, and do other secure things. It was first introduced with the iPhone X in 2017.
Face ID is supported on these iPhones and iPads:
- iPhone 13 Pro Max, iPhone 13 Pro, iPhone 13 mini, iPhone 13
- iPhone 12 Pro Max, iPhone 12 Pro, iPhone 12 mini, iPhone 12
- iPhone 11 Pro Max, iPhone 11 Pro, iPhone 11
- iPhone XS Max, iPhone XS, iPhone XR
- iPhone X
- iPad Pro 12.9-inch (3rd generation), iPad Pro 12.9-inch (4th generation)
- Pad Pro 11-inch, iPad Pro 11-inch (2nd generation)
While a neat feature, Face ID has come at the cost of Touch ID, Apple’s fingerprint sensor technology. Many people miss Touch ID because it’s fast, reliable, and convenient. This became especially apparent during the pandemic when everyone was wearing masks!
In truth, biometric unlock technology on phones may be a security risk rather than a high-tech security feature. However, if you want this convenient feature to work, let’s see how to deal with this error message.
What Does “Face ID Has Been Disabled Mean”?
If you see the message “Face ID Has Been Disabled” on your iPhone or iPad, the Face ID feature is not working. This means you won’t be able to use Face ID to unlock your device, authenticate purchases, or perform other security actions. Don’t worry, though; you can try a few troubleshooting steps to get Face ID working again.
The error usually includes the text “a problem was detected with the TrueDepth camera.” The TrueDepth camera is a special camera system found on specific Apple devices (like the iPhone X and later models) that are used for Face ID. It’s what makes Face ID possible!
The TrueDepth camera system uses a combination of infrared cameras and dot projectors to create a 3D map of your face. This map is used to recognize your face and make sure it’s really you. The TrueDepth camera system also uses machine learning algorithms to continually improve and refine its recognition capabilities.
So, the TrueDepth camera is essential for Face ID because it allows your device to quickly and accurately recognize your face and ensure it’s you. Without it, Face ID wouldn’t be possible! So many of the fixes for this issue relate to this camera system.
1. Reboot Your Device
Sometimes restarting your iPhone can resolve Face ID issues! It’s a quick and easy step to help get your Face ID working again.
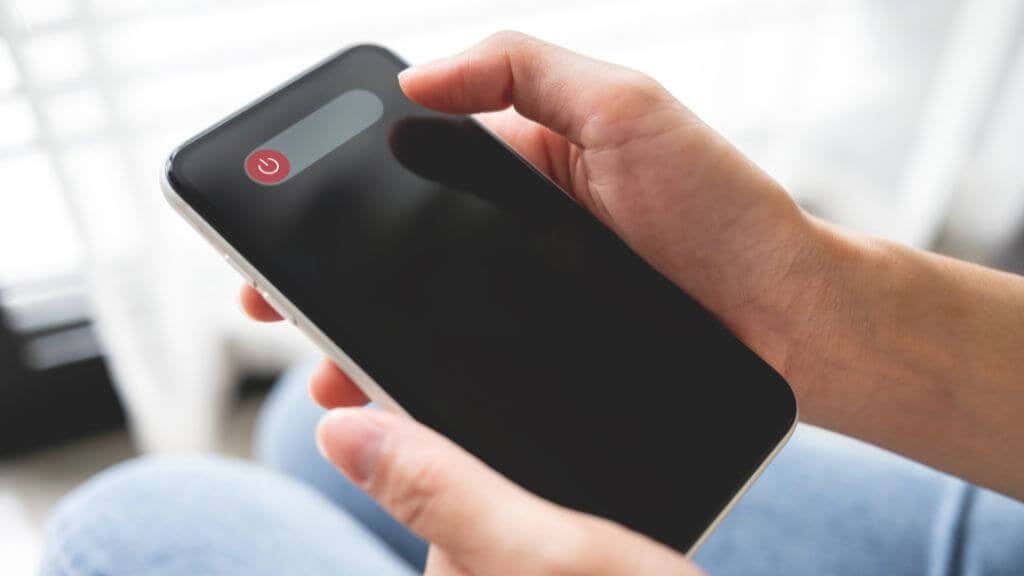
Here’s how to restart your iPhone:
- Press and hold the side and volume buttons until the power off slider appears.
- Drag the slider to turn off your iPhone.
- After your iPhone turns off, press and hold the side button again until you see the Apple logo.
And that’s it! Restarting your iPhone can sometimes resolve software-related issues, including Face ID problems. Try it and see if it helps get your Face ID working again.
2. Check for iOS or Face ID Updates
If you need help with Face ID, one of the first things you can try is checking for updates. Updating your iPhone software and Face ID settings can sometimes resolve the issue.
Here’s how to check for updates:
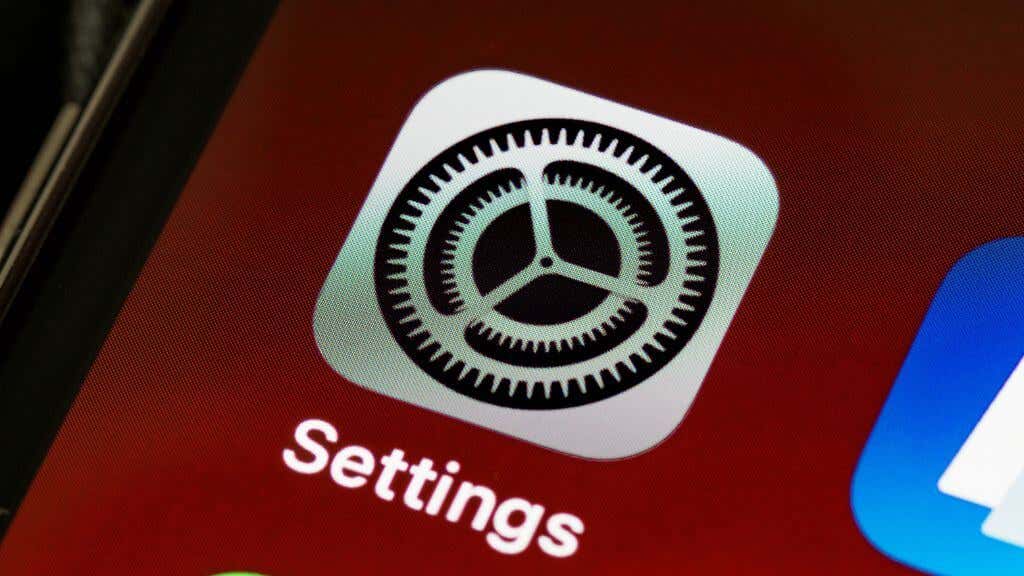
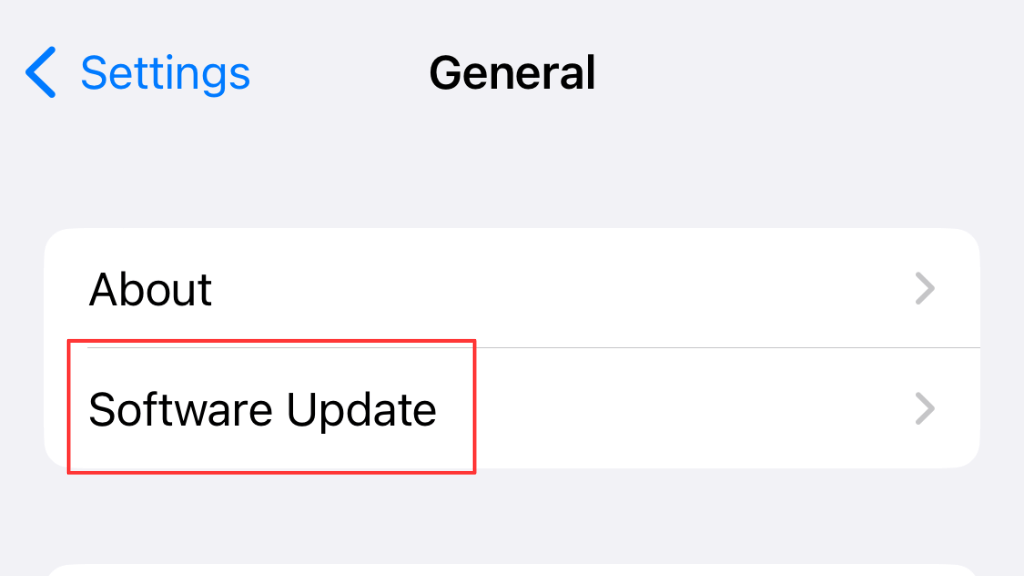
- Go to Settings.
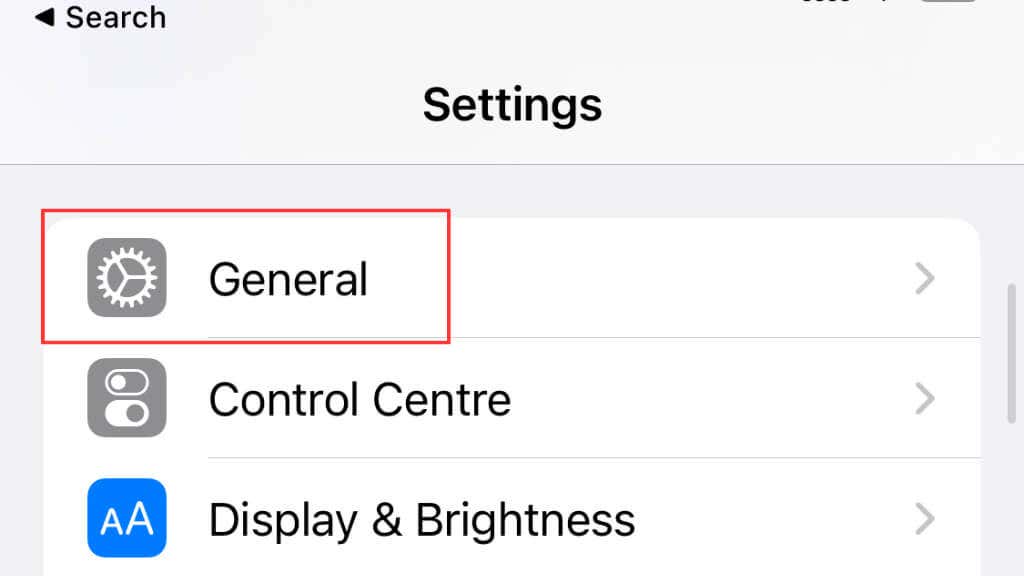
- Select General.
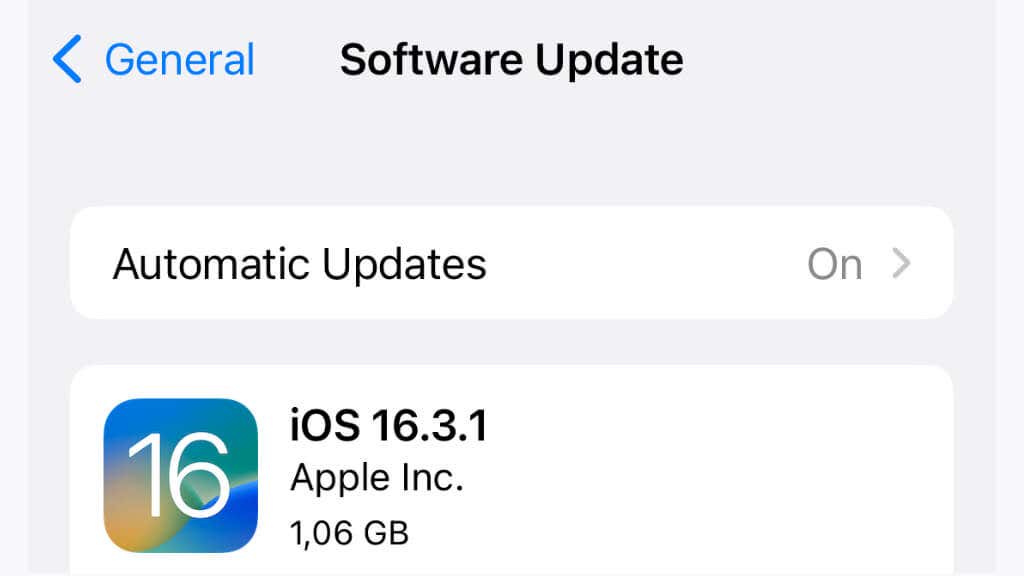
- Select Software Update.
- If there’s an update available, follow the on-screen instructions to download and install it.
After installing updates, try Face ID again and check that the error is gone.
3. Reset Face ID
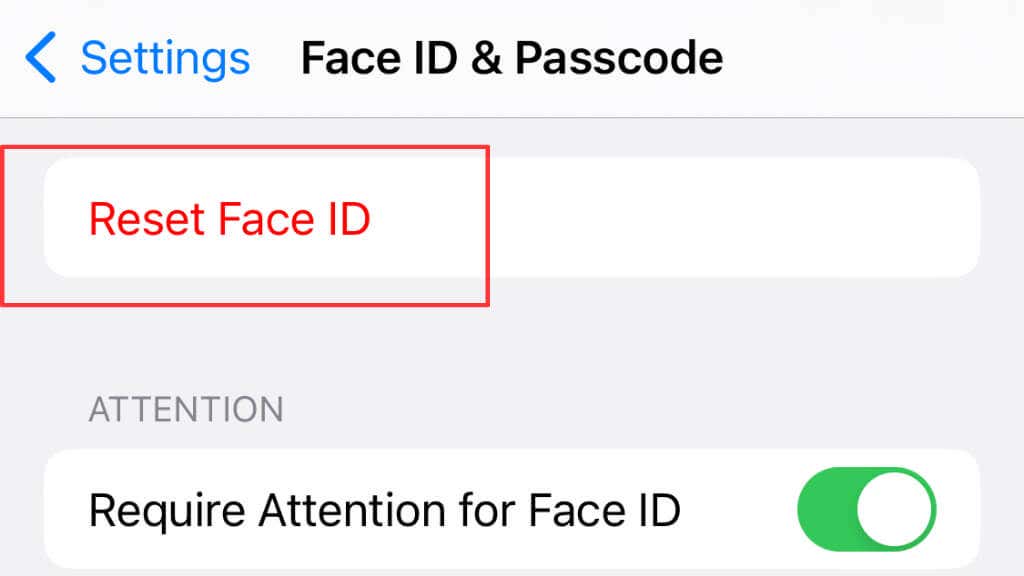
If restarting your iPhone or updating it didn’t resolve the Face ID issue, you can try resetting Face ID. Resetting Face ID will delete your current Face ID data and let you set it up again from scratch.
Here’s how to reset Face ID:
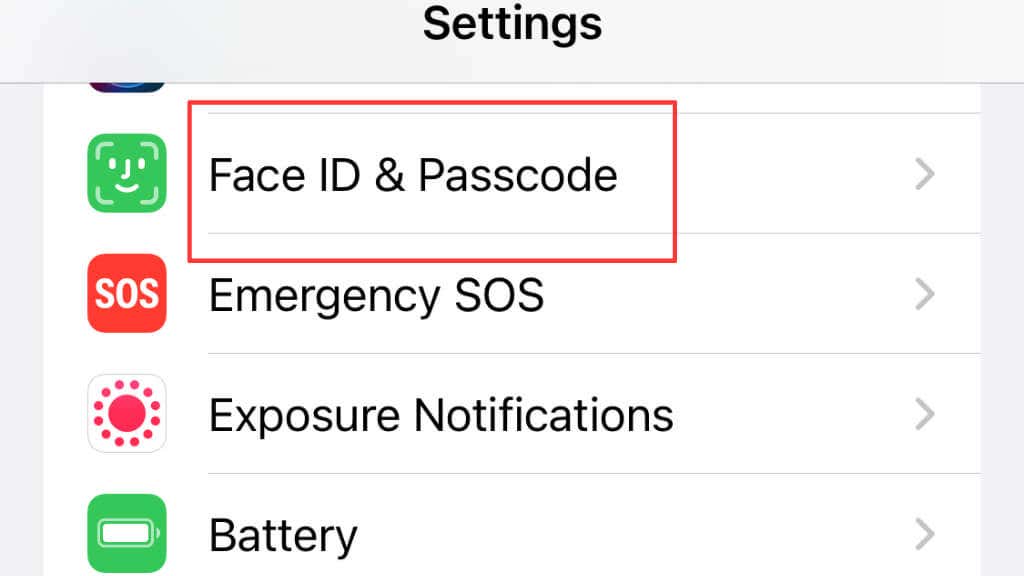
- Go to Settings.
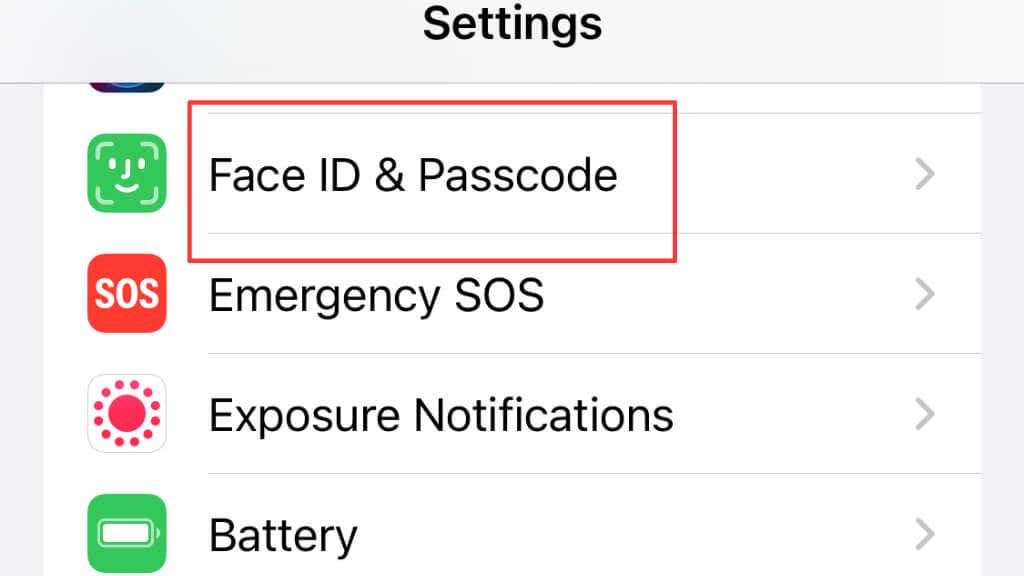
- Select Face ID & Passcode.
- Enter your passcode.
- Select Reset Face ID.
- Enter your passcode to confirm the reset.
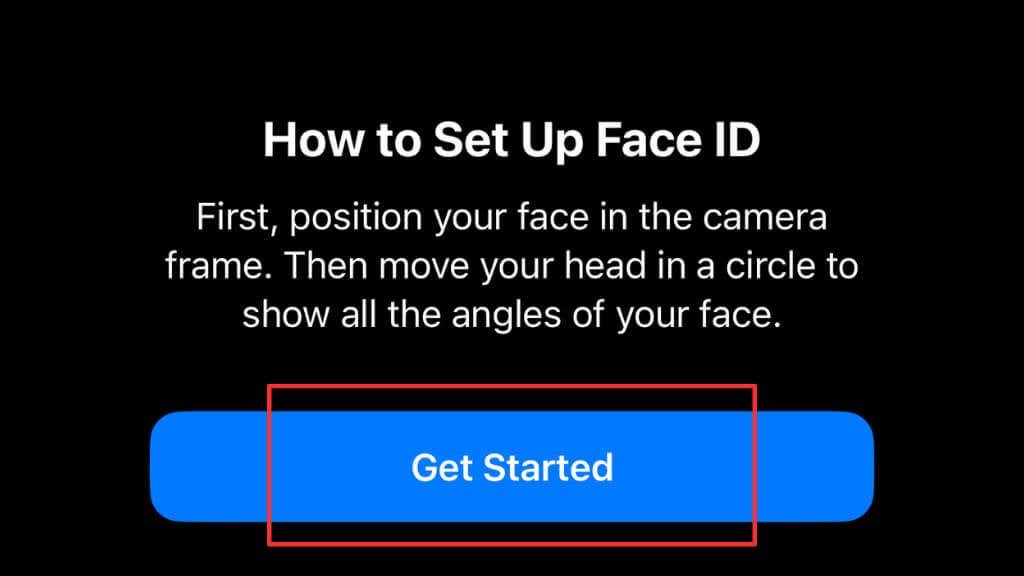
- Follow the on-screen instructions to set up Face ID again.
Resetting Face ID can sometimes resolve Face ID issues, so try it if your Face ID isn’t working. And don’t worry; resetting Face ID won’t affect any other data on your iPhone.
4. Make Sure You’re Complying With Face ID Attention Requirements
Face ID requires that you look directly at the device with your eyes open. This is an important security feature to make sure it’s really you who’s using the device.
If you’re having trouble with Face ID, make sure you’re meeting the attention requirements. Here are a few things to keep in mind:
- Make sure your eyes are open and look directly at the device.
- Make sure you’re holding your device at the right distance from your face.
- Ensure enough light so the TrueDepth camera system can accurately scan your face.
- Finally, ensure your face is unobstructed and fully visible to the TrueDepth camera system.
If you’re still having trouble with Face ID, even after verifying the attention requirements, try one of the other troubleshooting steps. But first, make sure you’re meeting the attention requirements so that Face ID can work its magic!
5. Check Your Face Data
You may not notice it, but the face you see in the mirror every day differs from the one the day before. Over time, our faces can change so much that detection may become an issue.
If you’re still having trouble with Face ID, you can check your face data to ensure it’s accurate and up to date. Here’s how:
- Go to Settings.
- Select Face ID & Passcode.
- Enter your passcode.
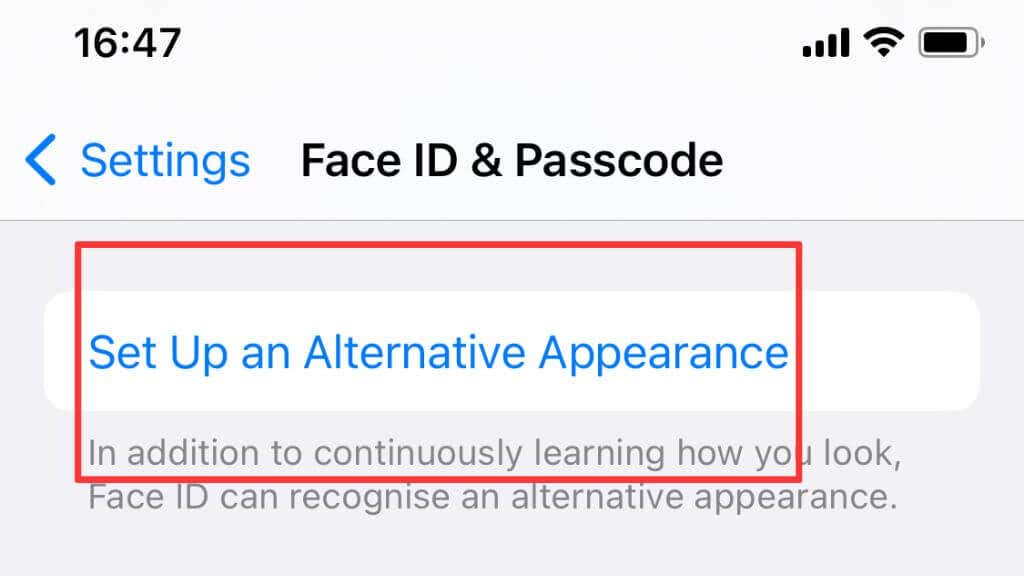
- Select Set Up An Alternative Appearance.
- Follow the on-screen instructions to add a new face or update your existing face data.
If your face data is outdated or inaccurate, your Face ID may not work properly. By checking your face data, you can help make sure Face ID is working its best.
6. Clean The TrueDepth Camera
The TrueDepth camera is an important part of Face ID, and keeping it clean is important for accurate face scanning. Here’s how to clean the TrueDepth camera:
- Turn off your iPhone and unplug it from any power source.
- Use a microfiber cloth to wipe the lens of the TrueDepth camera gently.
- Make sure the cloth is dry and free of any debris or residue.
- Turn on your iPhone and test Face ID to see if it’s working properly.
7. Check for Third-Party Interference
Sometimes, third-party apps or accessories can interfere with Face ID and cause problems. Check for third-party interference by doing the following:
- Disable any third-party apps or accessories that might be causing the problem.
- Uninstall any recently installed apps or accessories that might be causing the problem.
- Restart your iPhone and test Face ID to see if it’s working properly.
If Face ID starts working properly after disabling or uninstalling a third-party app or accessory, you’ll know that it was causing the problem. You can then either keep the app or accessory disabled, or contact the developer for further assistance.
8. Get in Touch With Apple Support
In rare cases, Face ID problems can be caused by hardware issues. If you’ve tried all the troubleshooting steps and you’re still having trouble with Face ID, you may need to contact Apple Support or take your iPhone to an Apple Store for a hardware diagnosis.
You can also visit the Apple Support website for more information and resources or call Apple Support for personalized help. Apple Support is there to help you get the most out of your iPhone, so don’t hesitate to reach out if you’re having trouble with Face ID!

