Apple’s AirPods have set a standard for earbuds. They’re comfortable, long-lasting, and emulated by most new earbuds to hit the market. But they’re not without issues, one of which is that AirPods keep dying at different rates.
There are several common reasons why this might happen. The good news is that most causes have simple fixes, so there’s no reason to panic. If you notice one AirPod doesn’t charge like the other, dive in and explore the culprit.
1. Check Your Battery Case
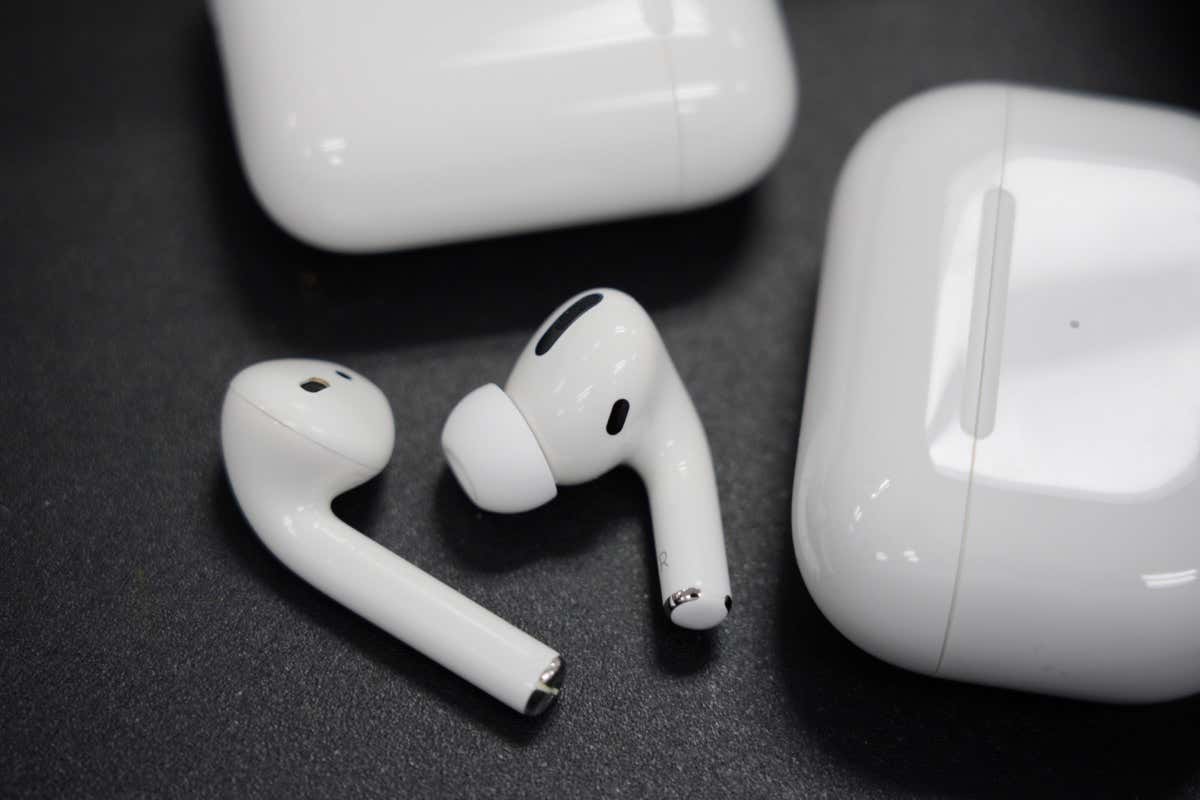
If one AirPod dies faster than the other, the first thing you should do is check the charging case. Uneven battery life can often be attributed to grime. Let’s face it: ears can be gross, and earwax can sometimes make its way inside the case and get on the charging contacts. If your AirPod doesn’t fully connect, it might have recharging issues.
Take a Q-Tip or similar cleaning instrument and wipe down the contacts. There’s usually no need to use any kind of solution (in fact, it can damage your case); instead, clean the contacts as thoroughly as possible and take care not to put AirPods back in the case if they look like the end of Ghostbusters. If you do want to clean your AirPods with a liquid, dip your Q-Tip into 70% isopropyl alcohol and allow them to dry completely before placing the AirPods back into the case.
2. One AirPod Uses Siri
AirPods set themselves apart because they can be programmed. One could skip/pause/play songs, while the other could activate your smart assistant or something else. The key is that an AirPod set to use Siri will typically use power faster than the other. You can disable Siri with just a few taps in your AirPods settings.
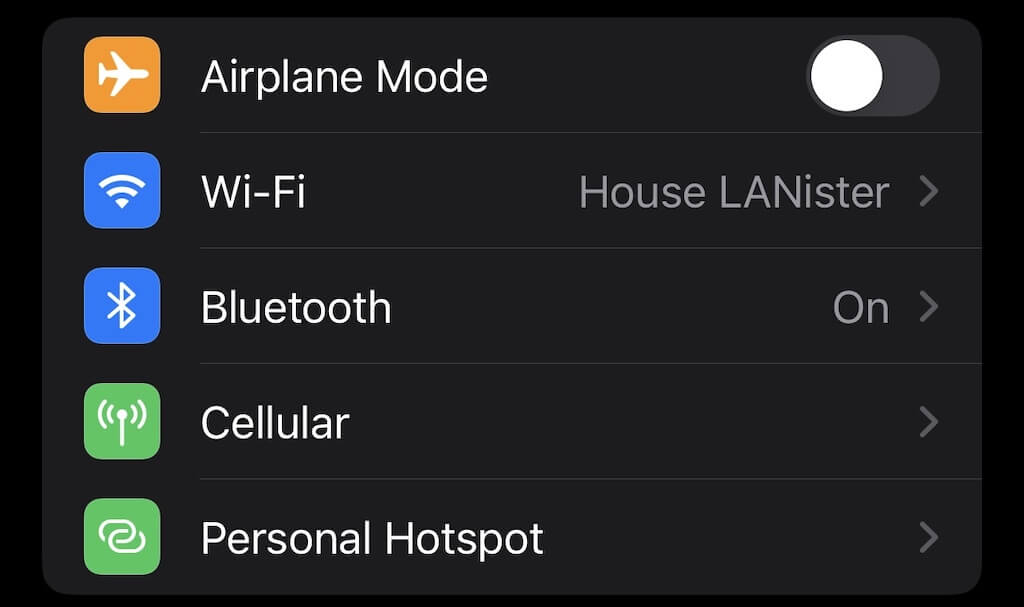
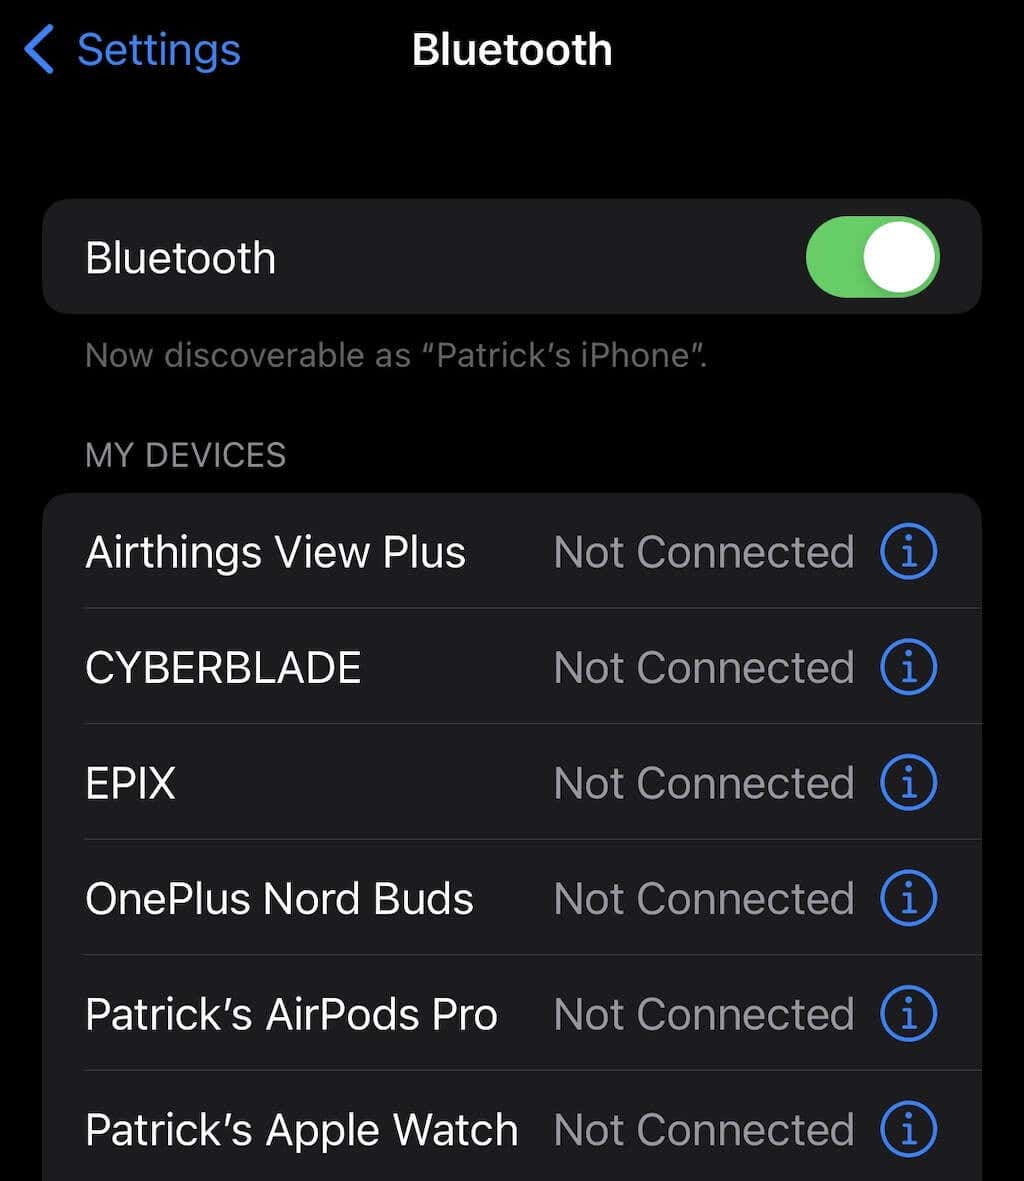
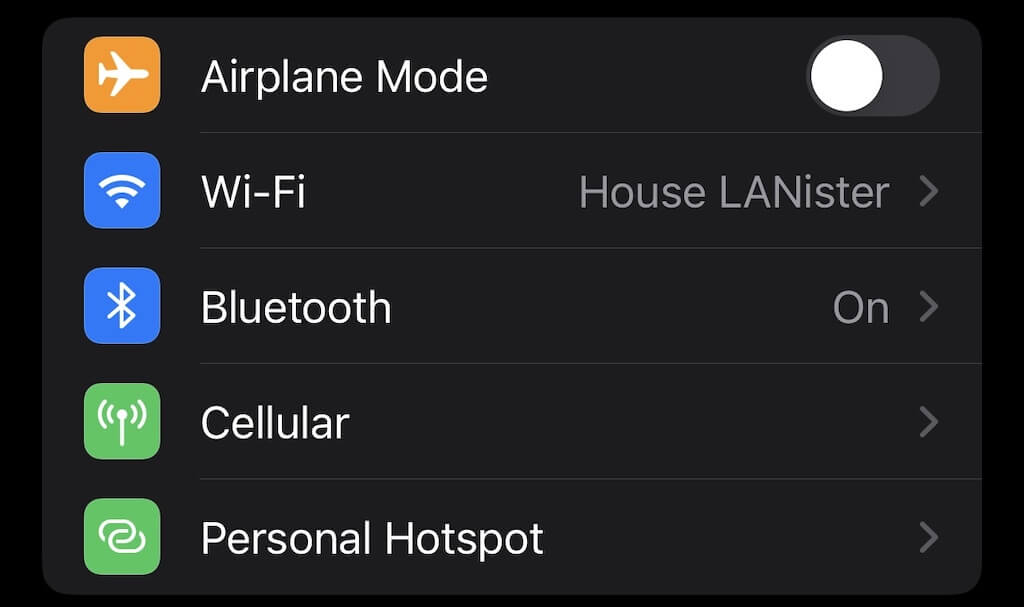
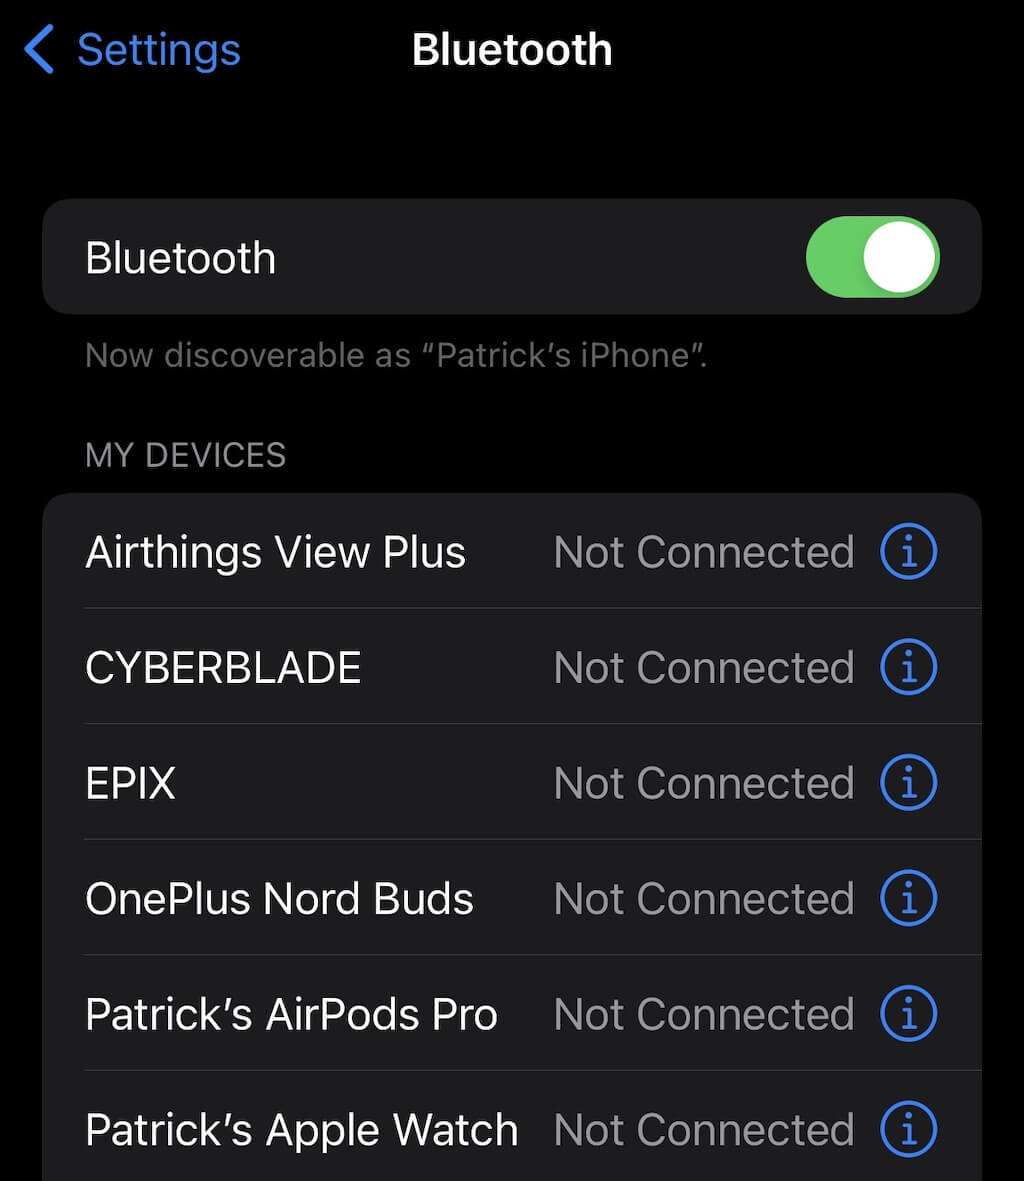
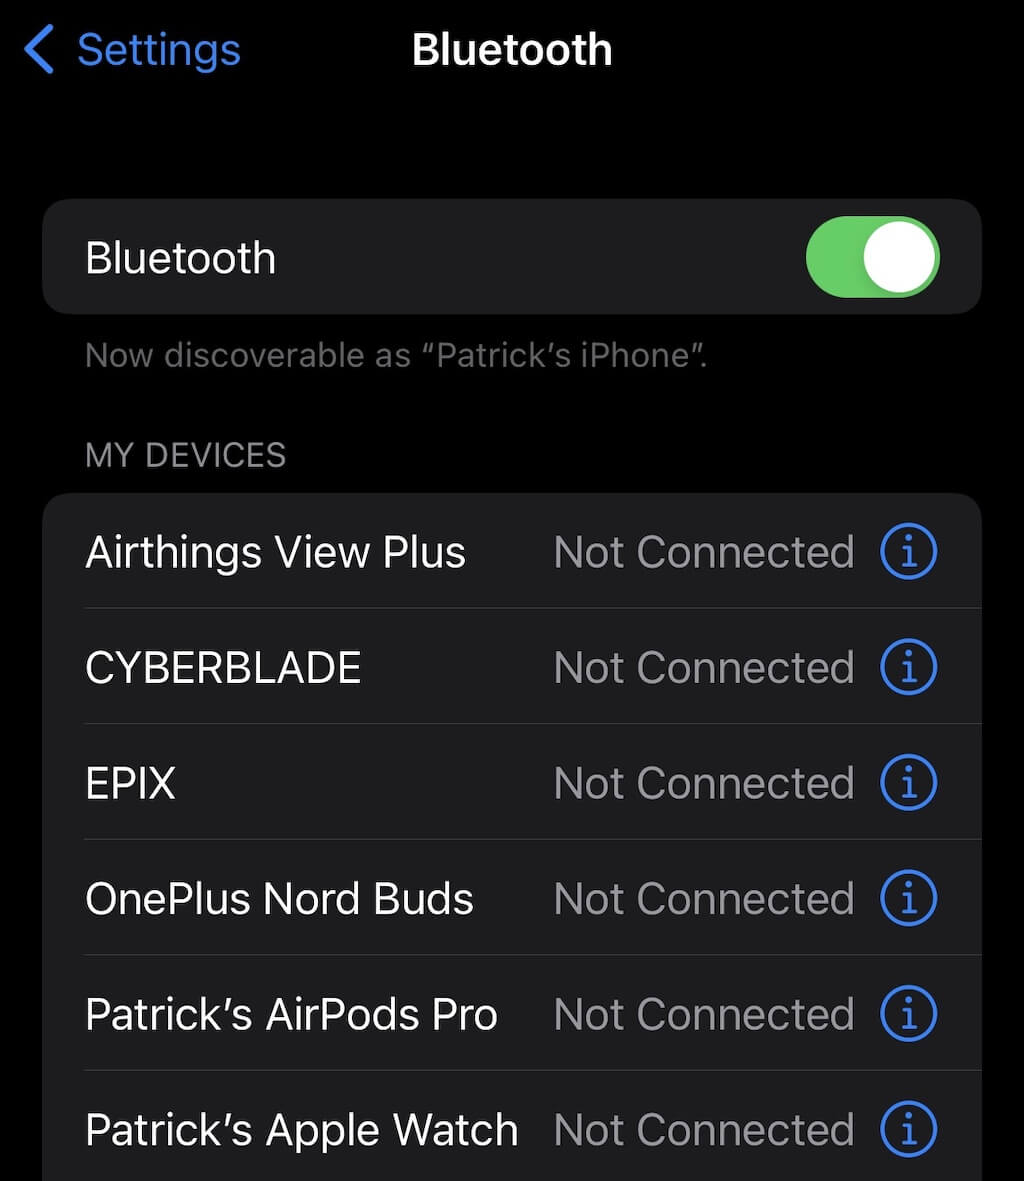
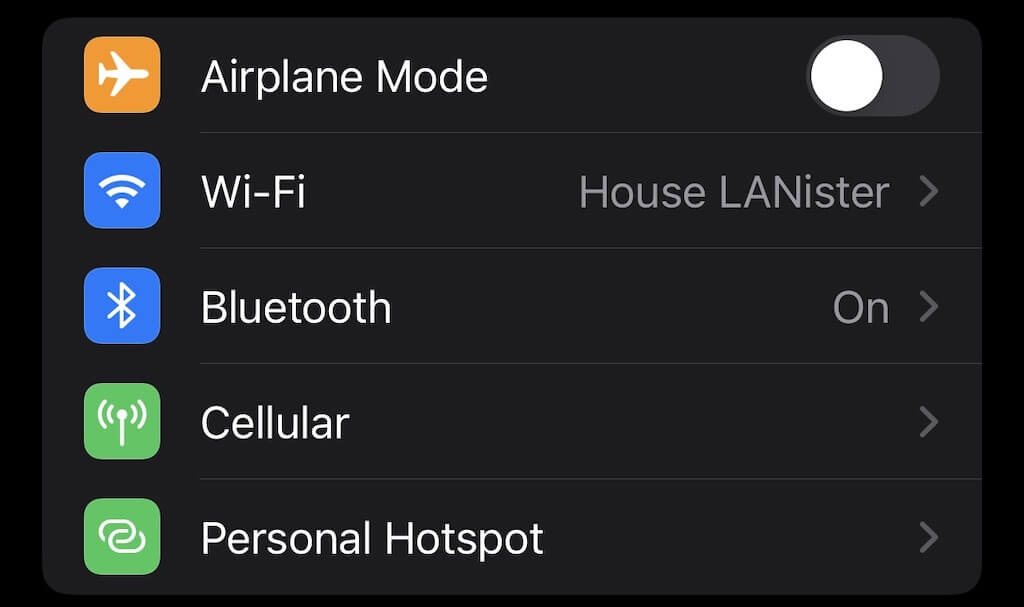
- On your iPhone, open the Settings app > Bluetooth.
- Tap the “i” beside your AirPods.
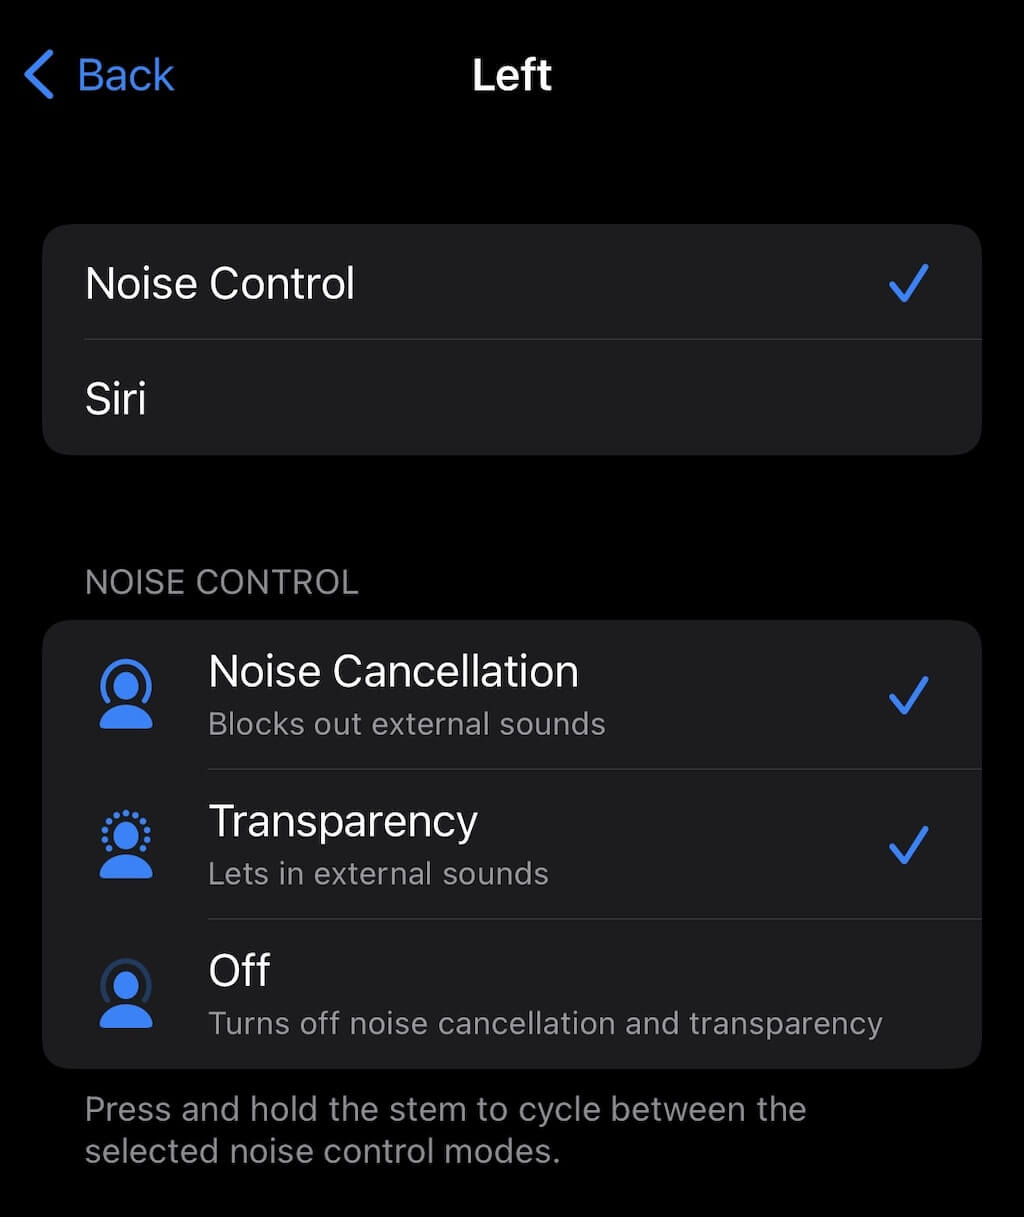
- Look for the Press And Hold Options, then select the AirPod that dies more quickly.
If Siri is selected, choose Noise Control instead. AirPods provide a granular level of control over the amount of sound that’s let in, like Noise Cancellation and Transparency. Disabling some of these optional features can also improve the battery life.
3. You Use One AirPod More Often
When someone starts to talk to you, do you pause your music and listen with both AirPods in, or do you pull one out of your ear? Most of the time, people remove on AirPod—and it’s usually the same one every time. The other AirPod remains in your ear and active, which drains its battery.
If you tend to pull one AirPod out to speak with others, you might find the one that remains in your ear drains much faster, especially if you start your music back up and leave only one in your ear.
- On your iPhone or iPad, open Settings > Bluetooth.
- Find your AirPods in the device list and tap the “i” beside them.
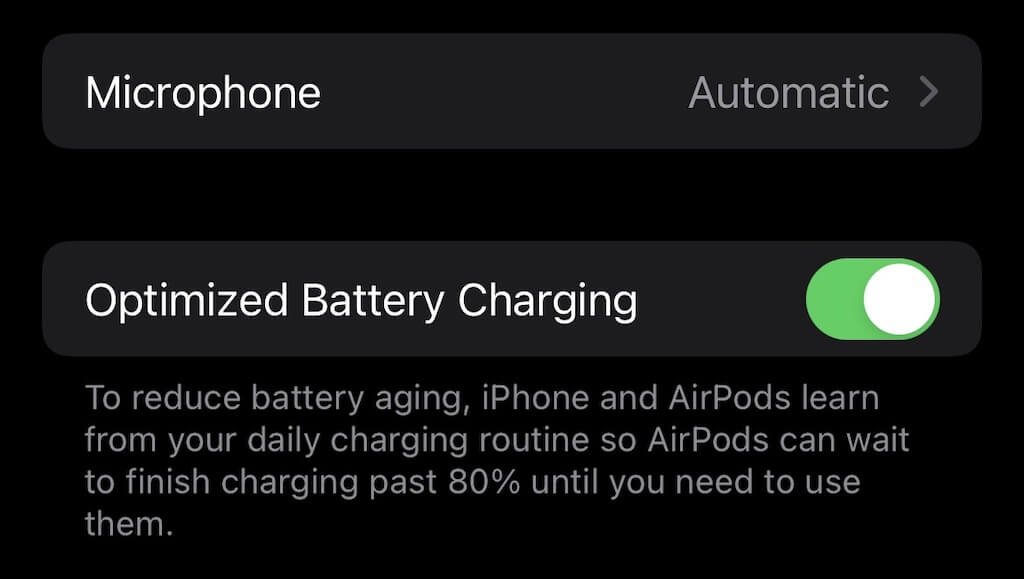
- Scroll down to Microphone and tap it.
- Select Automatically Switch AirPods to use an equal amount of battery from each versus always using one or the other.
4. The Microphone Is Only Active On One AirPod
Both AirPods are equipped with microphones, but sometimes you might set only one to serve as the mic while the other is simply a speaker. Just like using only one AirPod for Siri, using only one to power your mic will drain it significantly faster than the other.
5. Your AirPods Are Damaged
Anything that goes into your ear will fall out and hit the ground from time to time. It’s just a fact of life (in fact, it might just be a law of gravity). While AirPods are pretty durable, repeated falls can damage them. If the AirPod hits the ground at just the right angle and damages the charging port, it can reduce the overall battery level.
If your AirPods are under warranty, that’s not a problem. If they aren’t, you might need to take them to a certified repair shop to be fixed. Far less common than user-inflicted damage is a manufacturing defect, which can also cause similar issues.
6. Your Firmware Is Out of Date
Your AirPod battery life might be affected by your firmware. While AirPods and AirPod Pros tend to update automatically, sometimes you have to perform a manual update. First, check your AirPod firmware version.
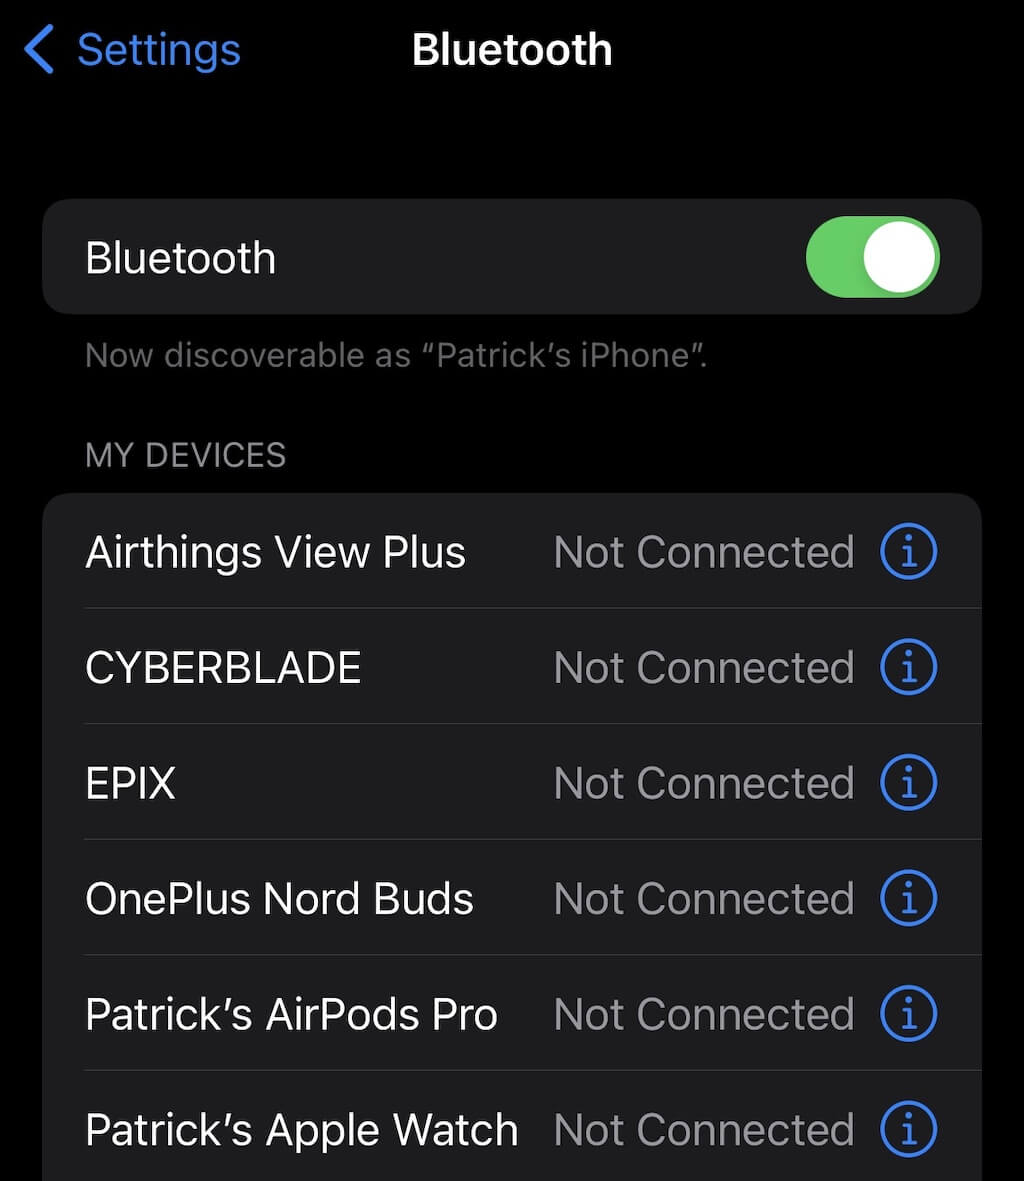
- On your iPhone or iPad, open Settings > Bluetooth.
- Find your AirPods in the device list and tap the “i” beside them.
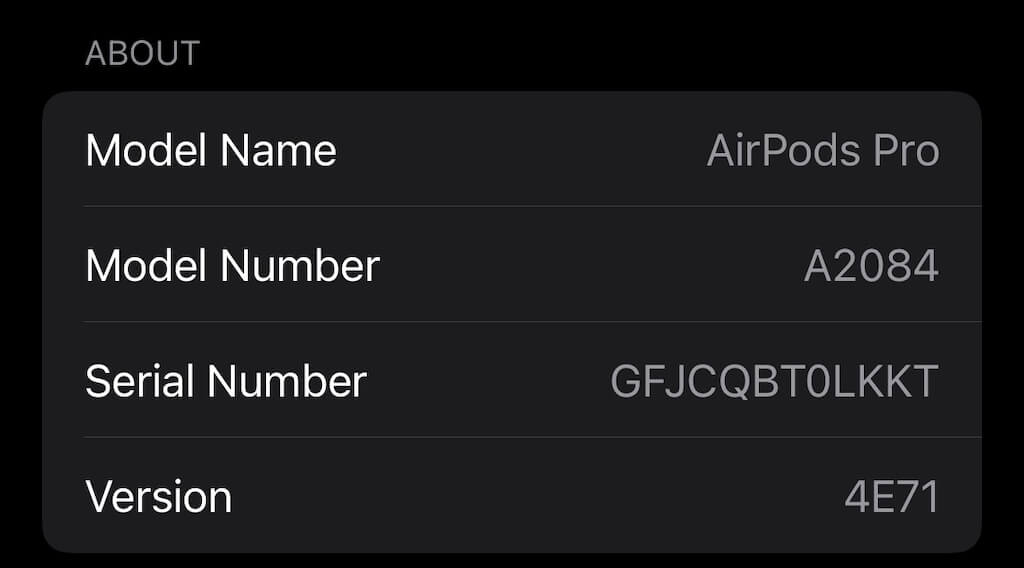
- Check the version number.
The current version for AirPod firmware is 4E71, although a recent beta update means you might have version 5A4304a if you’re running the beta. You can force an update by inserting your AirPods into their case and connecting it to a power source via Lightning cable. Place the connected iPhone or iPad beside the AirPods, and the update will install after a short time.
7. You Need to Reset Your AirPods
Another potential problem is that Airpods might need to be reset. This essentially just means unpairing and repairing your AirPods to your iOS device.
- On your iPhone or iPad, open Settings > Bluetooth.
- Find your AirPods in the device list and tap the “i” beside them.
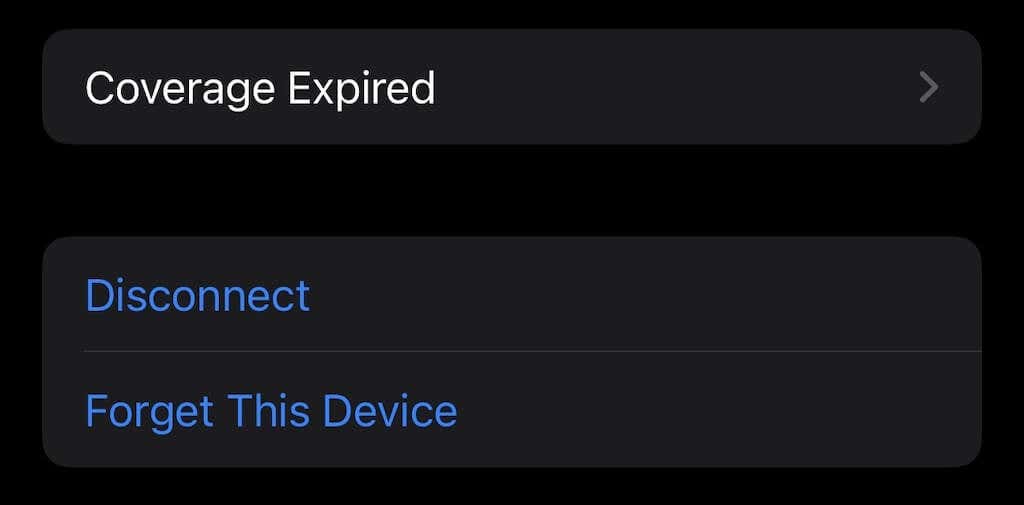
- Scroll to the bottom and select Forget This Device.
- Tap Forget Device.
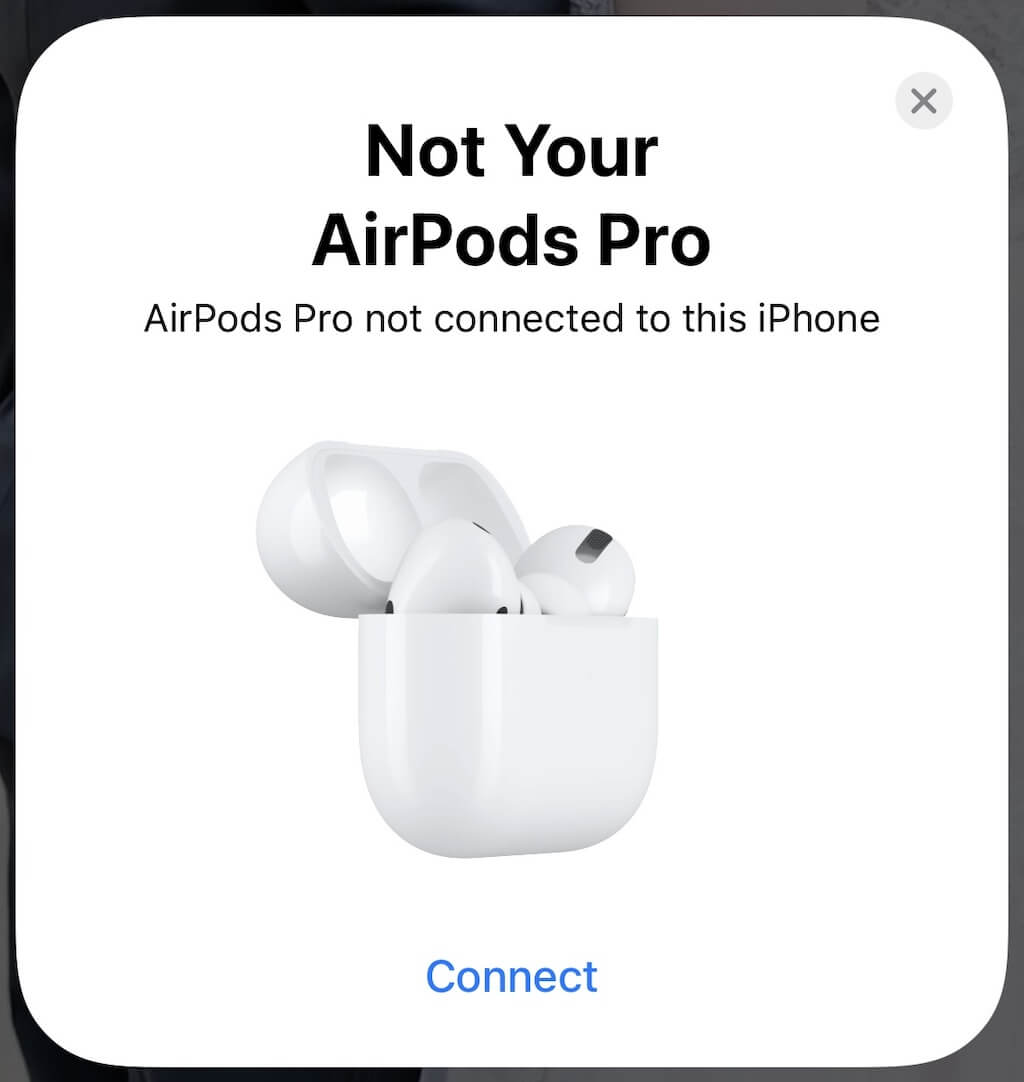
Once you have unpaired your AirPods, re-pairing them is simple. Apple devices are designed with easy setup in mind. Just hold your AirPod case close to your phone and open it.
- Your AirPod case should appear on-screen. When it does, tap Connect.
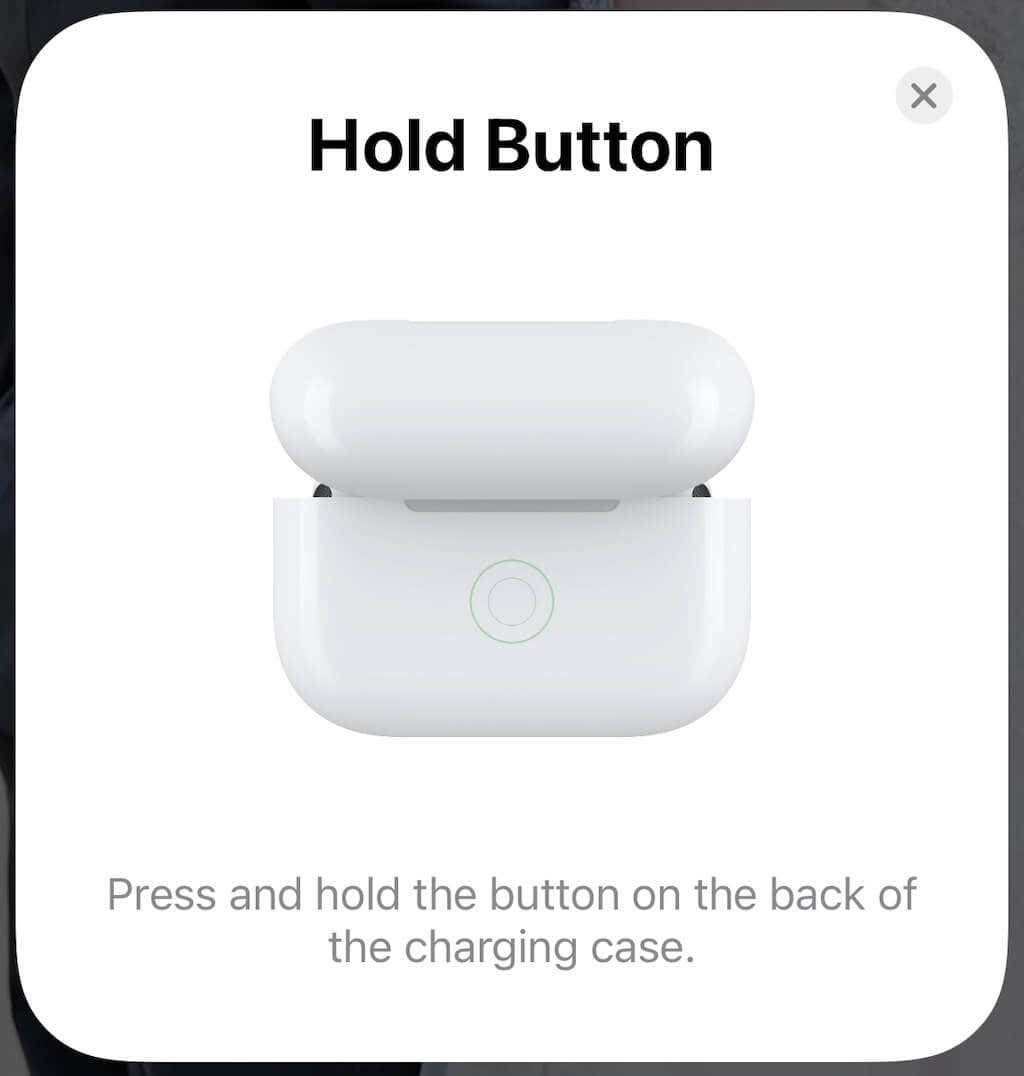
- With the case still open, press and hold the button on the back of the case.
After the prompts disappear, your new AirPods will be connected. The exact process might vary based on whether you have AirPods or AirPod Pros, but the result is the same.
