Mac notebooks and desktops save screenshots as PNG image files. This guide will cover different ways to convert these screenshots to PDF and JPG formats. You’ll also learn how to change the default file formats for saving screenshots on your Mac.
Before we proceed, the next section is a quick refresher highlighting the different ways to take screenshots on macOS devices.

How to Take a Screenshot on Mac
Macs have multiple keyboard shortcuts for capturing different types of screenshots. The Touch Bar (for MacBook Pros) also has a dedicated “Screenshot” tool for the same purpose.
Method 1: Using Keyboard Shortcuts
Pressing Shift + Command + 3 simultaneously will take a screenshot of the entire screen.
To capture a portion of the screen, press Shift + Command + 4 and use the crosshair tool to select the area you want to capture. To move the selected area, press the Spacebar (without raising your finger from the trackpad) and drag the selection to the preferred area.
If your MacBook has a Touch Bar, press Shift + Command + 6 to capture the Touch Bar screen.

Method 2: From the Touch Bar Control Strip
You can also take a screenshot of your MacBook screen using the Touch Bar. Expand the Control Strip and tap the Screenshot icon.

In the Captured Selected Portion section, select the area you want to capture, and select Capture on the screenshot menu.

To capture the entire Mac display using the Touch Bar, select the Capture Entire Screen icon on the far-left, and select Capture.

There’s an option to capture an app window, too. Select the Capture Selected Window icon, hover the camera icon on the app you want to screenshot, and select anywhere on the app window.

Editing Screenshots on Mac
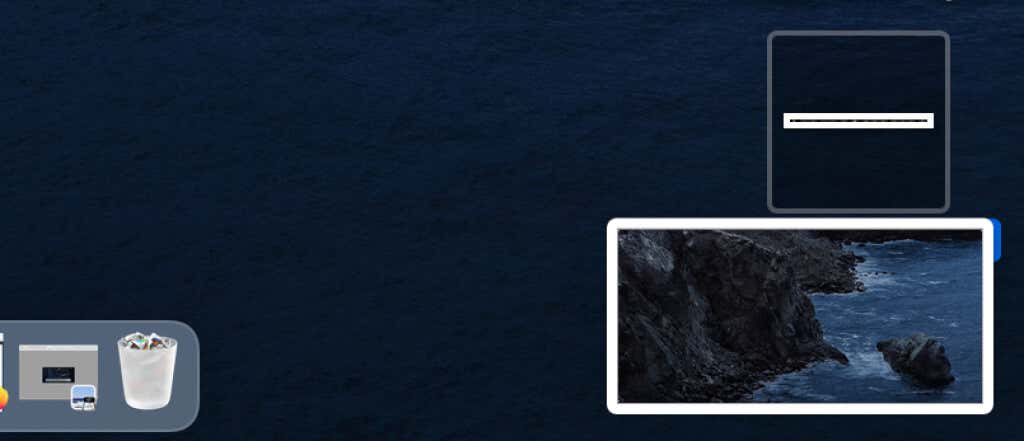
Whatever method you adopt, your Mac will display a thumbnail of the screenshot in the bottom-right corner of the screen.

Tapping the thumbnail will launch a Preview window where you can resize and crop the screenshot, add texts and shapes, insert signatures, or share the screenshot via AirDrop, Messages, Mail, etc.

This built-in editor also lets you convert screenshots to other file formats.
Converting Screenshot on Mac
We assume you already know that there are different image formats. macOS, by default, saves screenshots in Portable Network Graphic (PNG) format. Images saved in this format have superior quality and larger file size over other common formats like JPG, BMP, etc.
Converting screenshots to JPEG format can help save your Mac’s storage space. You might also need to convert screenshots to Portable Document Format (PDF) to meet the file upload requirements of certain platforms or websites.
Luckily, the built-in macOS editor lets you convert screenshots from the default PNG format to JPEG (or JPG), TIFF, HEIC, PDF, etc.
1. Convert Screenshot to PDF on Mac
Capture the area of the screen using keyboard shortcuts or the Touch Bar and follow the steps below to convert the screenshot to a PDF file.
- Double-click or double-tap the screenshot to open it with Preview—macOS built-in image and PDF editor.
Alternatively, control-click the screenshot, select Open With, and select Preview.

- Select File on the menu bar and select Export to PDF.

- Rename the file in the “Save as” dialog, tap the “Where” drop-down option to select where you want the file saved, and select Save.

2. Convert Screenshot to JPG on Mac
Rehashing screenshots to JPG on Mac follows the same process. Only that the macOS JPG conversion tool is a little more advanced—you get to choose the image quality of the resulting JPG file.
- Control-click the screenshot, select Open With on the context menu, and select Preview.

- Select File on the menu bar and select Export.

- Give the screenshot a new name/title in the “Export As” dialog box and select the preferred location you want the file saved in the “Where” dialog box. Move the Quality slider to the far right to convert the screenshot to the “Best” JPEG quality.

3. Convert Screenshot to PDF or JPG Using Online File Converters
There are several online-based file conversion tools that can convert your Mac screenshots to JPG images and PDF documents. Online-Convert and ZamZam are good examples of reputable online tools that let you convert between different file types.
Visit these platforms on your web browser, upload the screenshot, select the image or document format you want the screenshot converted to, and download the resulting file to your Mac.

4. Change Default File Format For Screenshots on Mac
As mentioned earlier, macOS saves screenshots in PNG file formats by default. Frequently converting (PNG) screenshots to other file formats can be stressful. Permanently configuring your Mac to save screenshots in your frequently-used file format will save you a lot of time, energy, and storage space.
We particularly recommend changing the default format for screenshots to JPG if your Mac’s storage is running low. That’s because PNG files often consume more storage space than JPG and PDF documents.
The image below highlights the file sizes of three screenshots (in different formats) we took at the same time on our test MacBook.

The PNG screenshot consumed the most storage space (3.1 MB) followed by the PDF (2.7 MB) and JPG (680 KB) screenshots.
- Go to Finder > Applications > Utilities and double-click Terminal.

- Type or paste defaults write com.apple.screencapture type JPG in the Terminal console and press Enter.

This command instructs your Mac to save screenshot files in JPG format.
- To save screenshots as PDF files, paste defaults write com.apple.screencapture type PDF in the Terminal console and press Enter.

Moving forward, your Mac will save screenshots in PDF file format. macOS also lets you save screen captures to other multimedia formats like TIFF and GIF. All you need to do is paste defaults write com.apple.screencapture type TIFF or defaults write com.apple.screencapture type GIF in the Terminal window and press Enter.

These commands will change the default file format for your Mac’s screenshots to TIFF or GIF, respectively.
To change the default screenshot file format to PNG, paste defaults write com.apple.screencapture type PNG in the Terminal window and press Enter.

To confirm if your Mac’s screenshot format has changed, take a screenshot and check the file details.
Right-click or control-click a screenshot, select Get Info in the context menu and check the “Kind” row in the General section.

If the screenshot format remains unchanged, re-run the appropriate command, take another screenshot, and check the image format again. If you’re still unable to change the screenshot file format, restart your Mac and try again.
Refer to this troubleshooting guide on fixing screenshot-related issues on Mac if you’re having troubles with capturing, editing, or converting screenshots.