Do you find it impossible to access the internet on your iPhone despite seeing the Wi-Fi symbol on the status bar? Software-related glitches, conflicting settings, and corrupt configurations—either on the iOS device or the Wi-Fi router—often cause this issue.
Read on to learn about multiple ways to troubleshoot this problem and get your iPhone or back online.
1. Disable/Enable Wi-Fi
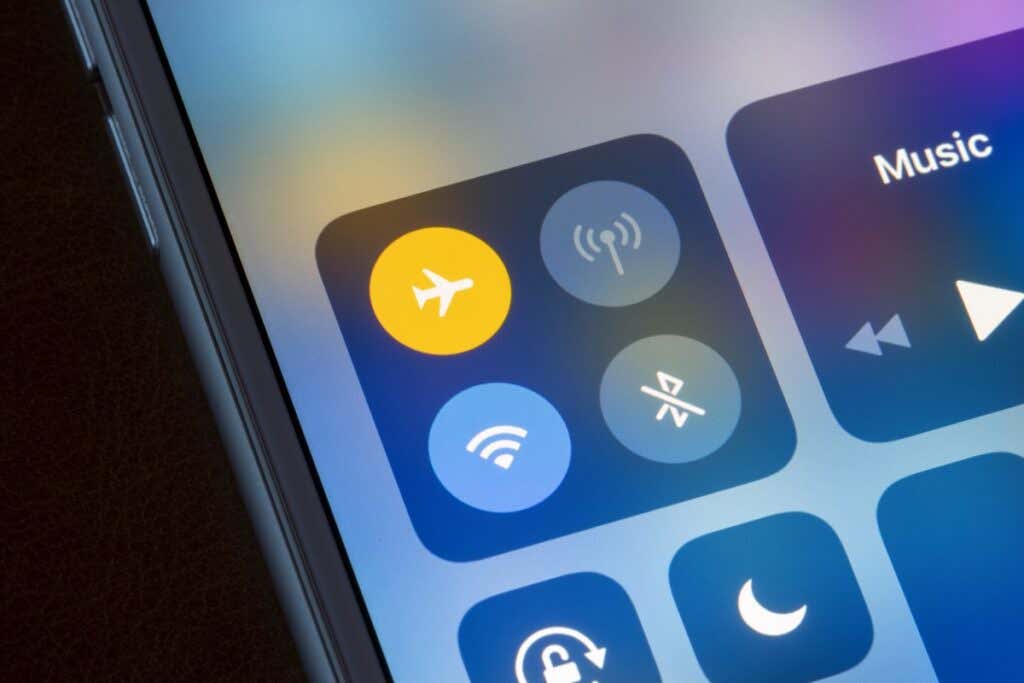
It’s best to kick things off by eliminating possible glitches with the Wi-Fi module on your iPhone. You can do that by disabling and re-enabling Wi-Fi.
Start by opening the Settings app and tapping Wi-Fi. Then, de-activate the switch next to Wi-Fi, wait 10 seconds, and reactivate it. Alternatively, you can try toggling Airplane Mode on, then off.

2. Restart Router or Modem
Have you tried restarting your router yet? Router-side issues are often the main reason that prevents devices from connecting to the internet, and a reboot usually is all it takes to resolve them.
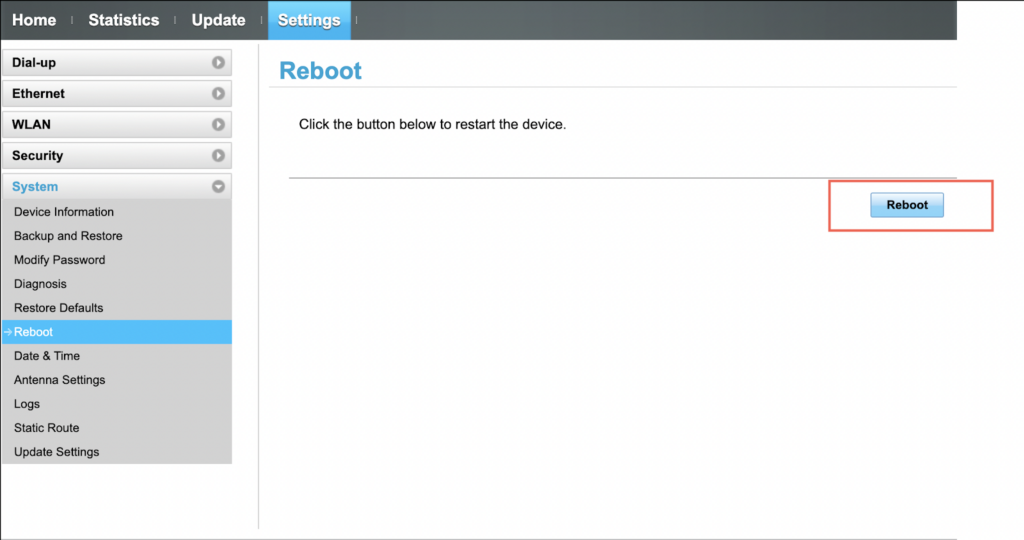
So, if the router is in an accessible area, just turn it off, wait for up to a minute, and turn it on. Then, reconnect to the wireless network and check if the problem recurs. You can also initiate a reboot after accessing the router’s control panel.
3. Restart Your iPhone
The following fix involves restarting your iPhone. That’s the best way to fix problems with connectivity that originate from buggy system software.
To do that, open the Settings app and go to General > Shut Down. Then, swipe the Power slider to the right, wait for 30 seconds, and hold the Side button until you see the Apple logo.

4. Forget and Rejoin Network
Another way to fix a Wi-Fi network without internet connectivity is to forget and join it again. First, open the Settings app and tap Wi-Fi. Next, tap the Info icon, and select Forget This Network. You can then rejoin the network from the main Wi-Fi screen.

5. Check for Connectivity on Another Device
Have you tried connecting to the same Wi-Fi network on another device? If you can access the internet that way, the problem is likely limited to your iPhone only. If not, it’s got something to do with the router. Move on with the rest of the fixes while skipping any that don’t apply.
6. Check Date and Time
Having the date and time set up incorrectly on your iPhone can also result in potential Wi-Fi-related issues. So, open the Settings app and tap General > Data & Time. Then, make sure the switch next to Set Automatically is active. If it already is, but the time appears incorrect, deactivate the option and manually set the correct date and time for your iPhone.

7. Sign Into Captive Network
Various public Wi-Fi hotspots fall into the “captive network” category. You must sign into the network, enter a valid email address, or accept specific terms and conditions before accessing the internet.
Go to Settings > Wi-Fi, tap the Info icon next to the wireless network, and perform the required criteria to connect online. Ask around if you need help.

8. Disable Private MAC Address
Starting iOS 14, your iPhone automatically masks its MAC (Media Access Control) address with a randomized string of 12 hexadecimal digits to improve privacy. However, some operators may restrict internet access despite connecting to a network unless you disable the private address.
Go to Settings > Wi-Fi > Info (next to the problematic network) and turn off the switch next to Private Wi-Fi Address.

9. Check MAC Filter List
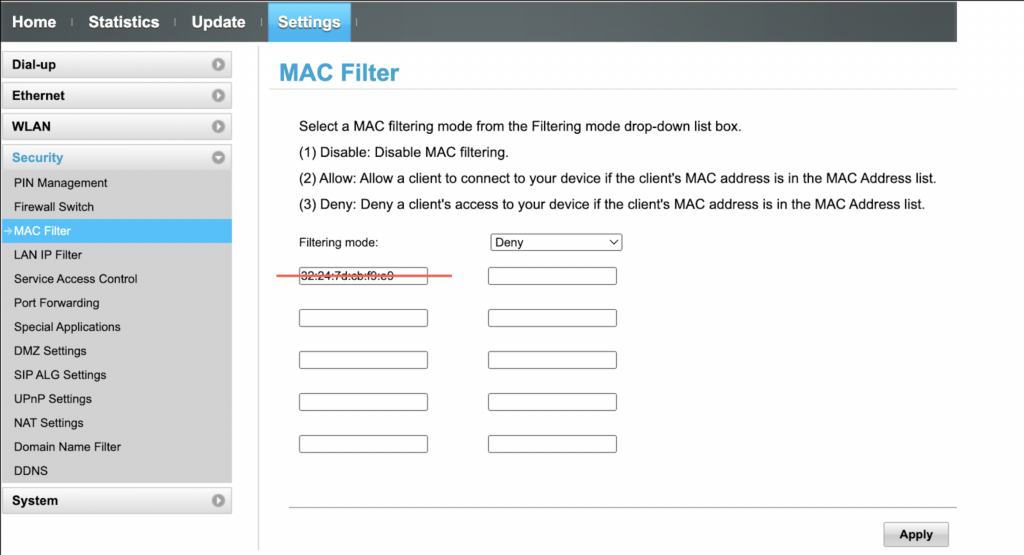
It’s also possible your iPhone is blocked from accessing the internet from the router itself. If you can access the router’s control panel, you can unblock it.
First, identify your iPhone’s private or actual MAC address by heading over to Settings > Wi-Fi > Info. Then, locate the MAC address filtering menu on your router’s control panel—it’s typically located under the Security section. If your iPhone MAC address appears, remove it. Or disable MAC address filtering.
10. Update Router
Next up, try updating your router by looking for an Update tab or option on its control panel. If there’s an update pending, apply it and check if that restores internet connectivity on your iPhone.

11. Use Google DNS
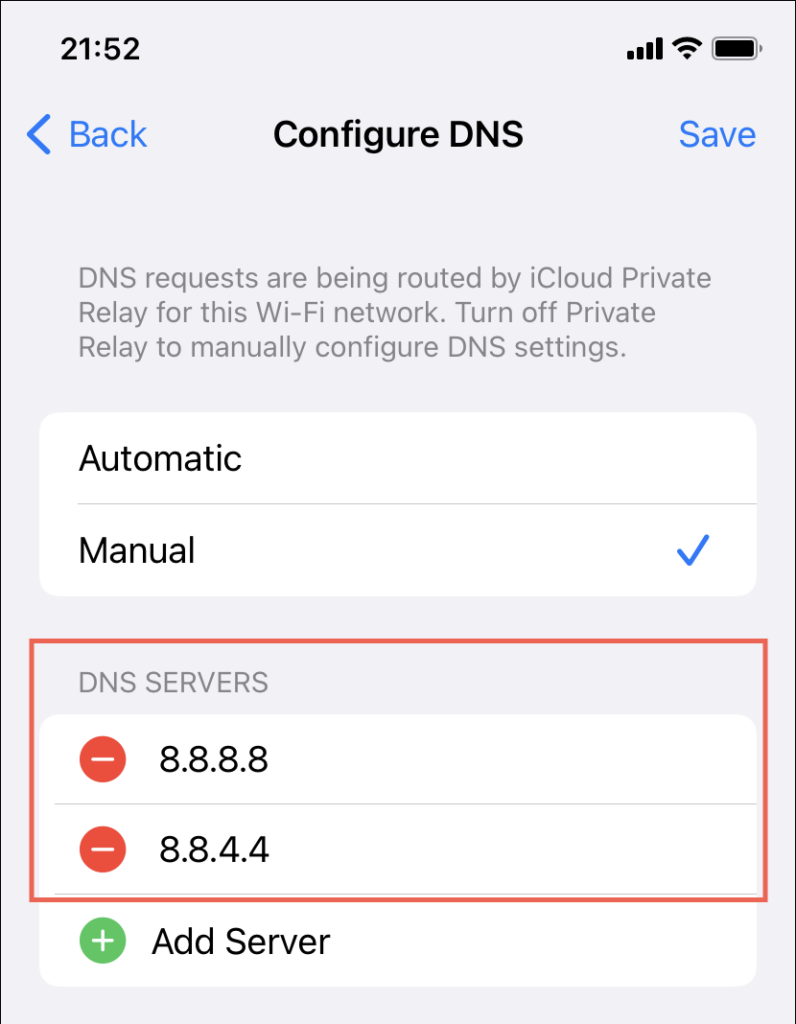
Change the DNS settings for the wireless connection if the issue is limited to particular websites and apps only. For example, replacing the default DNS servers with Google DNS can significantly improve internet connectivity.
Open the Settings app and tap Wi-Fi. Then, tap the Info icon next to the network, tap Configure DNS > Manual, and add the Google DNS servers—8.8.8.8 and 8.8.4.4—into the list under DNS Servers.
12. Disable Private Relay
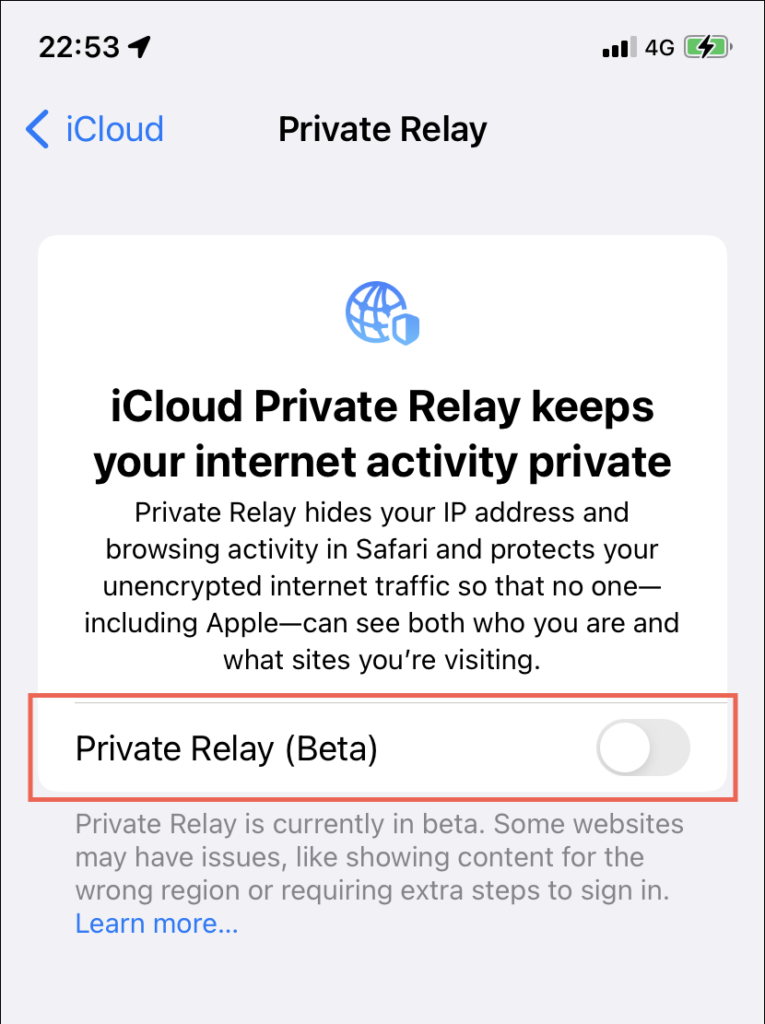
An iCloud+ feature, iCloud Private Relay boosts online privacy by encrypting and re-routing internet traffic through multiple servers. However, the feature is relatively new and tends to cause connectivity issues on both Wi-Fi and Cellular.
To disable iCloud Private Relay, go to Settings > Apple ID > iCloud > Private Relay (Beta) and turn off the switch next to Private Relay (Beta).
13. Disable Low Data Mode & Low Power Mode
Low Data Mode is a feature that conserves bandwidth on Wi-Fi connections by limiting automatic updates and background tasks. So, if the issue is limited to specific activities (such as Photos and Mail syncing), disable it and check if that makes a difference.
To do that, open the Settings app, tap Wi-Fi, tap the Info icon next to the wireless network, and turn off the switch next to Low Data Mode.

If you have a habit of always using Low Power Mode, you must also expect limited activity over Wi-Fi. To disable the feature, go to Settings > Battery and turn off the switch next to Low Power Mode.
14. Reset All Network Settings
If the issue persists, you must reset the network settings on your iPhone. That clears the DNS cacheand also helps rule out broken Wi-Fi configurations in iOS from the equation.
To do that, open the Settings app and tap General > Transfer or Reset iPhone > Reset > Reset Network Settings. Then, enter the device passcode and tap Reset Network Settings to confirm. After the network reset, go to Settings > Wi-Fi and re-join the wireless network.

15. Factory Reset Your Router
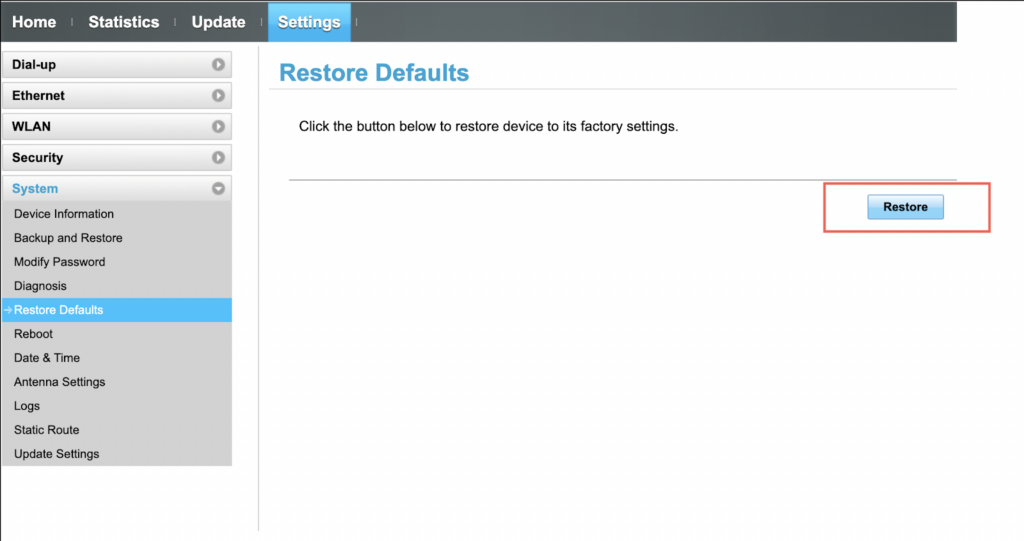
Broken configurations and preferences on the router side can also cause issues. You can resolve that by resetting the router to factory defaults via the device’s control panel. Or, look for a physical Reset button. Here’s the complete guide to factory resetting a wireless router.
Contact Your Internet Service Provider
Did none of the Wi-Fi fixes above help? Don’t discount the fact that Wi-Fi problems could also be account-related. For example, you might have exceeded your monthly bandwidth or had a temporary block imposed due to a billing issue. The issue could even be a service outage. If you suspect that might be the case, check your account dashboard or contact your internet provider for support.
[related_posts_by_tax posts_per_page="5"]